


Setting Up a Home Photography Studio for eCommerce Products
For small business owners photographing their own products, the gap between a home setup and professional studio results is smaller than it used to be. Smartphone cameras, affordable lighting equipment, and accessible editing tools have made it possible to produce commercially usable product images without a full studio budget.
The limitation is not equipment. It is knowing how to use what is available effectively, understanding where a DIY setup performs well and where it does not, and recognizing when the production cost of going professional pays for itself.
This guide covers how to set up a home photography studio for eCommerce, from equipment selection through category-specific shooting approaches, basic editing, and a clear-eyed assessment of where DIY ends and professional photography begins.
Part of our complete guide: The Ultimate Guide to eCommerce Product Photography

Essential Equipment for Your Home Photography Studio
Camera Options
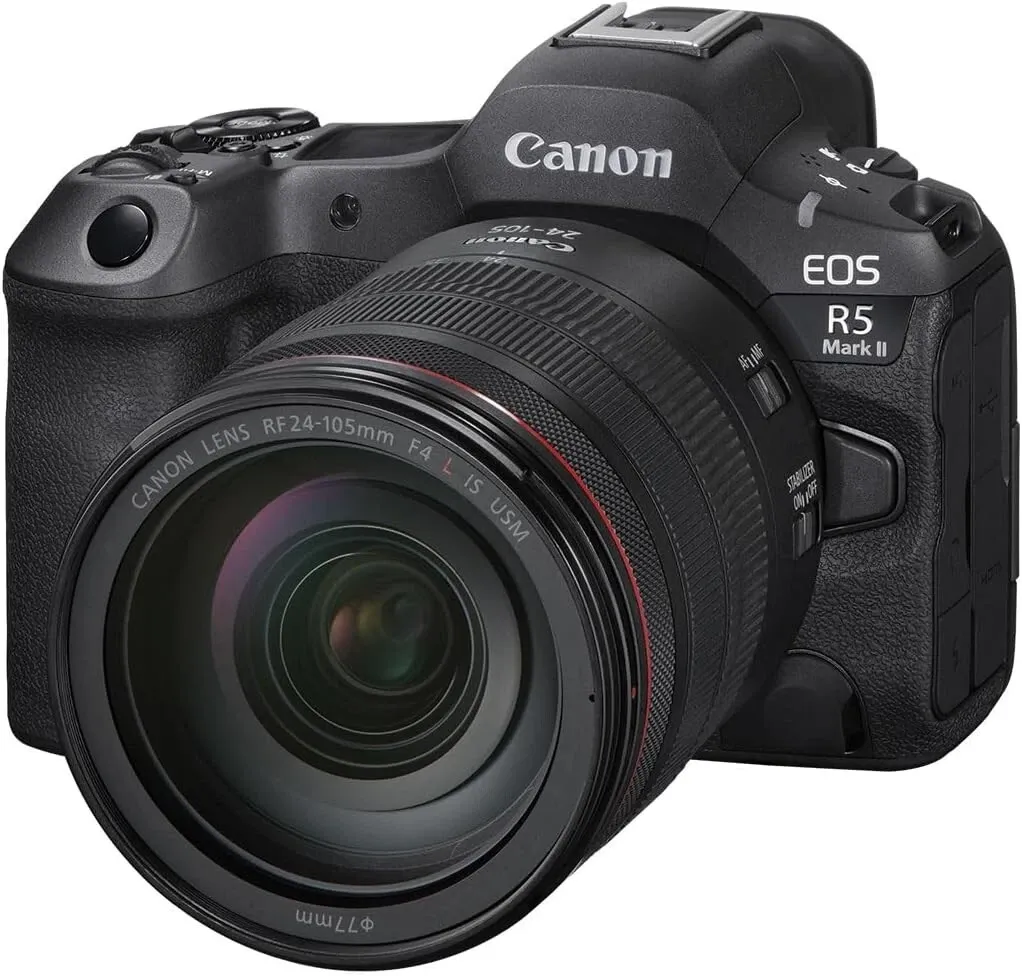
Whether a DSLR, mirrorless camera, or smartphone is used, good results are achievable with any of them if the lighting and positioning are handled correctly. A crop-sensor DSLR from Canon or Nikon is a solid starting point for beginners. These cameras are affordable, straightforward to operate, and capable of producing sharp images. Mirrorless options from the Sony Alpha series are lightweight with comparable output.
For those not ready to invest in a dedicated camera, a recent high-end smartphone handles product photography well when paired with a tripod and a clip-on macro lens for close-up detail work. The camera itself is less important than understanding how light, position, and focus interact to create a usable image.
For guidance on choosing a camera specifically for product photography: Best Cameras for Product Photography
Lighting Solutions
Lighting determines image quality more than any other single variable. Good lighting makes an inexpensive camera produce results that outperform an expensive one used poorly.
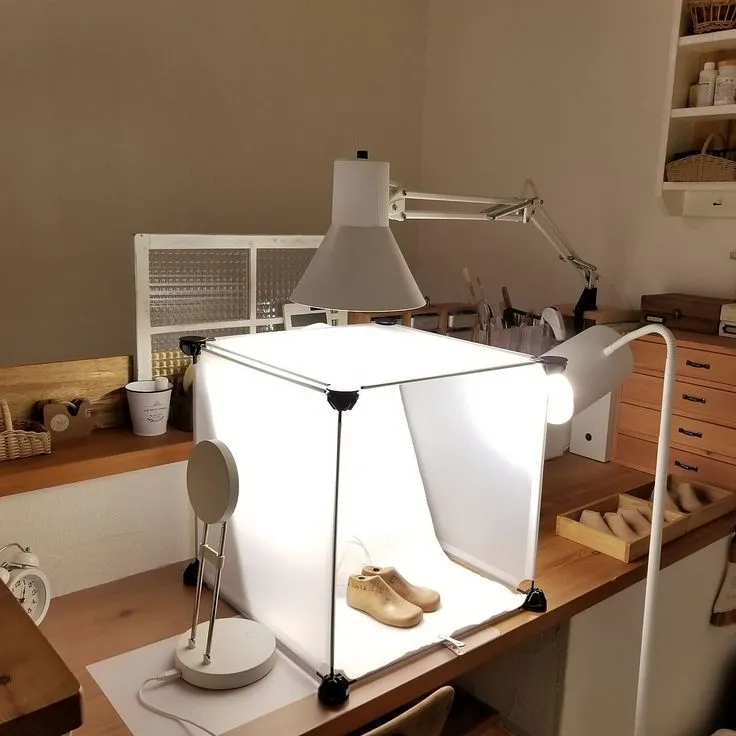
Softboxes are the standard starting point for product photography. They produce soft, even light that eliminates harsh shadows and reveals surface texture accurately. For those working with a limited budget, a DIY lightbox is a practical alternative. Cut windows into the sides of a cardboard box, cover them with white tissue paper to diffuse the light, and line the interior with white paper or foam board. Position LED desk lamps outside the windows and the result is a compact studio suitable for small products.
Natural light from a window with indirect sunlight is a usable alternative, but it requires diffusion with sheer curtains or a piece of translucent white fabric to avoid harsh shadows. The limitation of natural light is consistency — shooting the same product across multiple sessions under changing natural light produces inconsistent results that require significant post-production correction.
For a complete guide to lighting setups across product categories: Essential Lighting Setups for Product Photography
Backgrounds and Props
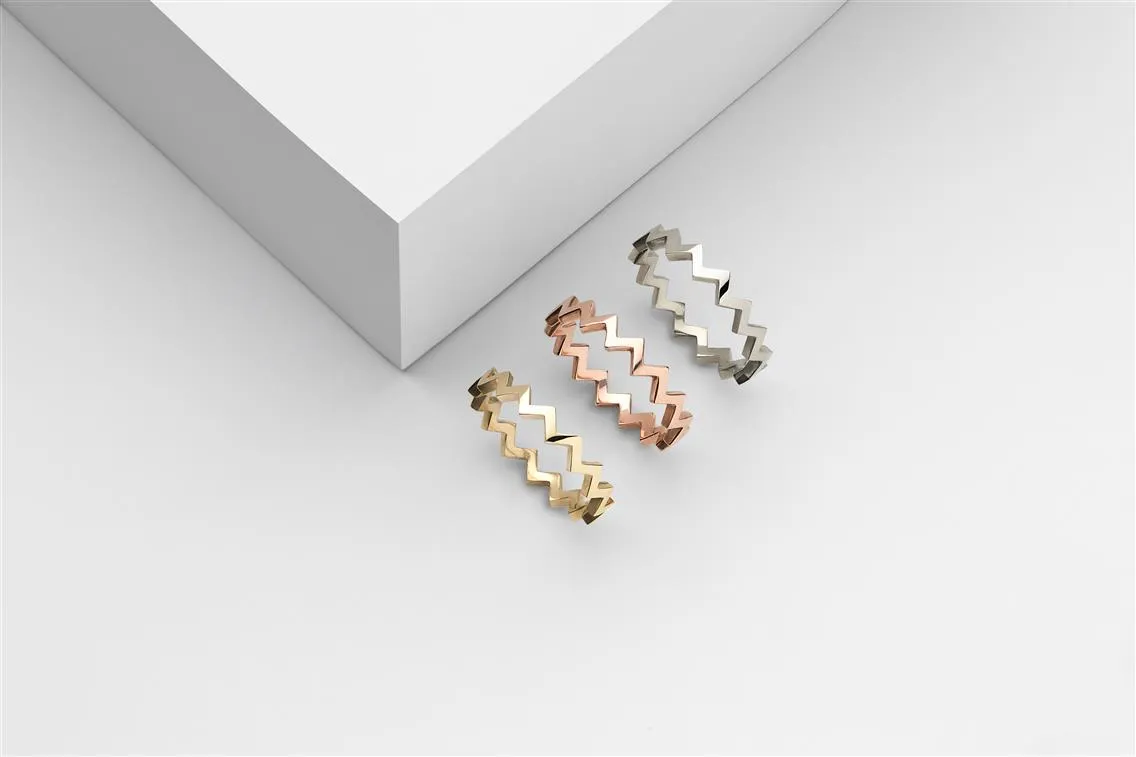
A seamless white backdrop is the standard for most eCommerce product photography. A roll of white paper or a foam board is sufficient for a DIY solution. For smaller items like jewelry, an acrylic sheet adds a subtle reflection that communicates premium quality without requiring additional lighting equipment.
Props support the product rather than competing with it. A jewelry stand or bust for necklaces and rings, stuffing paper inside a bag to restore its shape, a neutral block underneath to lift a product slightly off the surface — these are practical solutions that improve the result without requiring specialist equipment.
For a complete guide to background choices and their commercial implications: Do You Need White Background Photos for an eCommerce Website?
Smartphone Product Photography
Smartphones have become genuinely capable production tools for product photography when used correctly. The gap between a well-shot smartphone image and a basic DSLR image has narrowed significantly, and for social media content and early-stage eCommerce listings, a smartphone setup can produce commercially usable results.
Settings to Configure Before Shooting
Most flagship smartphones include manual or semi-manual camera modes that give significantly more control than the default automatic setting.
Grid lines — enable the camera grid in settings. It allows consistent framing and prevents the slight tilts and misalignments that make DIY product photography look amateur at a glance.
Manual focus lock — tap the screen to focus on a specific point and hold to lock it. This prevents the camera from hunting for a new focus point between frames, which produces inconsistent sharpness across a sequence of shots.
Exposure lock — lock exposure separately from focus on supported devices. This prevents the camera from adjusting brightness between shots as it detects movement or background changes.
Portrait mode — useful for creating shallow depth of field that separates the product from the background, but use carefully. Computational bokeh on smartphones can produce unnatural edge artifacts on complex product shapes like jewelry or textured fabric. Test before committing to it for a full session.
ProRaw or equivalent — shoot in the highest quality RAW format the device supports. RAW files retain significantly more image data than JPEGs, giving substantially more latitude for color correction and exposure adjustment in editing without degrading image quality.
Practical Techniques
Mount the smartphone on a tripod rather than shooting handheld. Even minor hand movement at close distances produces visible blur, particularly on small detailed products. A basic phone tripod mount costs very little and eliminates one of the most common sources of unusable frames in DIY photography.
Keep the camera parallel to the product surface. Shooting even slightly downward or upward on a flat product introduces perspective distortion that makes the product appear wider on one side than the other. Most grid line overlays make this easy to check before capturing.
Avoid using the digital zoom. Move the camera closer to the product physically rather than zooming in. Digital zoom degrades image quality noticeably at the pixel level even when the result looks acceptable on a small screen.
For a complete guide to camera options when ready to move beyond smartphone photography: Best Cameras for Product Photography
Setting Up a Home Studio by Product Category
DIY Jewelry Photography: Capturing Intricacy and Sparkle
Jewelry is one of the most challenging product types to photograph due to its small size, reflective surfaces, and intricate details. Here’s how to nail it:
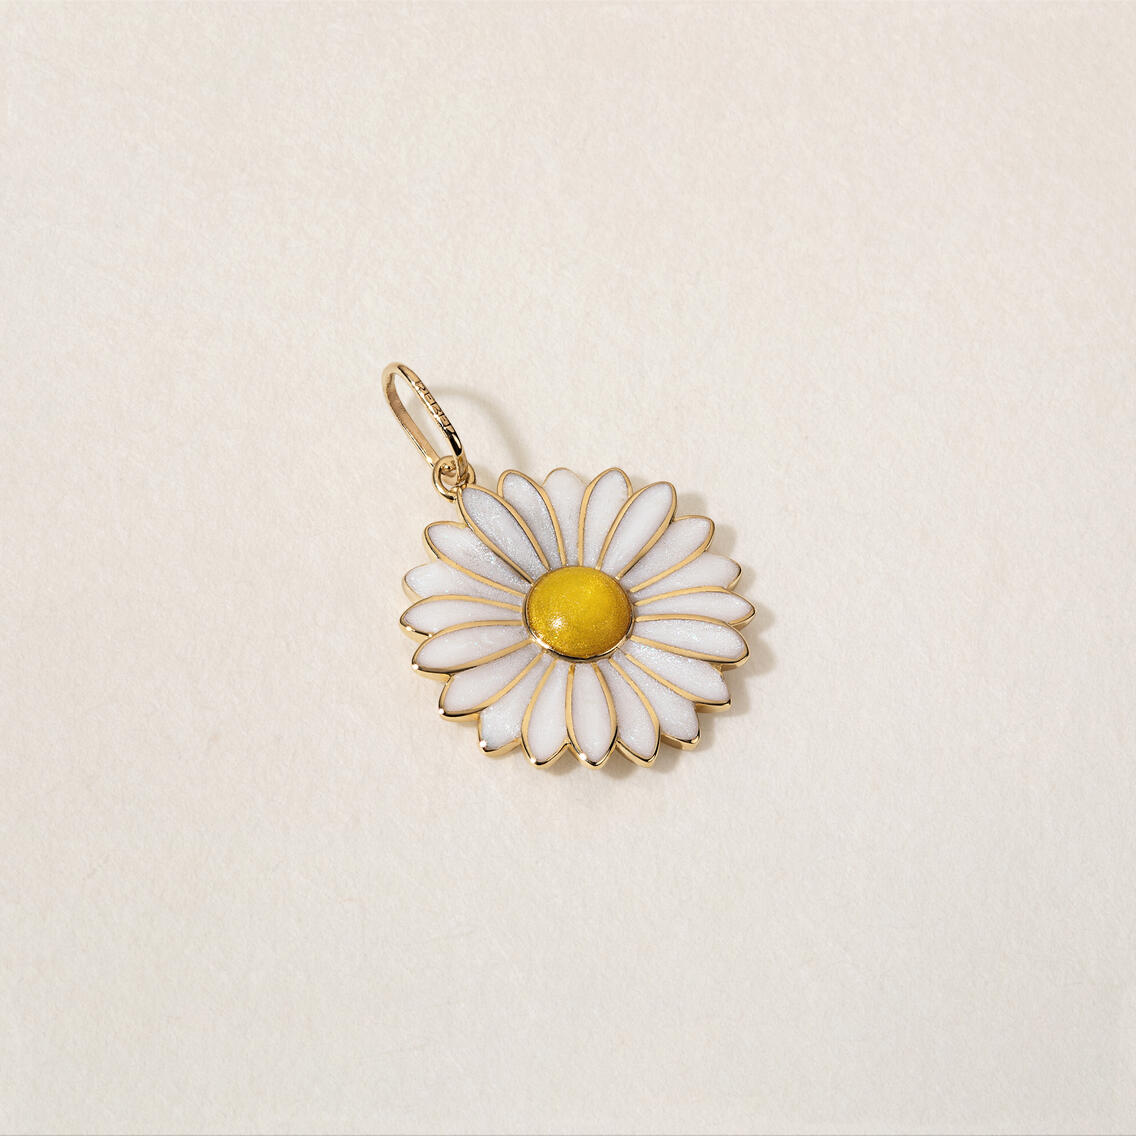
Tools needed: A DSLR or mirrorless camera with a macro lens, or a smartphone with a clip-on macro lens. A lightbox or light tent for diffused even illumination. White or gray foam boards. Ring stands, necklace busts, or earring holders.
Setup: Choose a small quiet area with controlled lighting and no direct sunlight. If using a DIY lightbox, place it with two lights positioned on either side for even illumination from both directions. A white or gray foam board inside as the base keeps the background clean and neutral.
Shooting: Use a tripod to stabilize the camera. Shoot with a low ISO between 100 and 200, adjust aperture to ensure sharpness across the full piece, and focus carefully to capture gemstone detail and surface finish. Any camera movement at macro distances will produce an unusable frame.
For the complete professional technique guide to jewelry photography: Professional Jewelry Photography: A Practitioner's Guide
Apparel Photography
Clothing photography requires showing how the garment fits and accurately communicating fabric texture, color, and construction detail.

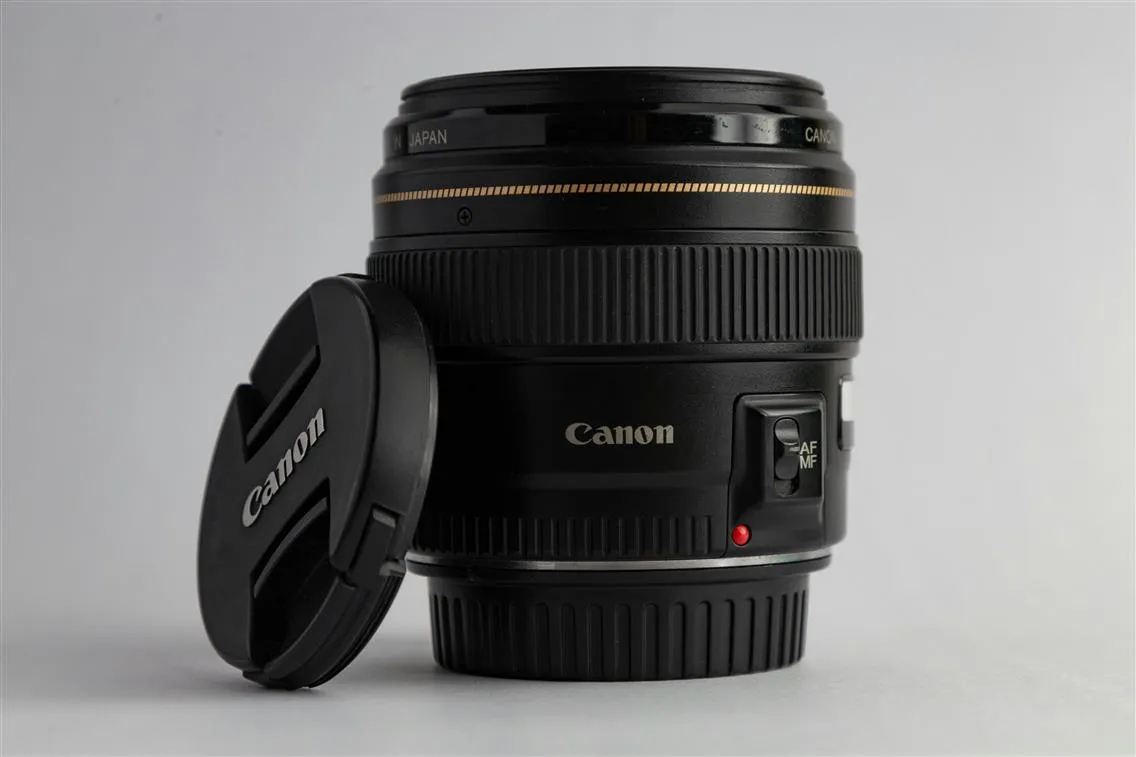
Tools needed: A DSLR or mirrorless camera with a 50mm or 85mm lens. Softbox kits for even illumination of larger products. Wide seamless paper backdrops in white or neutral tones. A mannequin or hanger for structured items. Invisible pins or tape for fit adjustments.
Setup: Select a spacious area where the camera can step back far enough to capture full-length shots. Hang a seamless backdrop using a stand or DIY using curtain rods, ensuring the paper or fabric is wrinkle-free. Position two softboxes at 45-degree angles to the garment for balanced illumination from both sides.
Shooting for flat lay: Lay the garment flat on a clean table or foam board against a neutral backdrop. Arrange it neatly, smoothing wrinkles and folding or tucking areas for a polished result. Position the camera directly above the garment on a tripod or ladder for consistent overhead framing. Capture stitching, patterns, pockets, buttons, and any branding elements as secondary detail shots.
Accessories, Bags, and Shoes Photography
Accessories require setups that emphasize craftsmanship, material texture, and design detail.
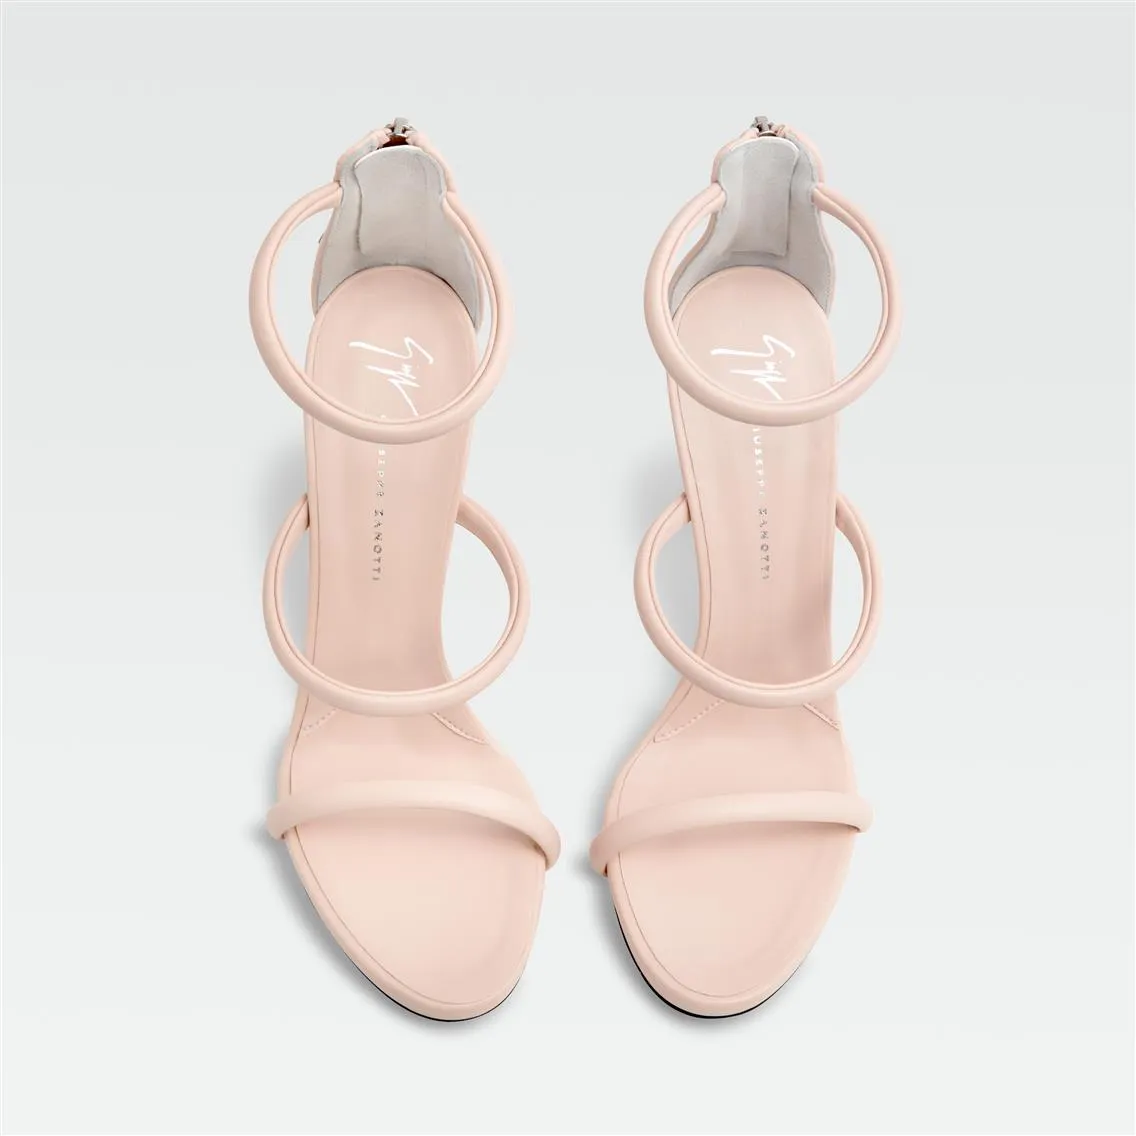
Tools needed: A camera with manual settings for full control over focus, aperture, and shutter speed. A 50mm or 85mm lens. Adjustable softboxes or LED panels with diffusers. Seamless white or light gray paper. Shoe stands or display holders. Stuffing paper or air cushions to fill and shape bags naturally. Microfiber cloths and brushes for cleaning before each shot.
Setup for shoes and bags: Set up a large roll of seamless paper on a backdrop stand. Place two softboxes or LED panels on either side of the product at 45-degree angles to reduce shadows while highlighting texture. Add a reflector above the product for more balanced illumination. Position shoes upright or slightly angled for the most revealing perspective.
Setup for small accessories: For watches, belts, and wallets, use a flat surface with a foam board or acrylic sheet. Ensure the board is clean and scratch-free before shooting.
Shooting: Capture design details including stitching, patterns, and embellishments. Show the product shape from multiple angles. For watches, focus on the dial, straps, and branding. A three-quarter angle combining side and front views in one shot communicates the product's form more completely than straight-on photography.
For how professional studios approach bag and accessories photography: How to Photograph Handbags: From Setup to Creative Ideas
For still life photography techniques that apply across all product categories: How to Improve Your eCommerce Still Life Photography
Common DIY Product Photography Mistakes
Understanding the most common failures prevents spending time on shoots that produce unusable results.
Shooting in the wrong position relative to the light source
The most consistent cause of glare and blown-out highlights in DIY product photography is positioning the camera in line with the light source relative to the product. Light that travels from source to product to camera lens creates a direct reflection that obscures surface detail entirely. Position the camera at an angle to the light source rather than directly opposite it, and move lights until no direct reflection appears in the frame before starting the session.
Not cleaning products before shooting
Studio lighting and post-production reveal every fingerprint, dust particle, and surface mark that is invisible under normal viewing conditions. Products that arrive from storage or packaging accumulate surface debris that translates directly into retouching time or unusable frames. Clean every product with a microfiber cloth or appropriate brush immediately before it reaches the shooting surface. For jewelry, use a polishing cloth. For glass and acrylic packaging, use a lens cleaning solution. This costs seconds on set and saves significant post-production time.
Shooting handheld instead of using a tripod
Handheld shooting at close distances produces frame-to-frame variation in position, angle, and sharpness that is immediately visible when images are placed side by side on a product page. A tripod produces consistent framing across a full session. It also allows shooting at lower shutter speeds in low light without introducing motion blur.
Inconsistent backgrounds between sessions
A background that shifts in tone between the January catalog shoot and the March update looks like two different brands on the same product page. Document the exact setup used in each session: background material, distance from the product, light positions and intensity settings, and the editing values applied to the final images. A reference image shot at the start of each session against a color card provides the baseline needed to match subsequent sessions accurately.
Over-editing
The most common editing mistake in DIY product photography is applying too much sharpening, contrast, or saturation in an attempt to compensate for a technically weak image. Over-sharpened images show visible halos around edges. Over-saturated colors do not match the physical product and generate returns. Over-contrasted images lose shadow detail and surface texture. The standard to shoot for is an image that looks like the product under good natural light, not an image that looks like it has been processed.
Editing for a Professional Finish
The shoot produces the raw material. Editing is where that material becomes a commercially usable image.
Tools for Beginners
Snapseed provides basic adjustment tools for brightness, contrast, and selective editing of specific areas within the image. It is a free, accessible starting point for mobile editing.
Lightroom Mobile offers significantly more control. Creating presets for consistent edits across an entire catalog, fine-tuning color, and enhancing detail without quality loss makes it the practical standard for anyone producing product images regularly.
Key Adjustments
Exposure — product images should be naturally lit. If the image appears too dark, increase brightness or adjust shadows to reveal more detail. Overexposed images wash out texture and surface finish, which undermines the product's apparent quality.
Contrast — adding contrast makes the product stand out by emphasizing edges and surface detail. It is particularly effective for textured products like clothing and leather goods. Excessive contrast makes images look processed rather than natural.
Sharpness — a sharp image communicates quality. Use the sharpen tool carefully, particularly on lower-resolution images, as over-sharpening introduces visible noise or pixelation that is immediately readable as amateur.
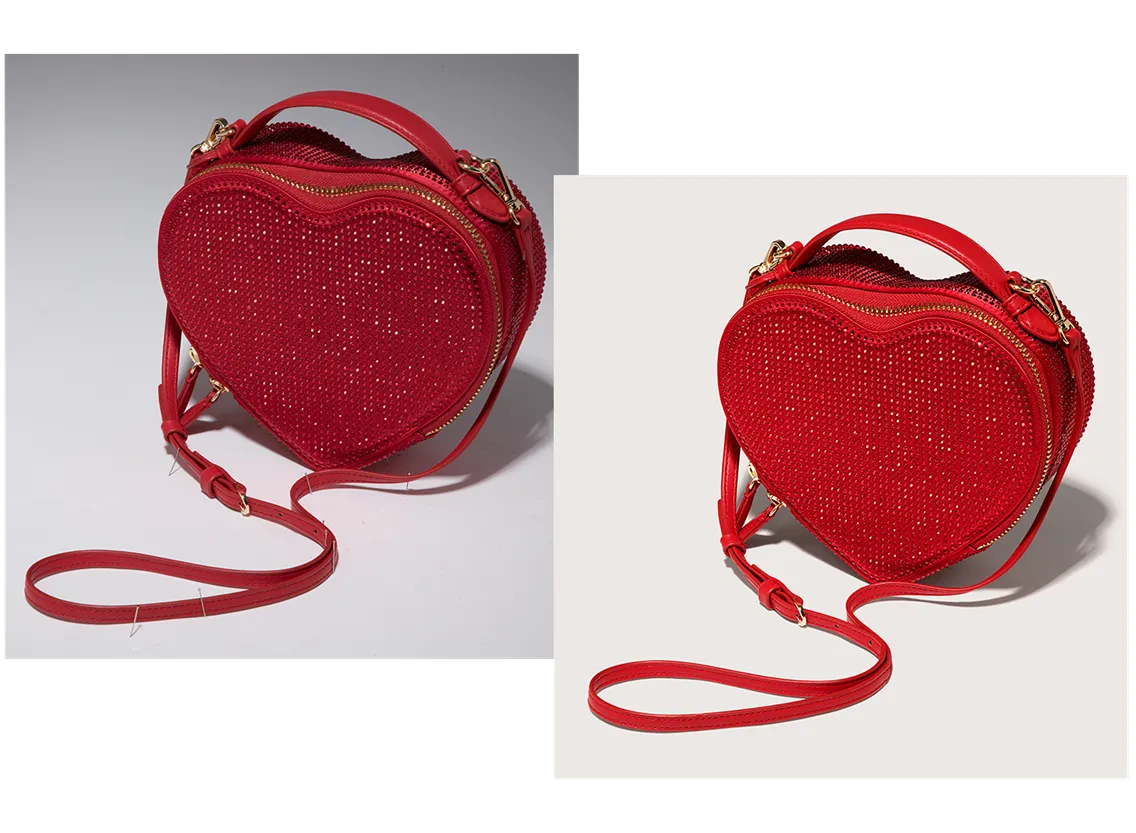
Color correction — this step ensures the product looks accurate to its physical reality. A customer who orders a red bag and receives something that reads as burgundy because the photography was not color-corrected returns it. Use the white balance tool to neutralize unwanted color casts and adjust individual colors to match the actual product.
Professional Retouching
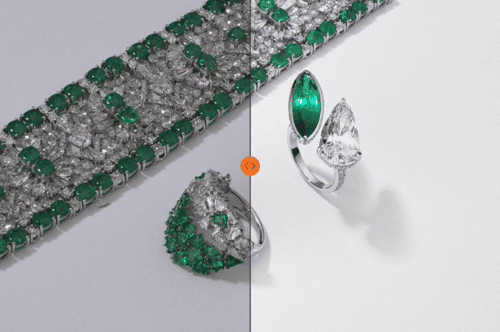
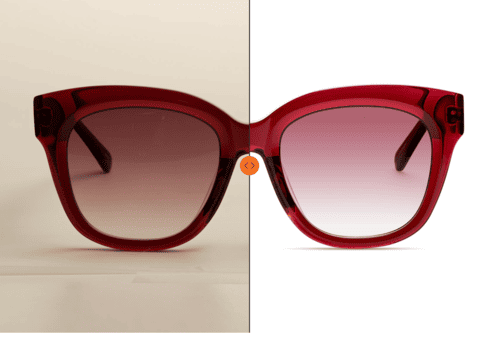
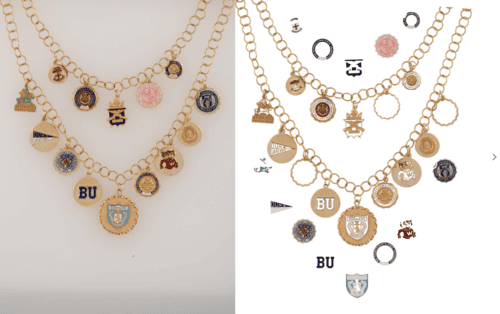
For those who want to take images beyond what standard editing tools can achieve, professional retouching addresses imperfections, surface corrections, and detail enhancements that require specialist software and trained judgment. The best results come from providing high-quality RAW files, which retain more data than JPEGs and give retouchers the flexibility to make detailed adjustments without degrading image quality.
For retouching workflow and what to expect from professional post-production: Best Practices for Retouching eCommerce Product Photos
For the decision on whether to retouch in-house or outsource as volume grows: Product Retouching: Mastering or Delegating?
When DIY Photography Is Not Enough
DIY photography works well for specific use cases. Social media content where speed and volume matter more than precision, simple products with minimal texture or intricate detail, and early-stage businesses building a basic visual presence on a limited budget are all situations where a well-managed home setup produces commercially acceptable results.
It does not work equally well everywhere. High-demand retail platforms and luxury eCommerce sites require images that meet strict technical and aesthetic standards. Subpar images on these platforms affect listing performance directly. New collection and flagship product launches justify professional investment because the images will serve every marketing channel for an extended period. The per-image cost amortizes across months of use. Complex or reflective products like jewelry and electronics require specialist lighting equipment and controlled environments that most home setups cannot reliably replicate.
The Hybrid Approach
DIY and professional photography are not mutually exclusive. Many businesses use both simultaneously, and the combination often produces the best commercial outcome for the investment.
Shooting basic content in-house and sending the images to professionals for retouching keeps costs manageable while ensuring the final output meets the quality standards that affect conversion and return rates. The photographer handles capture. The retoucher handles the precision post-production work that requires specialist software and trained judgment. Each does what they do best.
For a deeper dive, you might want to check out more: