


5 Essential Equipment Tools for Professional eCommerce Product Photography
The difference between a product image that converts and one that doesn't is rarely the product. It's almost always the equipment and the knowledge to use it. This guide covers every piece of gear that goes into a professional product photography setup — what each does, what to look for when choosing, and what professional studios actually use in practice.
Part of our complete photography guide: The Ultimate Guide to eCommerce Product Photography
What's in this guide
- Cameras
- Lenses
- Lighting systems
- Backdrops and surfaces
- Tripods and stability equipment
- Tethering and capture software
- Post-production software
- Specialized tools by product category
#1 Cameras and Lenses: Your Ultimate Photography Arsenal
Cameras
The camera sensor is what determines image quality at a fundamental level. Sensor size affects resolution, dynamic range, and low-light performance — all of which matter in a product photography context where you're trying to capture accurate color, material texture, and fine detail under controlled studio conditions.
For most eCommerce product photography, a full-frame mirrorless or DSLR body from Canon, Sony, or Nikon is sufficient. Medium-format systems (Fujifilm GFX, Phase One) produce superior detail for luxury products like jewelry and fine watches, but come with significantly higher cost per body and larger file sizes per shot.
The most important camera features for product photography are tethering capability (real-time preview on a monitor during the shoot), RAW file output, and reliable color science. Battery life and shooting speed matter less than they do in other photography contexts.
For a full breakdown of camera types, sensor sizes, and specific model recommendations by product category: How to Choose the Best Camera for Product Photography
Lenses
Lens choice affects how a product is rendered — its apparent proportions, the compression of background elements, the depth of field, and whether fine detail resolves sharply across the entire frame.
For general product photography, a 50mm to 100mm prime lens on a full-frame body covers the majority of use cases. Macro lenses in the 60mm to 105mm range are essential for jewelry, cosmetics, and any product where surface texture or fine detail is part of the purchase decision. Wide-angle lenses below 35mm introduce barrel distortion that makes most products look wrong and are rarely used in catalog photography.
For a detailed comparison of prime vs zoom vs macro lenses, specific focal length recommendations by product category, and how lens choice interacts with sensor size: How to Choose the Best Lens for Professional Product Photography
#2 Lighting Systems
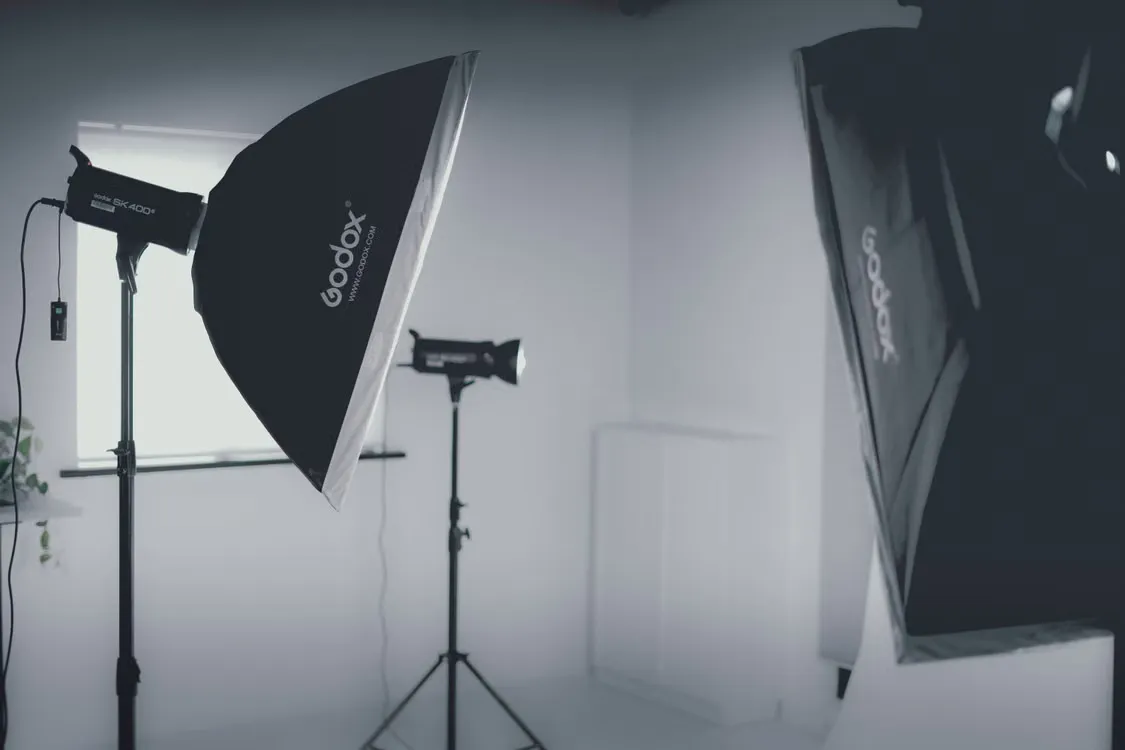
Lighting is the single most important variable in product photography output quality. The same product shot under poor lighting and good lighting looks like two completely different products — and the difference is immediately visible to buyers.
Product photography uses two primary light types: continuous lighting (LED panels, tungsten, fluorescent) and strobe lighting (studio flash systems). Continuous light lets you see the effect in real time and works well for video. Strobe delivers higher intensity with better freezing of detail on reflective surfaces and is the standard in professional catalog studios.
For a full breakdown of continuous vs strobe systems, specific manufacturer recommendations (Broncolor, Profoto, Aputure, Godox, Nanlite), and lighting setups by product category: Essential Lighting Setups for Professional Product Photography
#3. Backdrops and Surfaces: Setting the Scene

Importance of Backdrops for Product Photography
Backdrops establish context and focus. The right choice enhances professionalism and brand alignment by ensuring the product is the center of attention:
Neutral Backgrounds
White and gray offer versatility and are eCommerce standards, providing a clean, distraction-free look that emphasizes the product’s features. These are ideal for product listings on marketplaces like Amazon or Shopify.
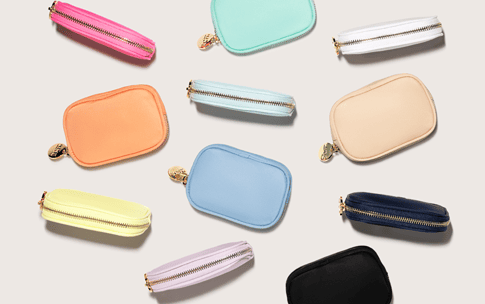
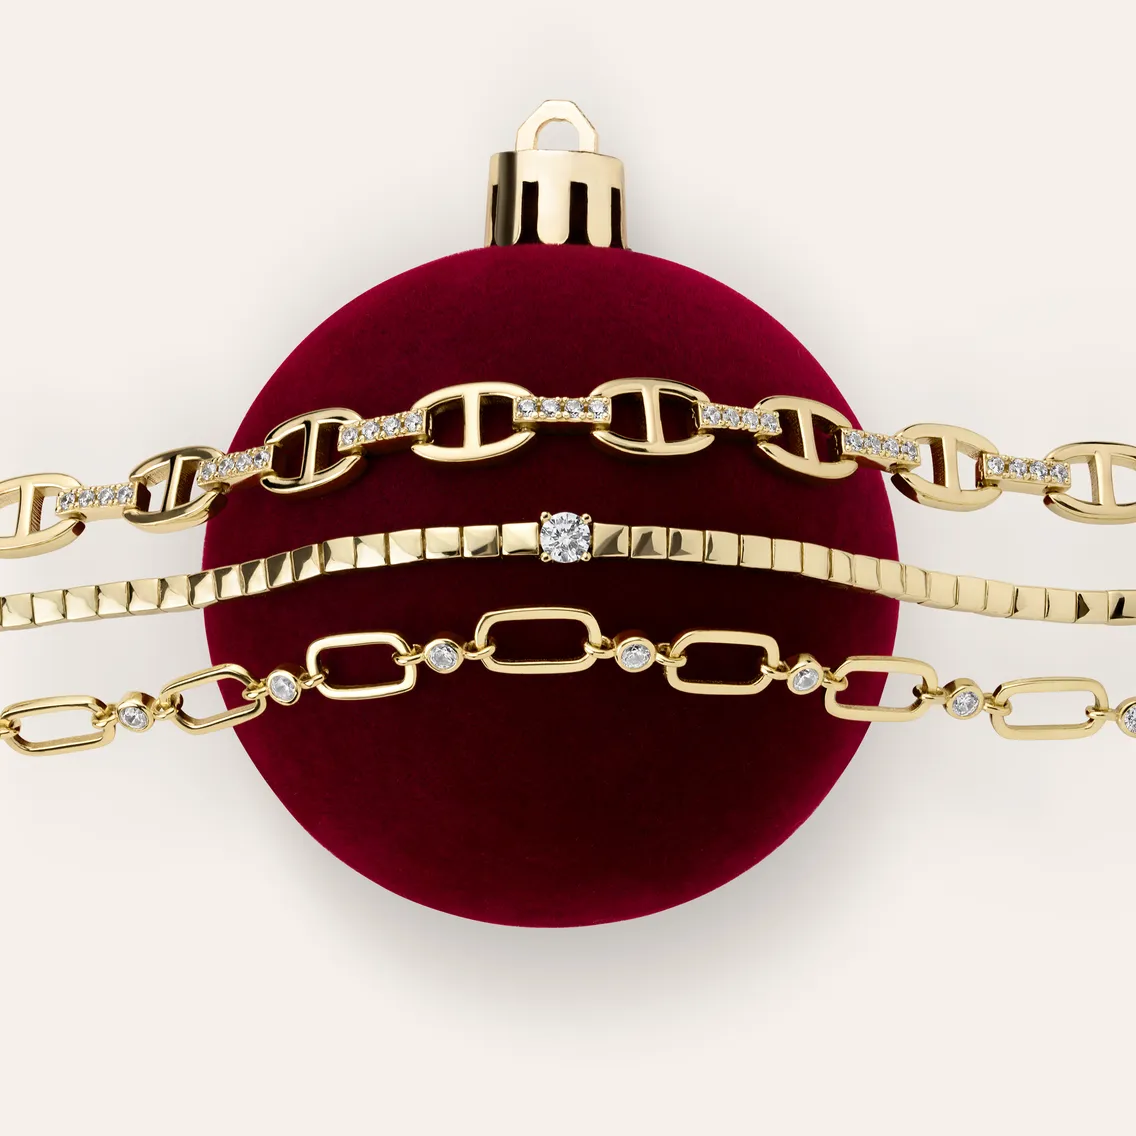
Colored Backdrops
Use muted tones for sophistication or vibrant colors to evoke specific emotions and complement product branding. For instance, pastel backdrops can add a soft, inviting tone for lifestyle products, while bold hues work well for modern, edgy brands.
Best Backdrops and Surfaces for Product Photography
Seamless paper rolls provide a smooth, wrinkle-free background, making them a staple for catalog photography. Available in various colors, these backdrops can align with brand aesthetics or highlight seasonal themes. Ensure proper storage to prevent creases. Use clamps or a dedicated stand to secure the roll during shoots.
Textured vinyl backdrops mimic surfaces like wood, marble, or concrete, adding depth and character to lifestyle imagery. These are especially effective for flat-lay photography or styled setups. Vinyl is reusable and easy to clean, making it a cost-effective option for repeated use.
Reflective vs. Matte Surfaces
Glossy surfaces introduce a sense of luxury and sophistication but require careful lighting to avoid glare and unwanted reflections. These are ideal for premium products like watches or cosmetics.
Matte surface reduces distractions by minimizing reflections, offering a consistent finish that ensures the product remains the focus. Matte backdrops are suitable for most product categories.
Using Props and Textures to Enhance Product Images
Props and textures can add context, depth, and storytelling elements to your product photography, creating a scene that resonates with your target audience.
Complementary Materials: Choose materials that align with the product's aesthetic. For example, natural fibers like burlap or linen work well with handmade goods or organic products. Sleek, reflective surfaces like glass or polished metal suit luxury items such as jewelry or cosmetics.
Scale and Balance: Props should enhance the product without stealing the focus. For instance, simple ceramic platforms can complement beauty photography. Small decor elements, such as a vintage key for a jewelry shot, can add character without overwhelming the scene. Props should not dwarf or misrepresent the product’s size.
Textural Contrasts: Combining smooth and rough textures creates a visually engaging composition. For example, pairing a leather wallet with a rough wooden table emphasizes the wallet's craftsmanship. A glossy product on a matte backdrop can create a striking contrast that draws attention to the item.
Thematic Props: Use props that evoke specific emotions. For example, consider using liquid textures like honey for still-life photos of a lip gloss with a sweet flavor to evoke emotions of indulgence. Read more about prop usage for emotion-provoking visuals in the ‘How to Improve Your eCommerce Still Life Photography: Tips and Hacks’ article.
#4 Positioning and Stability Tools: Nailing the Perfect Shot
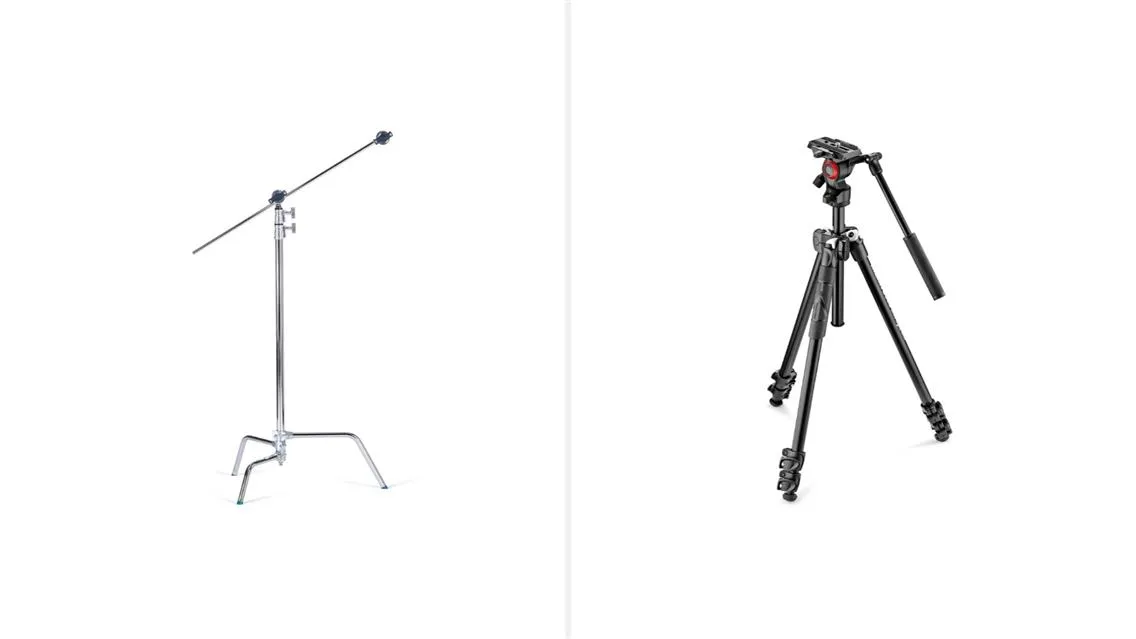
Tripods, Stands, and Mounts for Stability
Even the slightest camera movement can result in blurred images or distorted perspectives, which are unacceptable for eCommerce visuals. Tools like tripods, stands, and mounts ensure consistent framing and precise focus.
Tripods: Look for options with adjustable height, quick-release plates, and sturdy builds. Carbon-fiber tripods are lightweight yet durable, making them ideal for studio or on-location shoots. A tripod with a ball head allows for smooth and precise angle adjustments.
Stands and Mounts: Overhead mounts are perfect for flat-lay photography, especially for apparel flat-lay compositions. Stands with boom arms can position lighting or cameras at unique angles, ensuring shadow-free and dynamic shots.
Weighted Bases: Tripods and mounts with weighted bases or retractable spikes are essential for added stability, especially when working with heavy camera setups or in environments with vibrations.
Product Photography Shooting Tables for Precision
Shooting tables are indispensable for creating clean, shadow-free images, especially for smaller products like electronics, jewelry, or cosmetics.
Shadow Elimination: Many shooting tables feature translucent surfaces, allowing you to position lights underneath to eliminate shadows entirely. This setup is particularly effective for items that require 360-degree clarity, such as glassware or reflective objects.
Foldable and Adjustable Designs: Portable, foldable shooting tables are great for smaller studios or photographers on the move. Adjustable table angles provide flexibility for capturing top-down or angled shots.
Accessories: Pair your table with clamps or specialized stands to hold products in position, ensuring consistency across a series of shots. You can also cover your table with a backdrop to create a pure white surface for clean visuals. Additionally, placing foam boards between the table and the cover provides an excellent surface for pinning lightweight props or holding small items securely in place.
Turntables for Dynamic Presentation
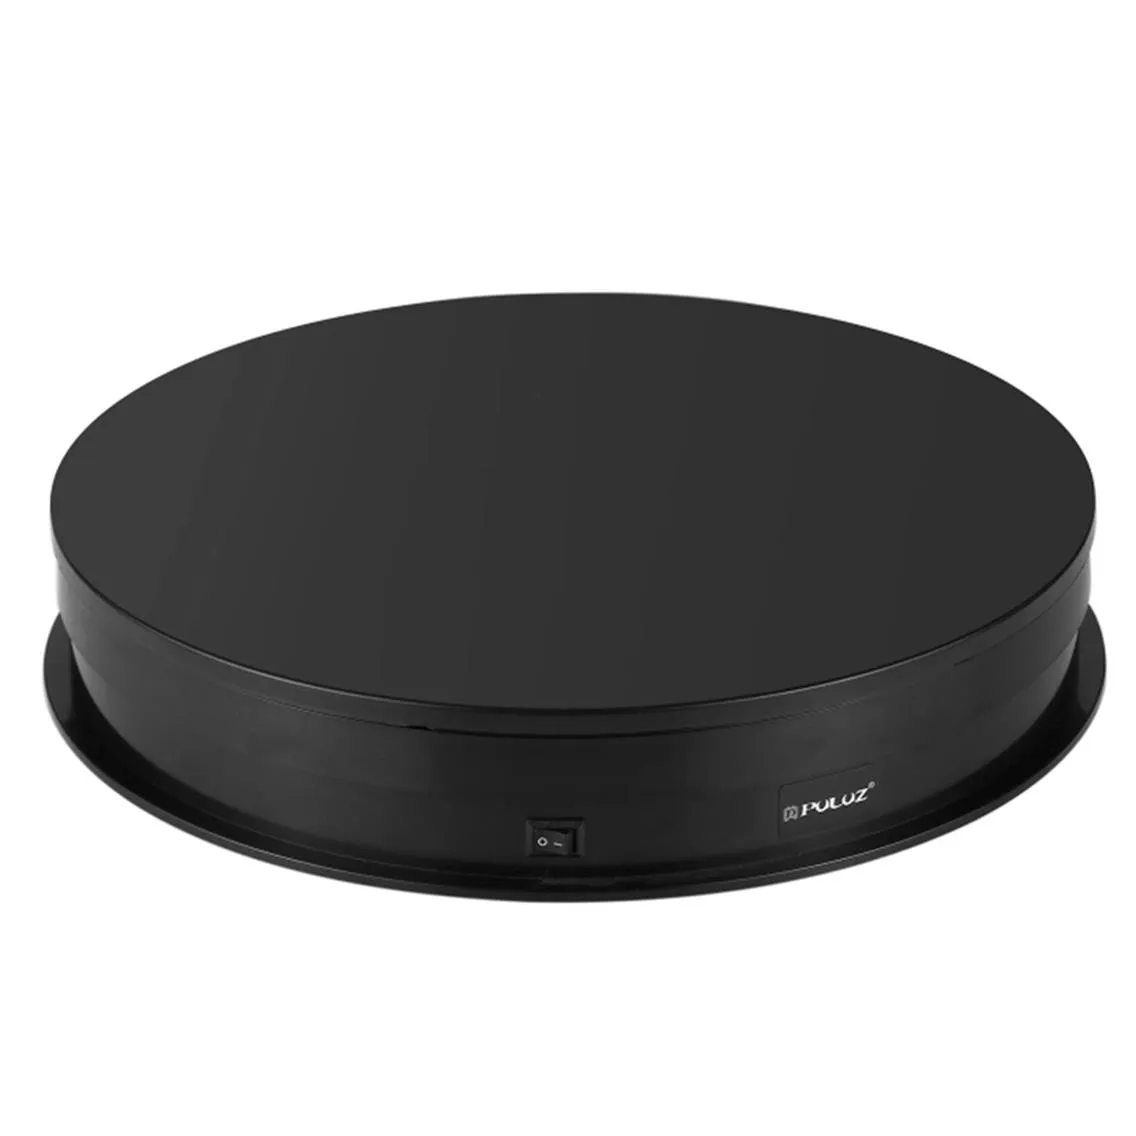
For product presentations that go beyond static images, creative tools like turntables add dynamic elements to your photography.
360-Degree Views: Motorized turntables allow you to capture a product from all angles, ideal for interactive eCommerce displays.
Adjustable Speeds: Choose turntables with adjustable rotation speeds to suit different products. Slower speeds work better for intricate items, while faster speeds are great for larger, less detailed products.
Sync with Cameras: Advanced turntables integrate with your camera for automatic synchronized shooting, simplifying the workflow.
Tips for Positioning Products Effectively
Positioning the product correctly can mean the difference between a captivating image and an awkward, unappealing shot. Here are actionable tips to ensure professional results:
- Align the camera to emphasize the product’s most appealing features. For example, shoot directly at the logo or unique design element of the product.
- Ensure the product is straight and symmetrical, especially for items like boxes or rectangular objects. Slight distortions can look unprofessional.
- Use risers or small pedestals to lift products off the surface. This adds depth and prevents shadows from appearing directly under the item.
- For multiple products in a lineup, maintain consistent positioning and angles. Use grid overlays or guides to ensure uniformity.
- For some products, such as footwear or electronics, experiment with shooting from low angles or diagonally to capture their full form and appeal.
By investing in the right tools and mastering positioning techniques, photographers can ensure their product images are on a professional level.
#5. Post-Production in Product Photography: From Good to Great
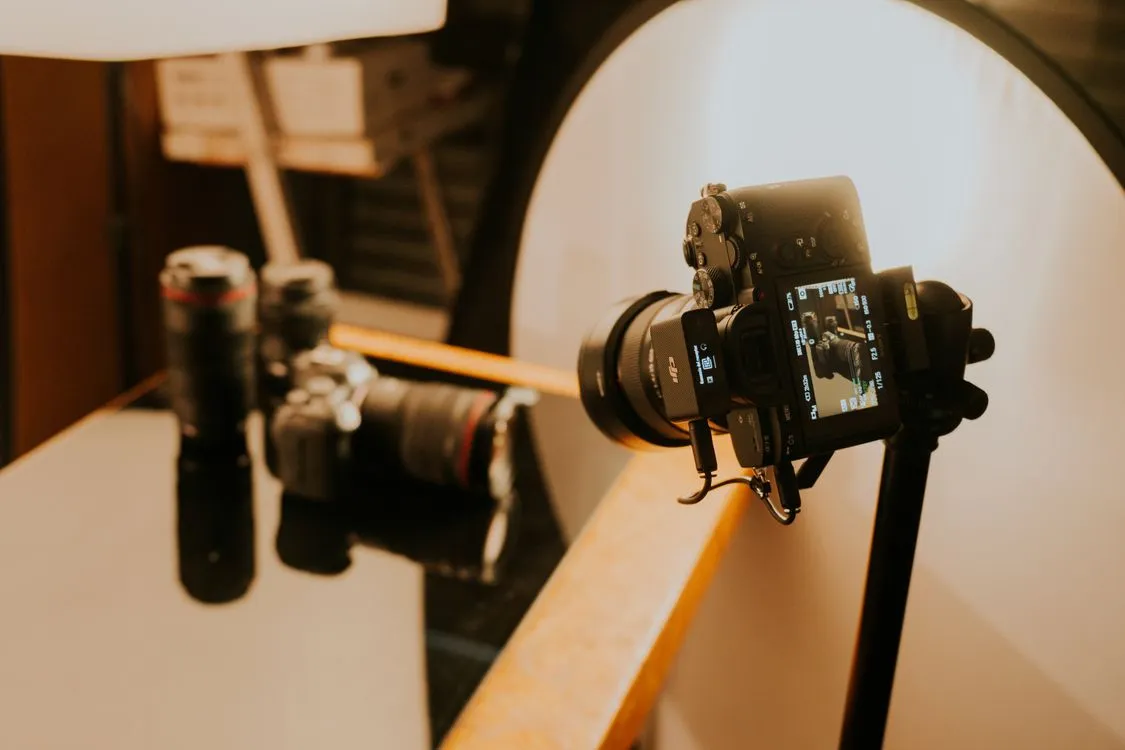
Tethering and capture software
Tethered shooting connects the camera to a computer or monitor in real time, so every image captured by the camera is immediately visible on a large screen. This is standard practice in professional product photography because it makes it possible to evaluate color, focus, and composition accurately during the shoot rather than reviewing images after the fact.
Capture One is the industry standard for tethered product photography. It supports most major camera systems, provides accurate color profiling, and includes session-based file organization that works well for high-volume catalog production. The color grading tools in Capture One produce more accurate results out of the tether than Lightroom, which is why most professional studios use it as their primary capture software.
Lightroom supports tethering for Canon and Nikon and is a reasonable option for studios already in the Adobe ecosystem. The tethering connection is less stable than Capture One in practice, particularly for long sessions.
Canon EOS Utility and Sony Imaging Edge are the manufacturer-provided tethering solutions for their respective systems. Functional but limited in features compared to Capture One.
DSLR Remote Pro and Cam2Com are third-party tethering solutions that support a broader range of camera bodies than the manufacturer tools, useful for less common camera systems.
The monitor used for tethered review matters. A color-calibrated monitor is not optional in professional product photography — color decisions made on an uncalibrated display do not hold up accurately in print or across different viewing devices. NEC, Eizo, and BenQ produce monitors specifically designed for color-accurate photography work.
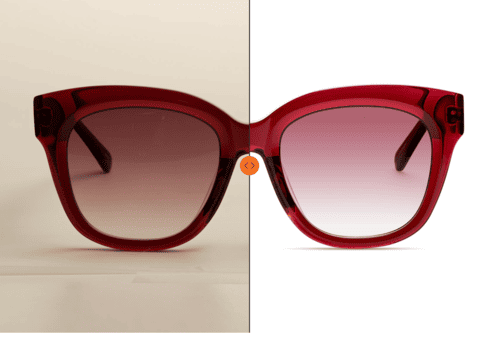
Post-production software
While many software options are available, the following are industry leaders for product photography:
- Adobe Lightroom: Excellent for batch processing and color grading. Ideal for large product lines where uniformity across images is essential.
- Adobe Photoshop: The gold standard for detailed editing, including advanced retouching, background removal, and composite creation.
- Capture One: A favorite among professionals for its tethering capabilities and exceptional RAW image processing.
- Specialized tools used in professional studios include Helicon Focus (focus stacking for macro and product photography where depth of field limits what a single exposure can achieve) and Zerene Stacker (same purpose, preferred by some retouchers for its blending algorithms).
For product retouching specifically — what's involved, what it costs, and when to outsource it: Complete Guide to eCommerce Product Photo Retouching
Specialized tools by product category
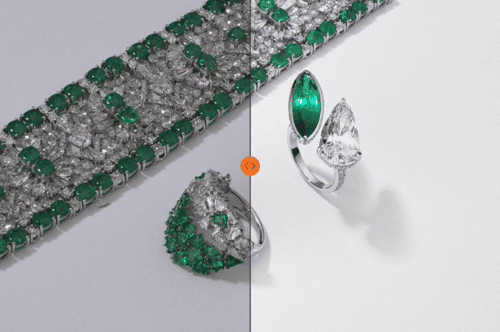
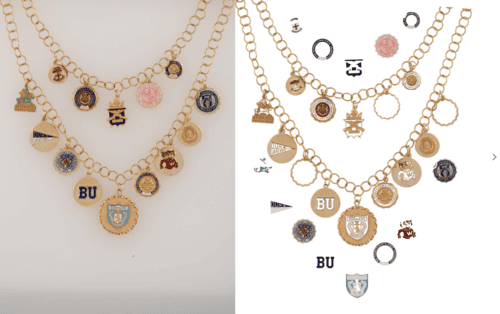
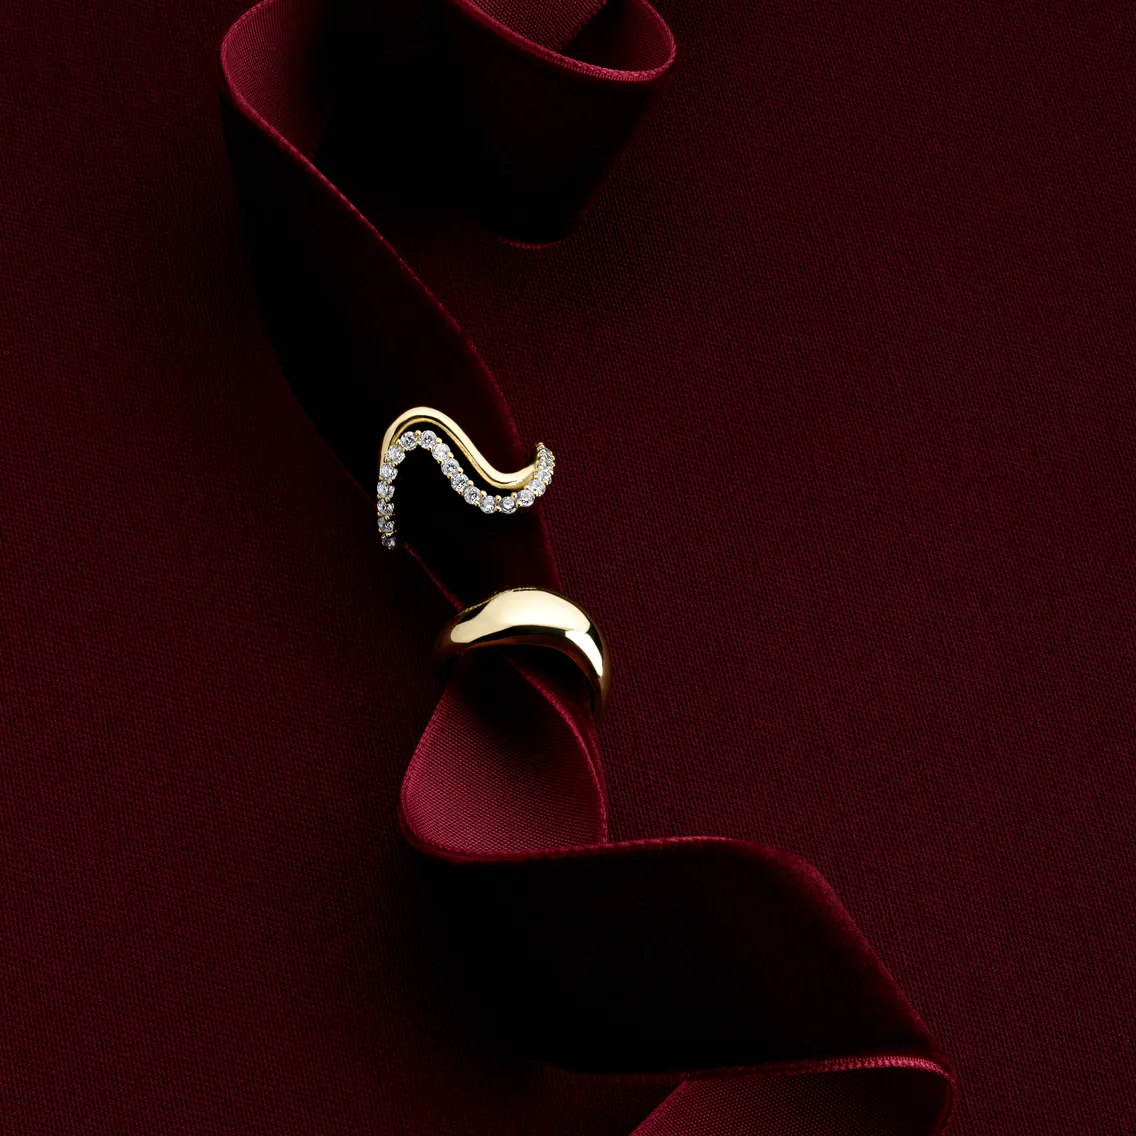
Jewelry
Jewelry photography requires equipment that standard product setups don't include. A ring clamp or articulating stand holds the piece in a specific orientation without visible support. Ring clamps are category-specific: a different clamp is needed for rings than for pendants or earrings, and the wrong clamp makes the correct angle impossible to achieve.
A motorized turntable is used for 360-degree spin photography, producing a sequence of frames that can be stitched into an interactive rotating image. The turntable needs to be level and rotate at a consistent speed relative to the camera's capture interval.
Polarizing filters mounted on the lens and on the light source (cross-polarization) eliminate surface reflections from gemstones and metal — essential for capturing accurate color and internal detail in stones that would otherwise read as bright white reflections.
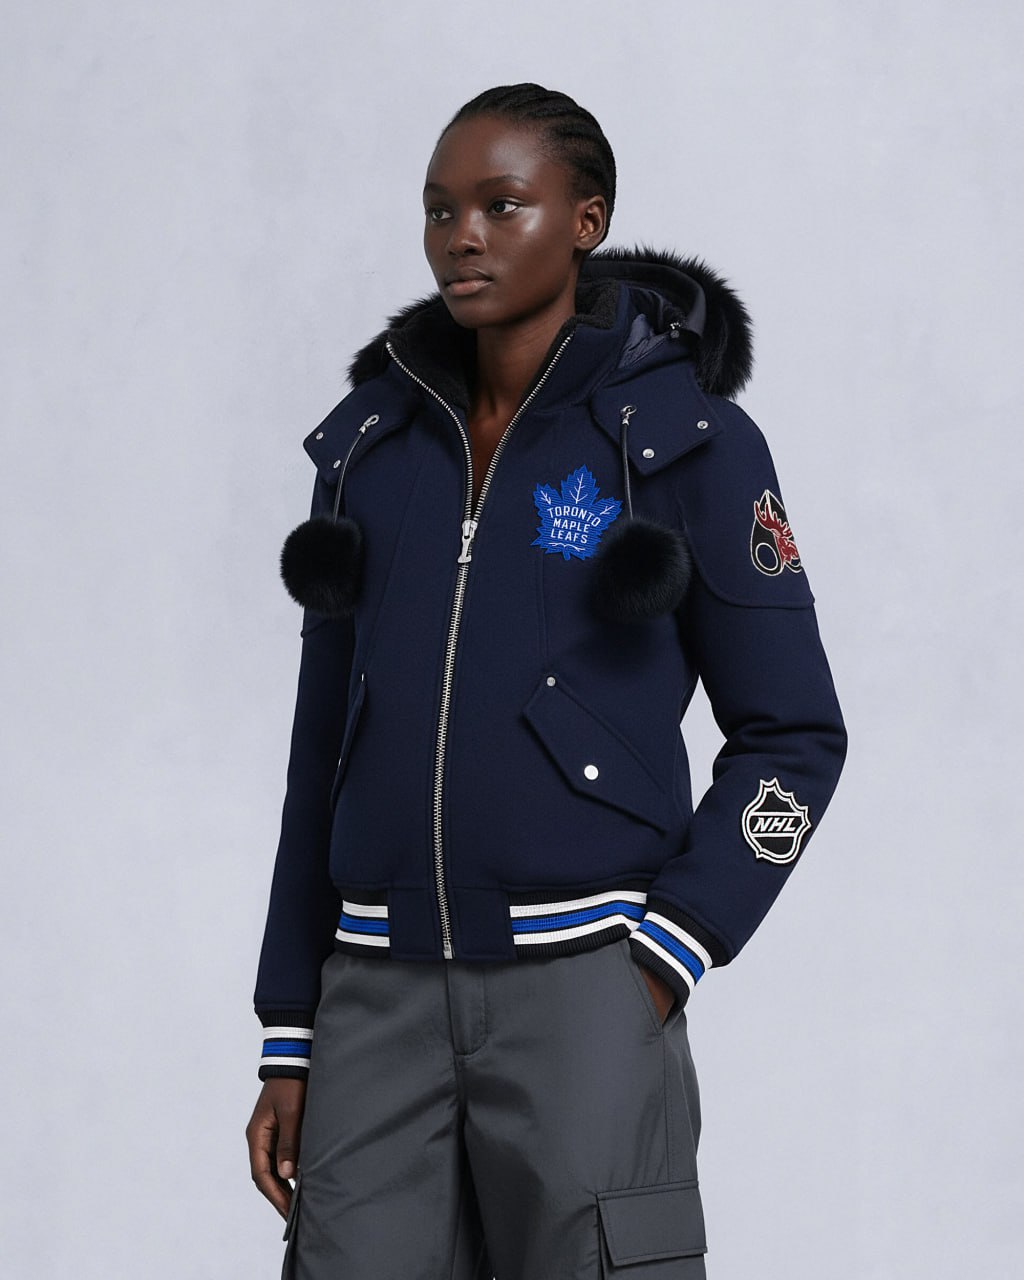
Apparel
Ghost mannequin photography requires a mannequin — ideally several, in different sizes and genders, for a full apparel line. The mannequin is photographed along with the garment, then removed in post-production to leave the garment appearing filled. The quality of the mannequin and the precision of the post-production determine whether the result looks realistic or artificial.
A steamer is essential preparation equipment. Apparel arrives with creases from shipping. No retouching correction substitutes for a properly steamed garment.
Packaged goods and beauty
A light tent or translucency setup allows light to pass through the walls of the shooting enclosure from multiple directions, eliminating directional shadows on cylindrical and irregular-shaped packaging. Particularly effective for glass bottles, clear packaging, and reflective cosmetic containers.
What professional studios use
For context, at LenFlash the standard studio setup for eCommerce catalog production uses medium-format and full-frame digital systems, Broncolor and Profoto strobe systems, Capture One for tethered capture, and Photoshop for post-production. The specific equipment varies by product category — jewelry production uses a cross-polarization setup, macro lenses, and ring clamps that are not used in apparel production. Setup is adjusted to the material requirements of each shoot rather than maintained as a single fixed configuration.
For a full look at how professional studio production works and what to expect when working with LenFlash: The Ultimate Guide to eCommerce Product Photography


