


How to Improve Your eCommerce Still Life Photography: Tips and Hacks
Looking for still life photography guidance for your brand? This article covers shooting techniques for photographers. For the brand owner's guide — what still life photography is, when to use it, how it fits into a visual content strategy, and how to commission it — see: Product Still Life Photography for eCommerce Brands and eCommerce Still Life Photography for Fashion and Jewelry Brands
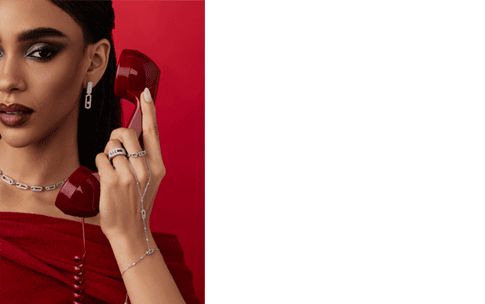
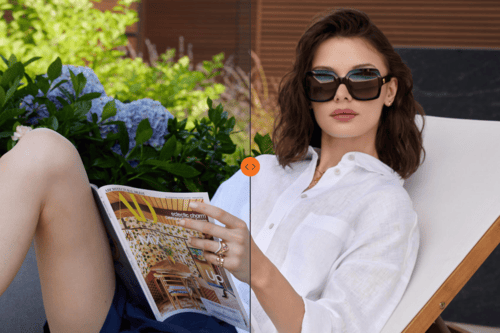
Still life photography for eCommerce is one of the most technically demanding product photography disciplines. Unlike on-model or lifestyle photography, there is no human presence to carry the composition. The product, the props, the surface, and the light do all the work. Every element in the frame is a deliberate decision, and the difference between a still life that communicates product quality and one that merely documents it comes down to equipment choices, lighting control, and compositional precision.
This guide covers the equipment, lighting techniques, prop and background decisions, and creative approaches that separate professional eCommerce still life work from amateur product placement.
Still Life Photography Equipment
Camera Recommendations
DSLR and mirrorless cameras with manual controls are well suited for still life photography. Look for full-frame models with high resolution above 20 megapixels, strong dynamic range, and RAW file support for detailed post-processing. The specific brand matters less than the ability to shoot tethered with manual exposure control and consistent color reproduction across a session.
For a complete guide to camera selection for product photography: Best Cameras for Product Photography
Choosing the Right Lens
Selecting the right lens for still life photography depends on the type of product being shot. Prime lenses in the 50mm to 100mm range are excellent for capturing sharp details and accurate proportions. Macro lenses are particularly useful for intricate items like jewelry, where detail at 1:1 magnification reveals surface quality that wider lenses cannot resolve. Wide-angle lenses can provide creative perspectives for larger products like home goods, but introduce distortion risks that require careful management.
For a complete guide to lens selection across product categories: Best Lenses for Product Photography
Props and Backgrounds
Props are the compositional foundation of still life photography, transforming isolated objects into visual narratives. The selection should align with the product's identity and the brand's positioning.
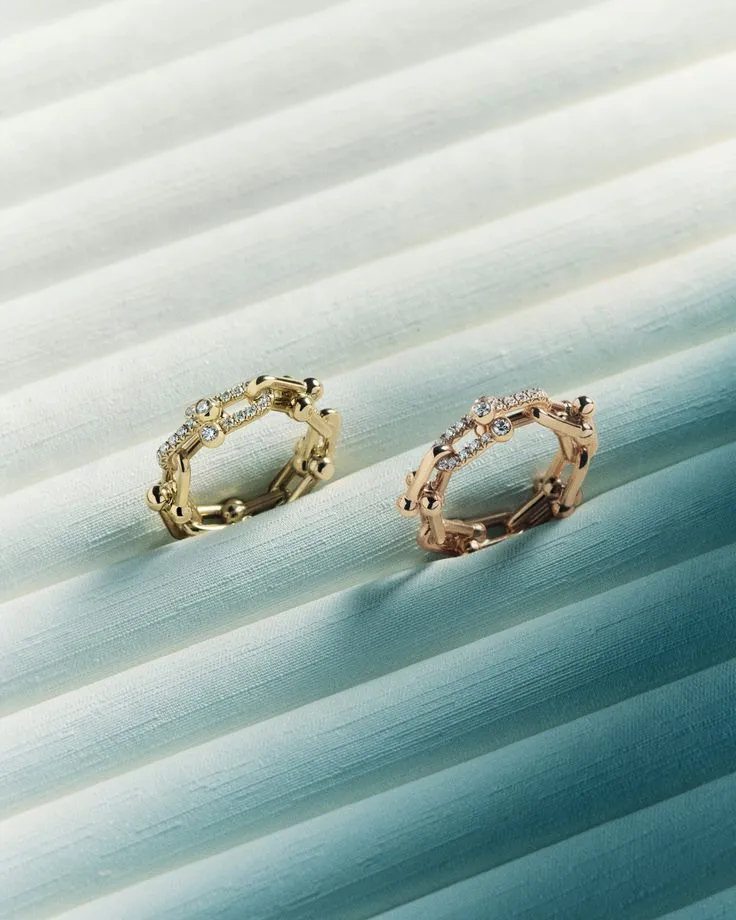
For luxury brands like Tiffany and Co., a single soft velvet drape and scattered pearls evoke timeless sophistication. A Khiry jewelry piece resting against minimalist matte ceramic objects reflects its modernity and cultural roots. The relationship between product and prop should feel considered rather than assembled.
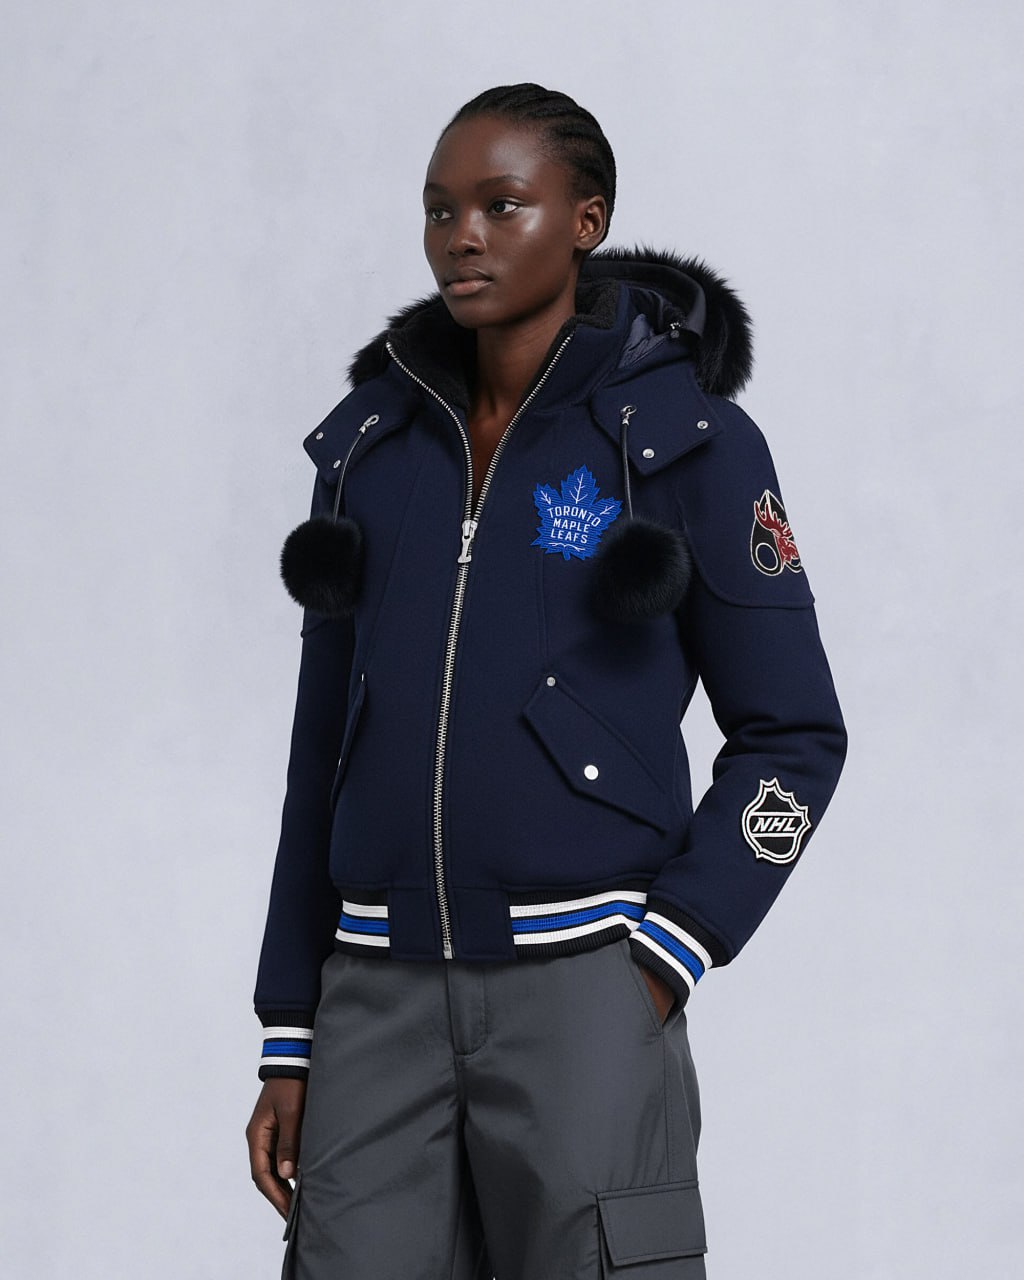
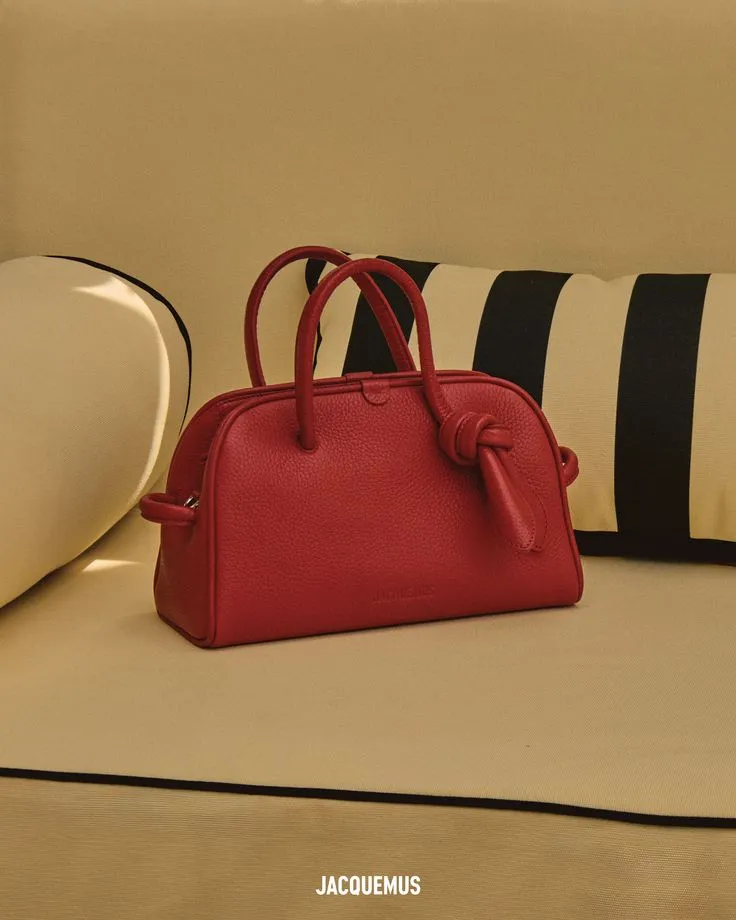
The Jacquemus approach demonstrates expert set design: a vivid red handbag as the focal point on a beige sofa with black piping and a striped cushion, creating strong visual contrast and directing all attention to the product. The minimal, uncluttered setting uses negative space to keep the composition clean and sophisticated, while the interplay of textures between pebbled leather and smooth upholstery adds tactile interest.
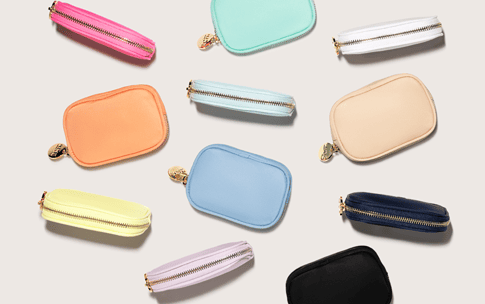
When selecting props, focus on texture and scale. Raw materials like slate or brushed metal contrast effectively against polished products. Soft linen adds warmth. Reflective surfaces introduce depth. Rotating props subtly between shots reveals fresh compositions without overwhelming the frame.
Seasonal elements add relevance: autumn leaves for fall product launches, frosted glass for winter campaigns. Texture contrast works consistently well, pairing shiny metallic products with rougher surfaces like raw wood or stone to create visual contrast that elevates the product's features.
A versatile prop library built around timeless elements — neutral fabrics, geometric shapes, and abstract pieces — adapts to multiple setups without requiring constant investment. Props should always enhance the product's appeal rather than compete with it.
Choosing Backgrounds for Still Life Photography
Backgrounds frame the product narrative. For innovative beauty brands, textured plaster walls or muted concrete tiles provide a canvas that feels tactile yet unobtrusive. Layering backgrounds adds dimensionality: overlaying parchment paper on a lightbox diffuses the glow beneath a translucent skincare bottle, creating a soft, luminous effect.

For electronics and technology products, gradient backdrops that shift subtly from light to shadow create a contemporary, forward-looking aesthetic. Black backgrounds work well for luxury items like jewelry and watches, providing high contrast and visual drama. Neutral tones such as beige, gray, and pastel gradients suit skincare and textile products where warmth and approachability are the primary mood signals.

For creative editorial work, textured backgrounds including aged wood and patterned paper introduce personality without overwhelming the product.

For a complete guide to background choices and their commercial implications: Do You Need White Background Photos for an eCommerce Website?
Table Setup
The tabletop setup is the physical foundation of a still life production. Start with clean matte surfaces to avoid distracting glare. Use a dedicated background holder to keep backdrops flat, wrinkle-free, and consistent when switching between materials such as fabric, paper, and vinyl. Build compositional layers using linen cloth for texture, stacked books for height variation, or geometric stands to elevate smaller items. Risers and pedestals create dynamic multi-level setups for product bundles. Clamps and adhesive putty hold everything in place and prevent accidental shifts during the session.
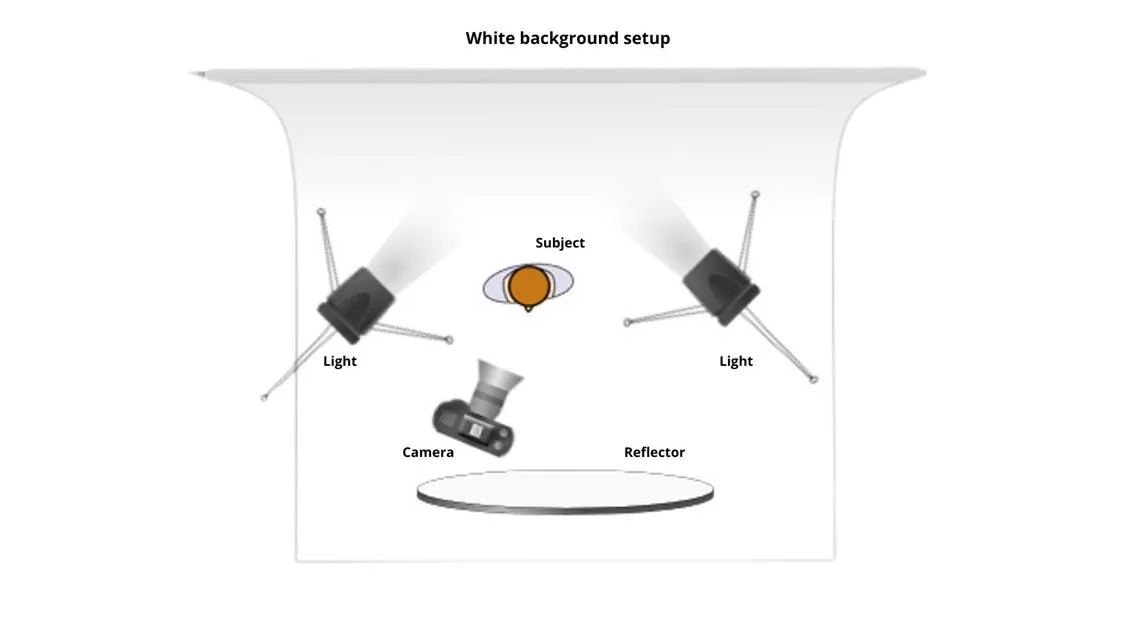
Lighting Techniques for Still Life Photography
Lighting defines the mood and quality of a product image. The three setups below cover the most important approaches in eCommerce still life work.
45-Degree Classic Lighting: Position a single softbox or LED light at a 45-degree angle to your product. This setup creates even illumination with natural shadows, ideal for general product photography. It’s perfect for items like home goods or clothing, offering a clean, balanced aesthetic.

- Side Lighting for Texture: Place the light source perpendicular to your product to emphasize surface details like leather grain on bags or intricate stitching on shoes. Adding a reflector on the opposite side can soften shadows without losing texture.
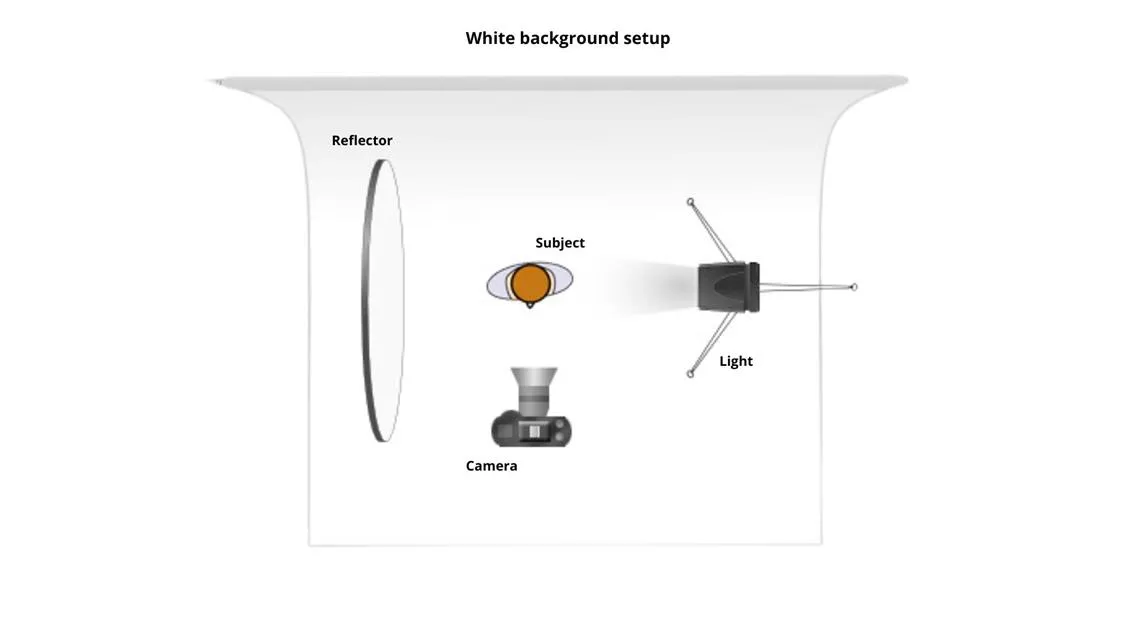
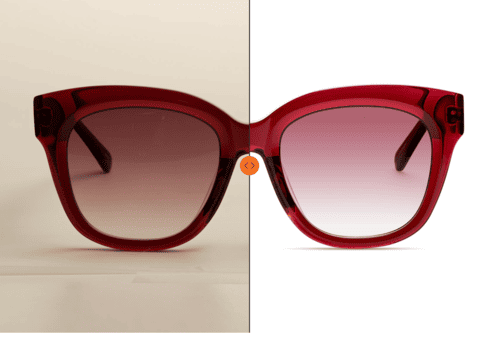
- Backlighting for Translucence: Use a light source directly behind the product, paired with a diffuser to soften the glow. This technique works beautifully for transparent or translucent items like glassware or skincare bottles, highlighting their form and depth.
Mood and Atmosphere
Tailor lighting to the narrative the image needs to tell. Hard light emphasizes bold, defined edges and works well for electronics and modern product design. Soft light creates gentle tonal transitions suited to skincare and textile products. Natural light adds an organic feel but should be diffused with sheer curtains or reflectors to eliminate harsh contrasts. Colored gels and temperature-adjustable lights allow more creative mood control for editorial and campaign work.
Reflectors and Diffusers
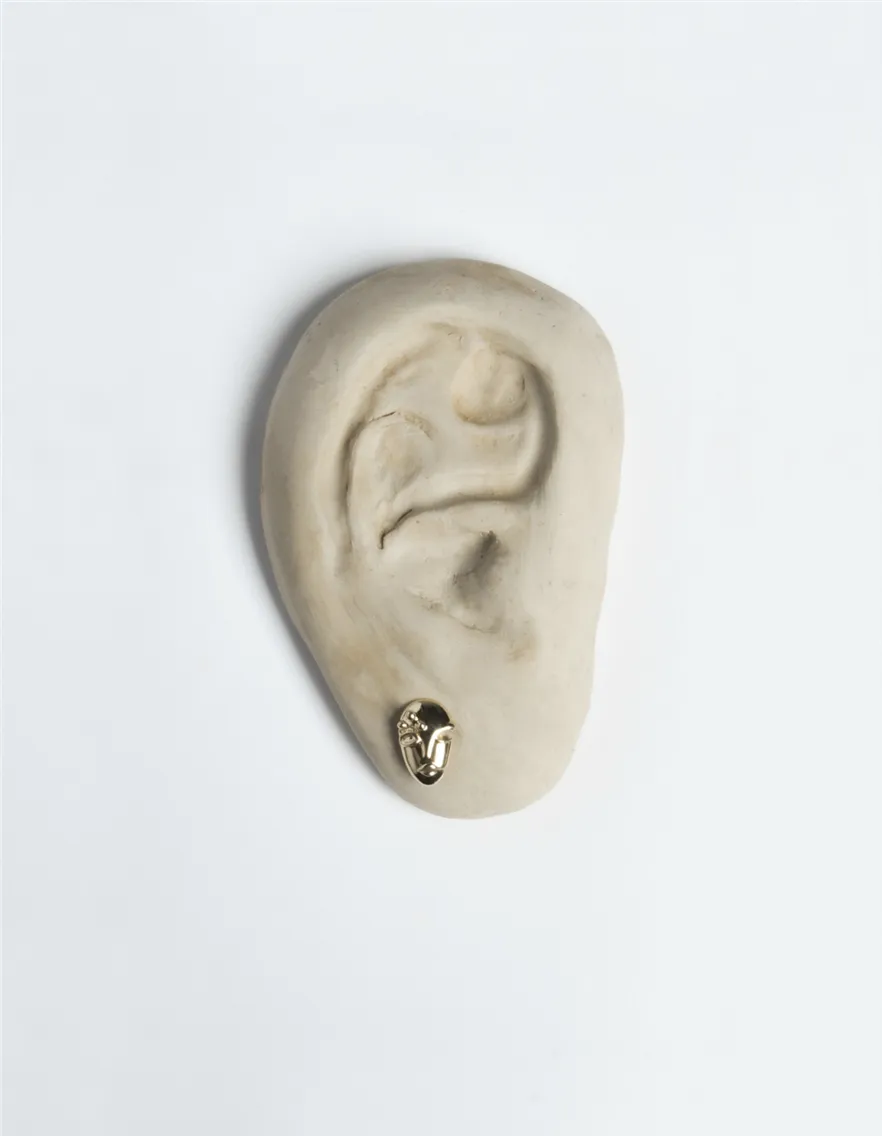
Reflectors reduce shadows on key product areas. Silver reflectors add brightness while gold reflectors introduce warmth. Diffusers soften the intensity of direct light, producing a natural, professional finish. For small items like rings and earrings, lightboxes provide consistent illumination and eliminate unwanted shadows. Adjust diffusion panels to ensure light scatters uniformly across the object, and position light sources outside the panels at equal distances for balanced brightness. Combining reflectors with overhead lighting gives products like cosmetics and food a soft, even glow without flat, directionless illumination.
Creative Techniques for Still Life Photography
Storytelling and Emotional Impact
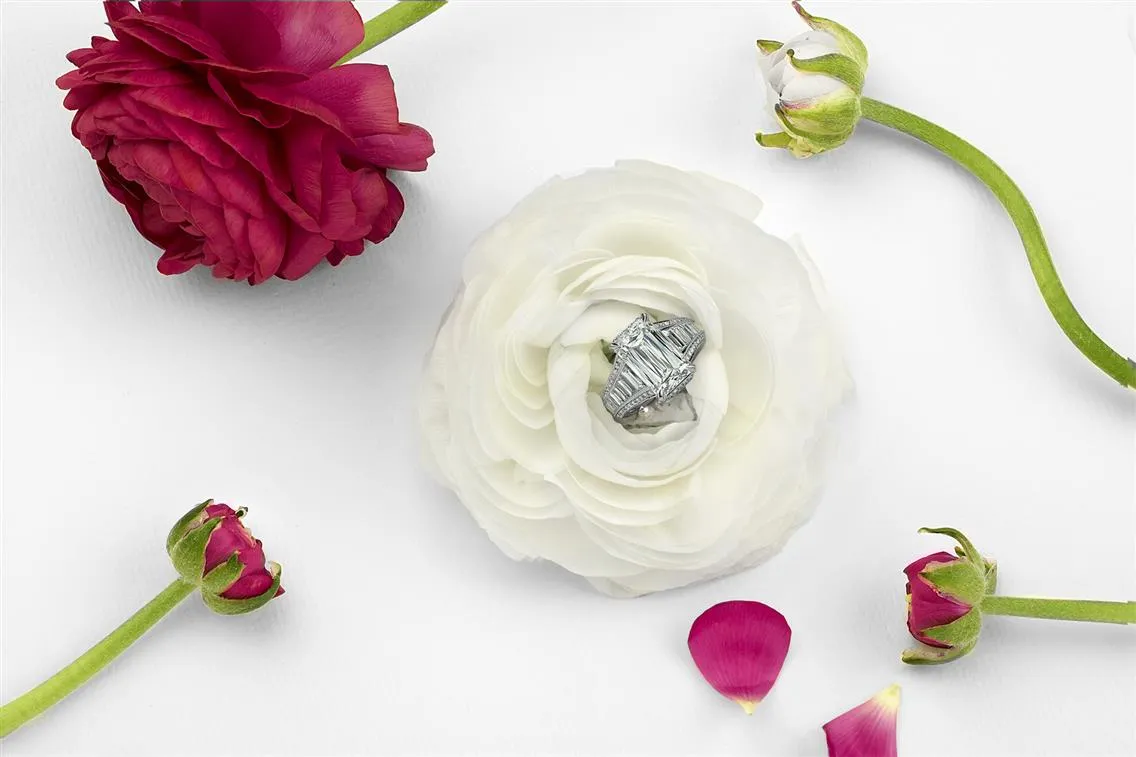
Every product has a story, and still life photography is your chance to tell it with purpose and artistry. For instance, picture a leather wallet resting on a polished wooden desk, paired with vintage keys and a crisp banknote, suggesting timeless utility and sophistication. For headphones, envision them draped effortlessly over a sleek metal stand, accompanied by a stack of vinyl records and a glowing Edison bulb in the background, evoking a mood of modern nostalgia and premium sound quality. Or, envision a piece of elegant fine jewelry placed on flowers, creating a narrative of artisanal quality and femininity.
Dive deeper into the product's essence. Is it luxurious? Minimalist? Functional? Match your props and lighting accordingly. For a luxury fragrance bottle, use reflective surfaces to incorporate subtle glints of light to exude sophistication. Meanwhile, a functional kitchen gadget might shine when surrounded by bright, clean elements that emphasize utility and modernity.
Emotional appeal is what makes your photography resonate with a brand's audience. Use tactile props like velvet for opulence or raw wooden planks for eco-friendly products. Colors are equally important; neutral palettes like creams and grays evoke calm and simplicity, while bold colors like gold or crimson create drama and grandeur. Lighting plays a pivotal role in amplifying these emotions; soft, diffused lighting suggests intimacy, while sharp, directional lighting adds intensity and focus.
Depth and Focus Techniques
Avoiding flat images: Create depth by layering props in foreground, midground, and background positions. Vary heights and distances to build visual hierarchy that draws the eye toward the product while maintaining interest throughout the frame. Multiple light sources — key, fill, and backlighting used in combination — sculpt the product and its environment, adding three-dimensional presence that single-source lighting flattens.
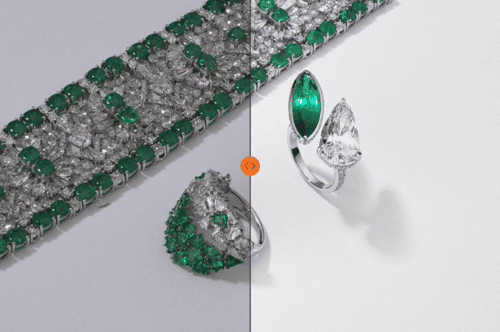
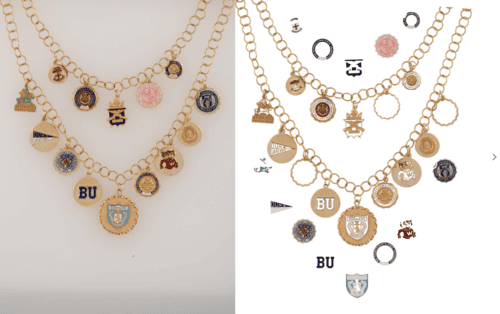
Focus stacking: Focus stacking is essential when working with multi-dimensional products where a single frame cannot hold the entire subject in sharp focus at the required depth of field. For jewelry, capture the intricate facets of a gemstone in one frame and the smooth band in another, then combine them in post-production for a result that is sharp across the full piece. For headphones, one frame highlights the logo on the earcup while another captures the padded headband. The technique requires consistent camera position between frames and precise post-production alignment to avoid edge artifacts.
For retouching and compositing workflow after focus stacking: Jewelry and Watch Retouching Guide
Taking Your Still Life Work Further
Still life photography at a commercial level requires a balance of technical precision and compositional judgment that develops through production volume and deliberate practice. Post-production is the final stage that brings the shoot together.
For retouching workflow and standards: Best Practices for Retouching eCommerce Product Photos
For evaluating whether to handle retouching in-house or delegate it as volume grows: Product Retouching: Mastering or Delegating?


