


Essential Lighting Setups for Professional Product Photography: Lights, Lamps, Lightboxes
Lighting is the one variable in product photography that no amount of post-production can fully correct. A sharp, well-composed image shot under the wrong light will look flat, off-color, or visually unconvincing in ways that retouching cannot fix without rebuilding the image from scratch. Get the lighting right and the rest of the production process becomes significantly easier — the retoucher has accurate color and controlled reflections to work with, and the images hold consistency across a full catalog batch.
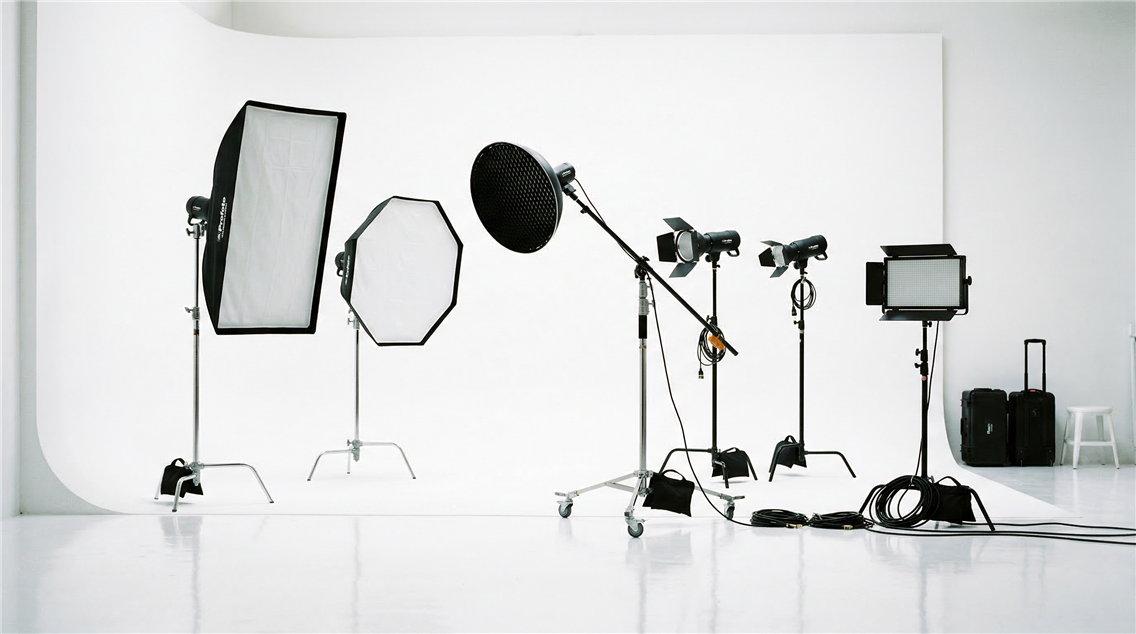
The tools available to product photographers range from full studio strobe systems to small directional lamps, and each behaves differently depending on the product surface, the modifier used, and the intent of the shot. What follows is a breakdown of the main lighting types used in professional product photography, how they interact with different product categories, and how to combine them into a workflow.
Part of our complete equipment guide: Product Photography Equipment: The Complete Gear Guide
Continuous Lights, Strobes, Lamps, and Lightboxes, and What Makes Them Different
The way an LED panel wraps around a perfume bottle isn’t even in the same universe as how a strobe creates highlight compression. A small lamp can sometimes “fix” what a large professional light can’t, simply because it interacts with the product on a micro-scale. And lightboxes, while convenient, follow their own logic entirely. Understanding these differences is what gives product photographers control.
Continuous Lighting
You could argue that continuous lighting has become the modern default for reflective products, largely because it is predictable. Brands like Aputure, Nanlite, Godox, and ARRI have pushed continuous LEDs into a place where they’re bright enough, stable enough, and color-accurate enough to be used in serious commercial settings. The main advantage is immediate feedback. If you’re shooting a chrome bottle or a gold ring, you can physically watch how the surface reacts to every millimeter of movement.
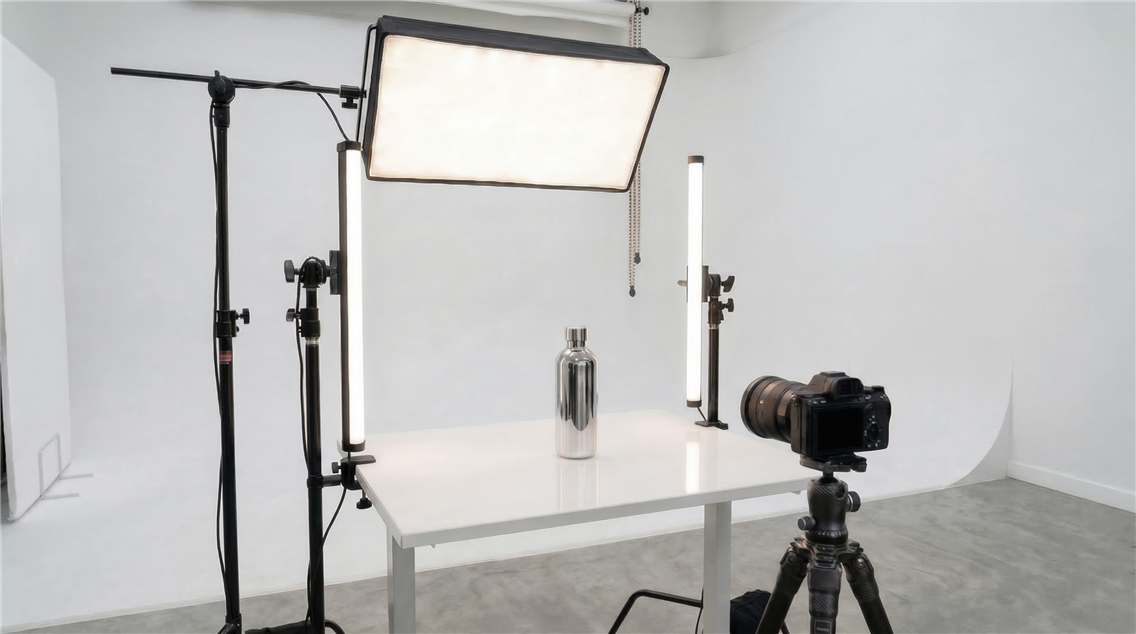
Modifiers become more powerful in this scenario because you see the output instantly. A large softbox gives you an elegant gradient; a strip softbox creates a narrow, elongated reflection that looks beautiful on perfumes or skincare bottles. Add a honeycomb grid and you suddenly gain control over spill, which is crucial when you want the background to stay dark. Flags are equally important, not only for blocking light but for shaping the negative space around the product; this is something photographers learn only after years of shooting.
The weaknesses of continuous lighting are technical, not creative. Power output is limited, which means if you're shooting macro or need a deep depth of field, you’ll often need to raise ISO or compensate in other ways. Heat used to be a problem with older systems; high-end LEDs solve most of that, but budget lights can still heat up and drift in color temperature. This drift is subtle but becomes noticeable in large-scale catalog shoots where consistency matters.
Strobes and Flash Systems
Strobes behave like precision tools built for commercial volume. Broncolor, Profoto, Godox, Elinchrom, these companies dominate the strobe market for a reason. Strobes provide strong, crisp, stable light with excellent color fidelity. They freeze motion, sharpen detail, and let you shoot at small apertures without compromise. For jewelry macro stacks, glossy hero visuals, and high-end catalogs, this stability is essential.
The physics of flash give you a definition that continuous lights often can't replicate. Strobes compress dynamic range differently, which affects the “density” and sparkle of reflections. This is why watch and jewelry studios stick to flash systems: the images simply look cleaner.
And strobes remain consistent. Even budget systems will produce similar output from shot to shot, while higher-end brands maintain almost perfect color temperature, even at different power settings. When you need every frame of a 400-SKU catalog to look like it belongs to the same brand, strobes are the safest choice.
Where strobes are less convenient is in refinement. You can’t see your highlight pattern in real time. You rely on knowledge, experience, and test shots. It’s not difficult once you understand your modifiers, but the lack of instant feedback slows down beginners and makes reflective work more demanding. For glossy cosmetics or metals that react to everything around them, sculpting the right highlight with strobes requires patience and a strong mental model of how light behaves.
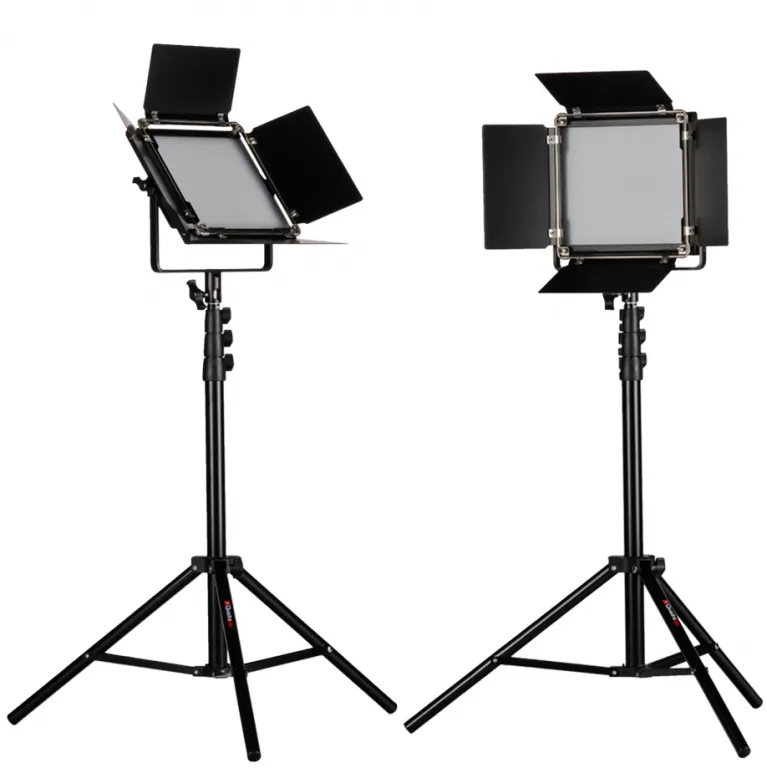
LED Panels
LEDs consume less power while providing adjustable brightness and color temperature, making them ideal for long sessions. Many LED panels allow you to switch between warm and cool tones, offering creative control over the mood of your shoot.
Great for both studio and on-location photography, particularly when versatility is required.
Additional Tools for Lighting Mastery
- Use reflectors to redirect light and fill in shadows. They’re especially useful for balancing natural light or softening shadows created by a primary light source.
- Flags and grids help control light spill and direct illumination precisely where it’s needed, perfect for small product details or dramatic effects.
- Diffusers are essential for softening hard light sources, creating a gentle, even illumination that enhances the product’s texture and color.
By combining the right lighting type and tools, photographers can highlight their product’s best features, creating images that grab attention and communicate quality effectively.
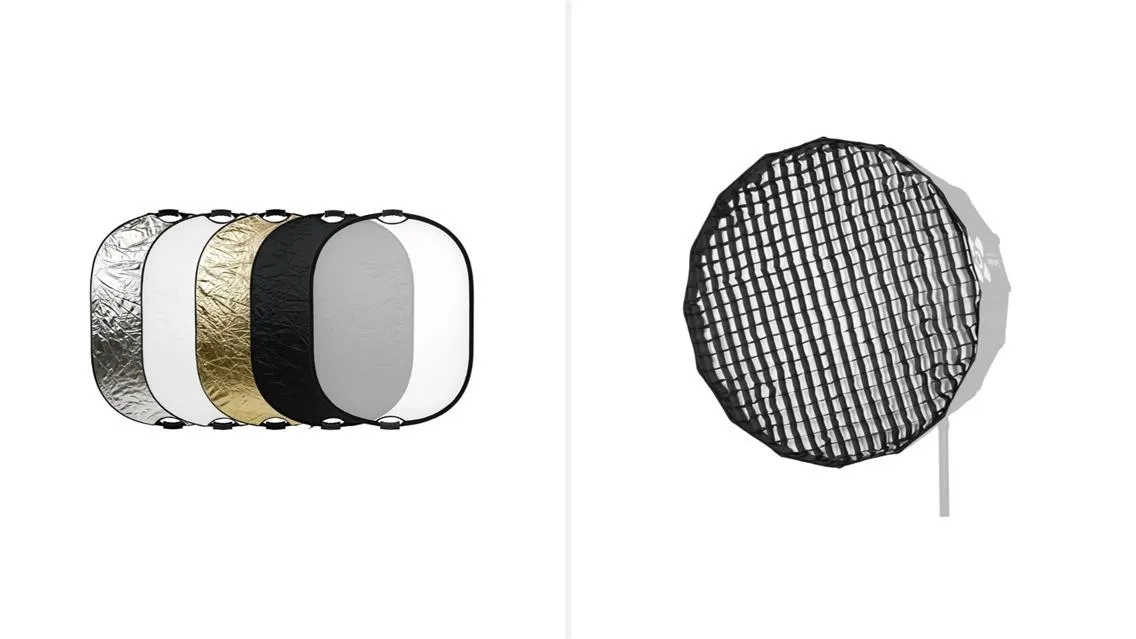
Table Lamps as Creative Tools
Lamps are the secret weapons nobody teaches in beginner classes. They are meant to solve problems your main lights can’t reach. Small lamps from brands like Dedolight, Aputure Accent series, Falcon Eyes, or even compact Godox LEDs allow you to work with highlight placement at a micro level. A perfume bottle may look 90% done with your primary setup, but that last 10%, like the clean line of light running along the cap, the perfect shadow edge under the bottle, the gentle halo on the label, comes from lamps.
What makes lamps special is beam precision. A larger light floods the scene. A lamp paints very specific areas. You can tilt it slightly to create a thin highlight on metal, or tuck it behind a flag to create just enough contrast to give the object dimension. Lamps are also invaluable when you want to enhance textures without overlighting the product, something continuous panels often struggle with because they’re too broad.
Experienced product photographers often treat lamps like artists treat brushes. A lamp can turn a flat shot into something luxurious simply by establishing cleaner lines, micro-contrast, or better separation from the background.

Lightboxes and Light Tents
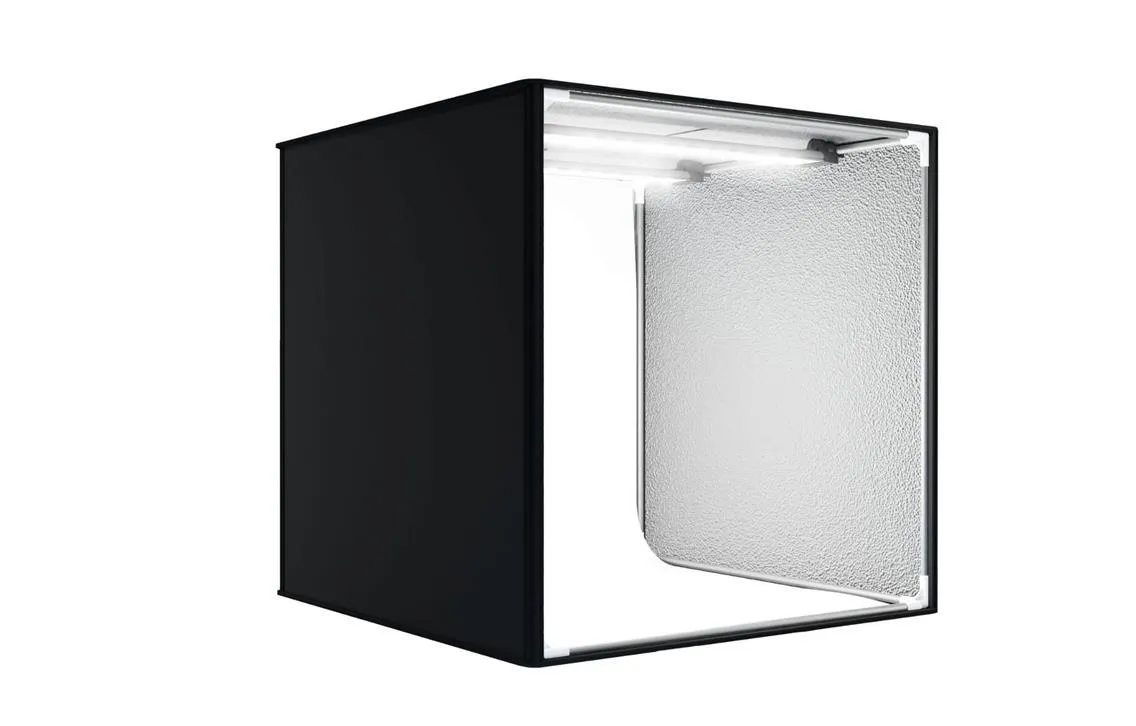
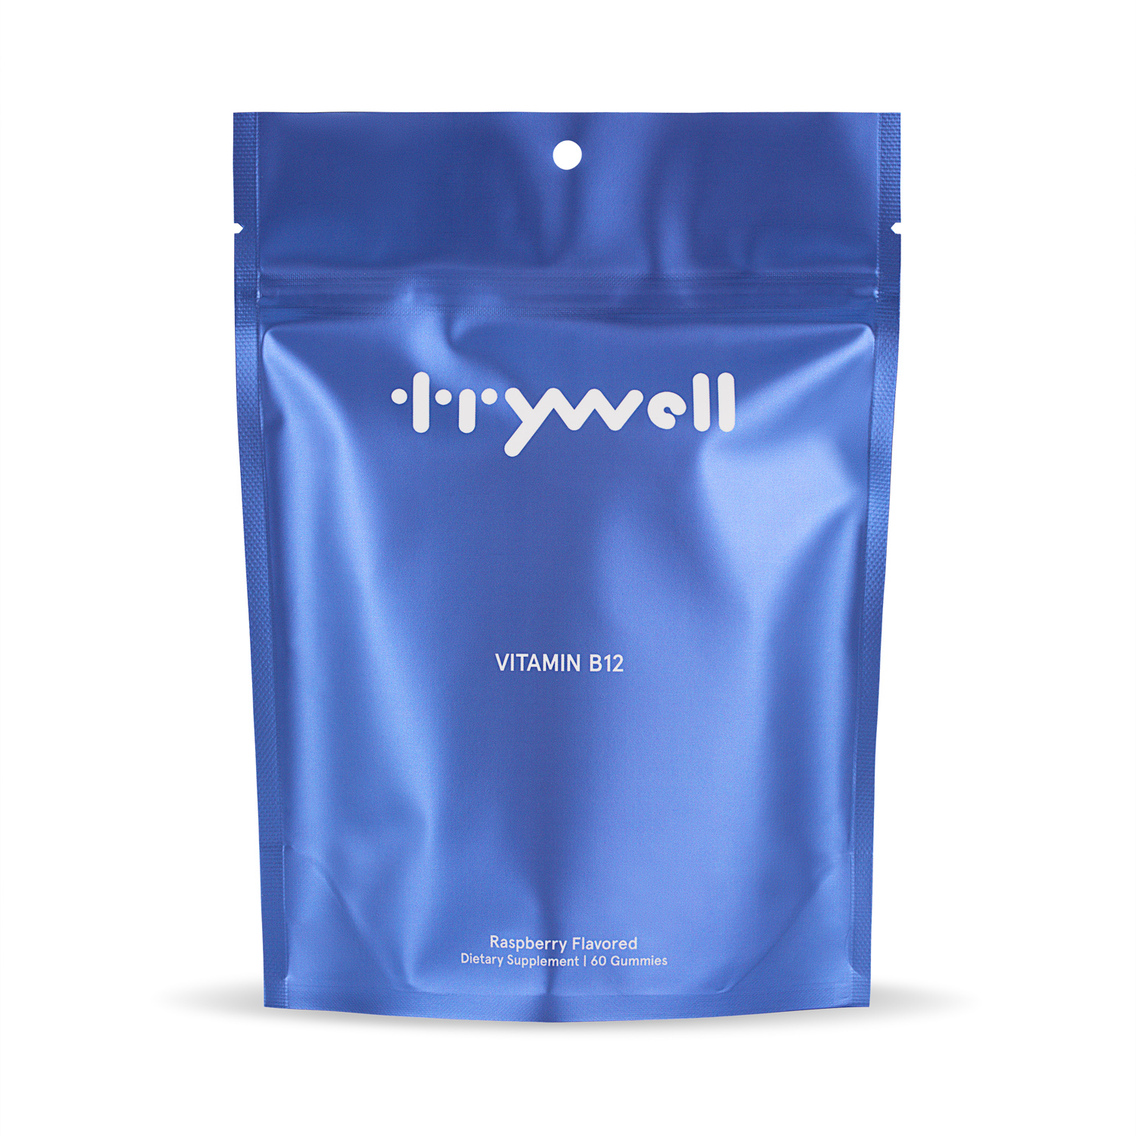
Lightboxes are the easiest tools to understand. They surround the product with diffused light, giving you a “shadowless” effect that produces clean, predictable images. For matte objects, basic packaging, or very fast e-commerce workflows, this is useful. You drop the product inside, position it, and the lighting is already done.
But the evenness of a lightbox is also the reason it’s limiting. When light hits the product from all sides, shadows disappear almost entirely. And without shadows, you lose depth. The product looks bright but strangely flat; glossy surfaces lose their definition; metals look washed out; textures feel less tactile. Lightboxes simply don’t give you the ability to sculpt highlights or create character. They prioritize speed over nuance.
Different brands make them from Godox, Neewer, Amazon Basics, and Foldio, and they all follow the same logic. They’re great for consistency and terrible for storytelling or premium aesthetics.
How Each Lighting Type Shapes Different Categories of Products
Different products respond to light in completely different ways. Jewelry needs highlight control more than brightness. Textiles depend on shadow depth to show texture. Cosmetics demand clean, curved reflections that look professional. The same light can make one product beautiful and destroy another.
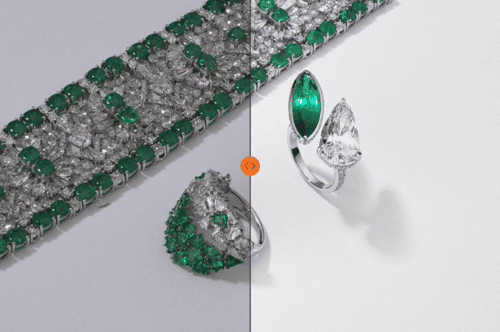
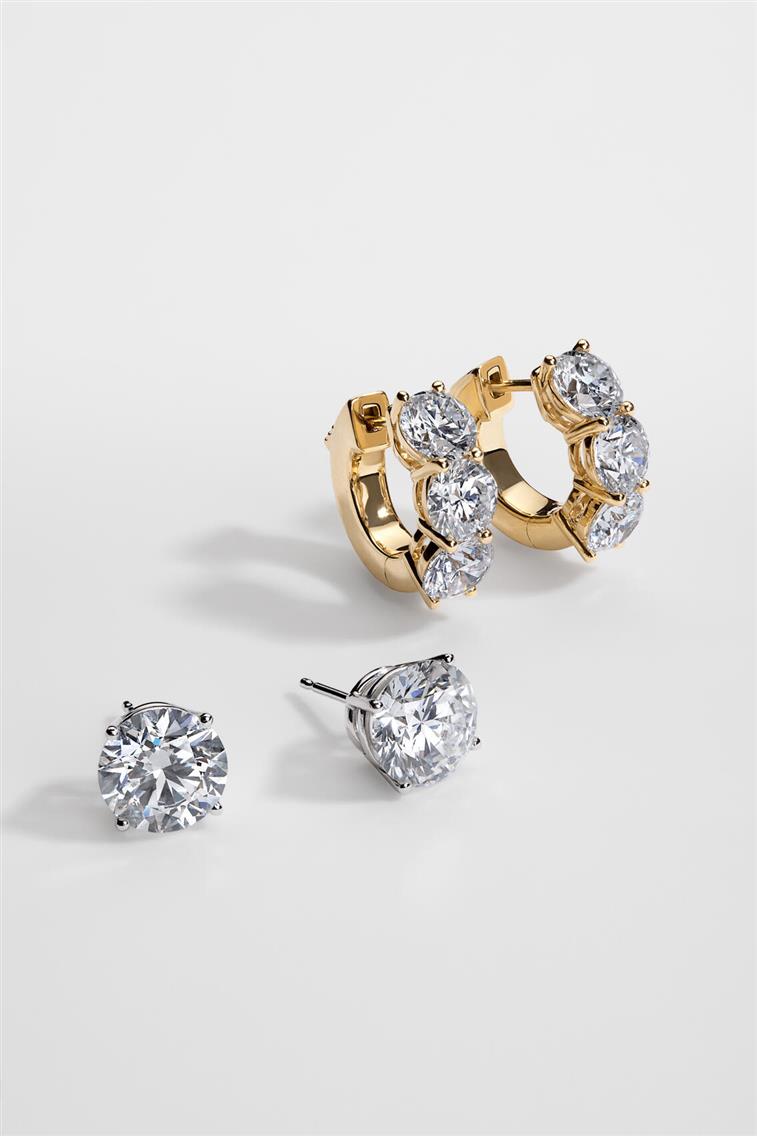
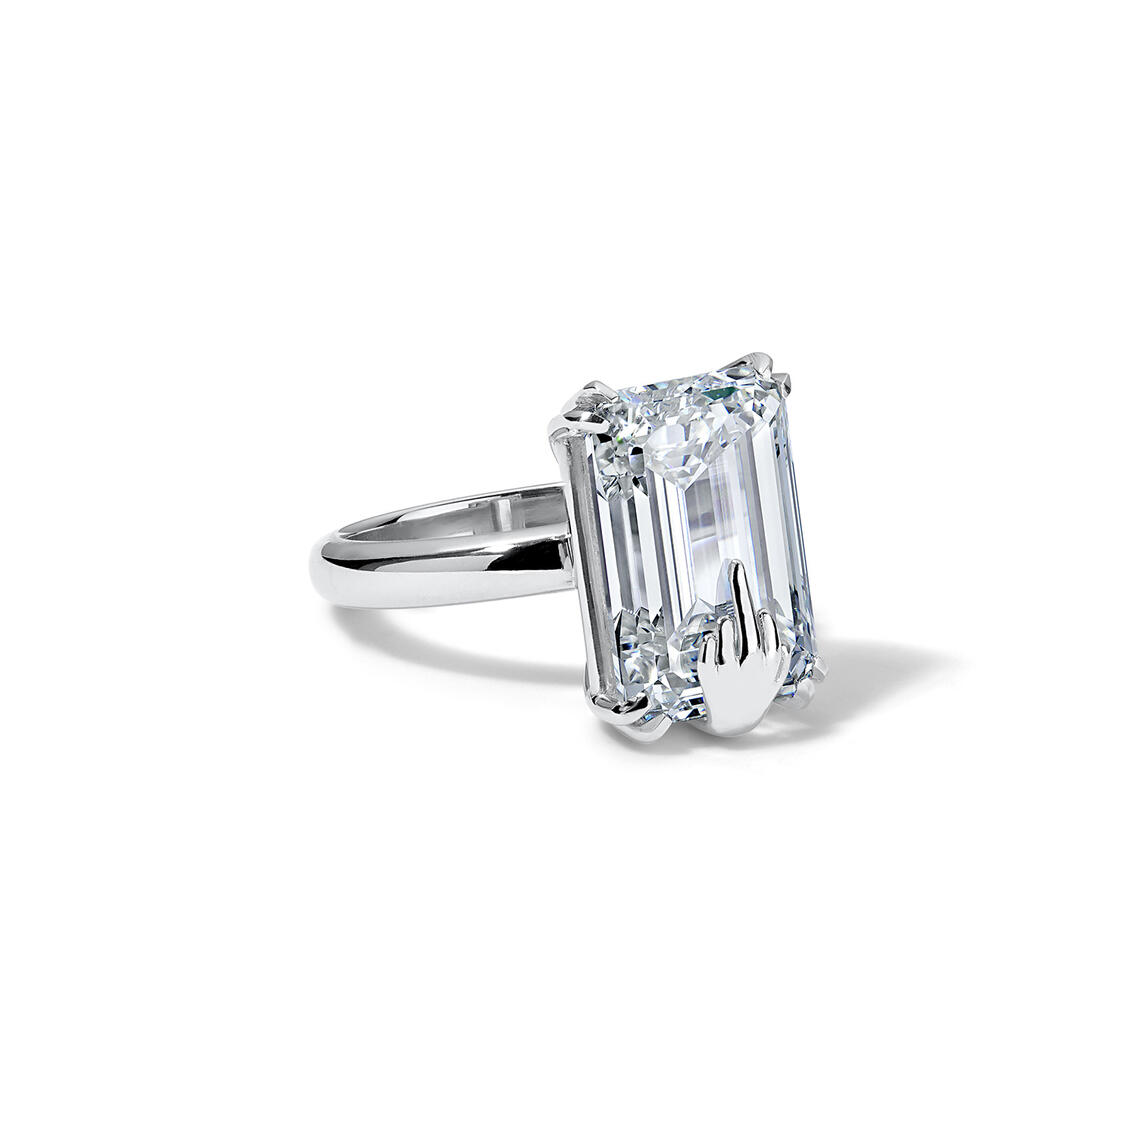
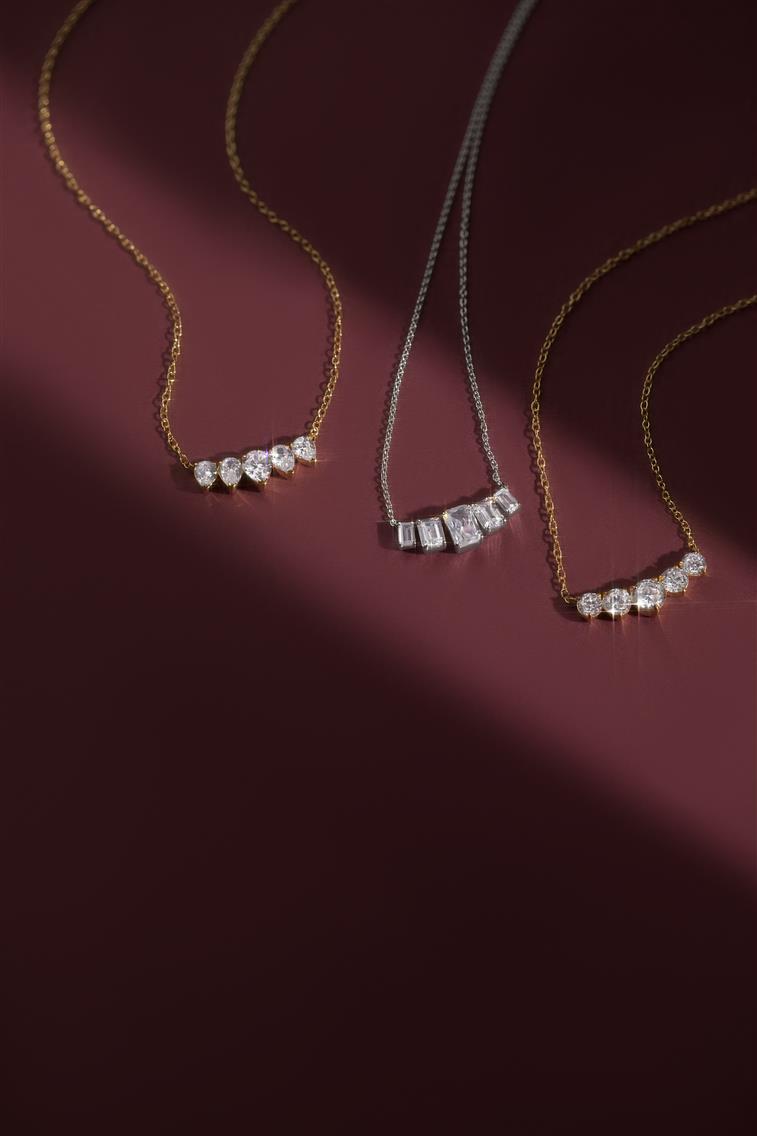
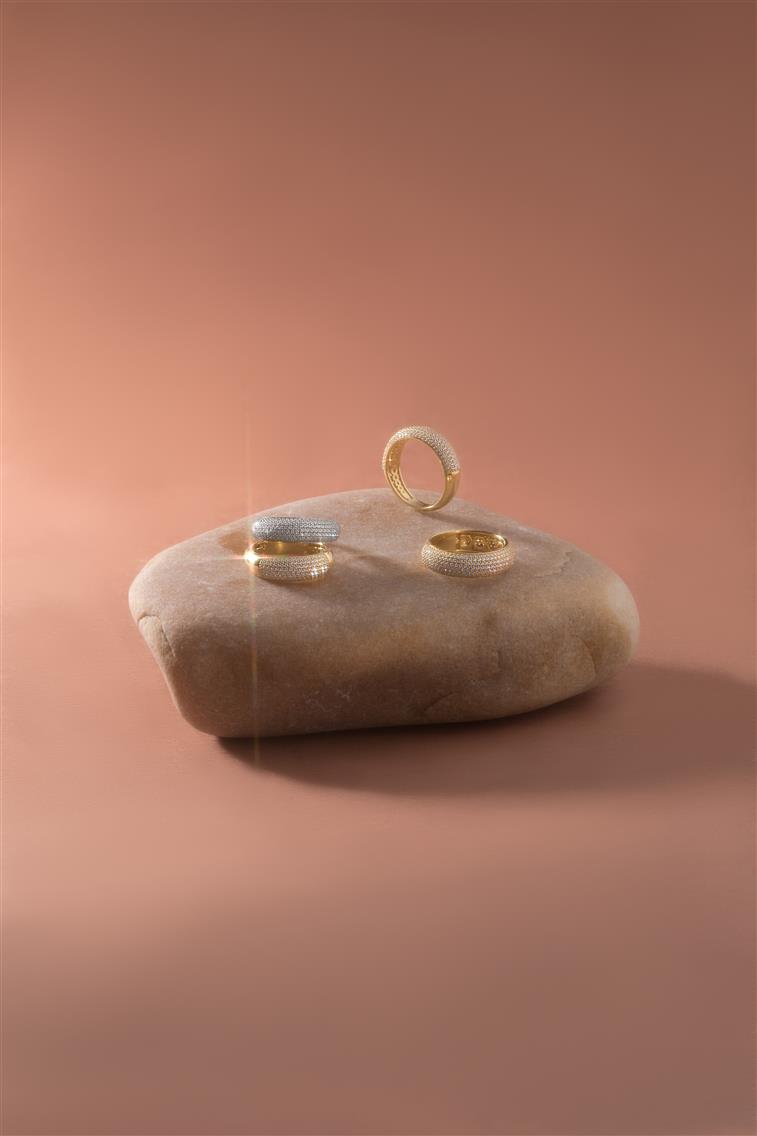
Jewelry and Reflective Materials
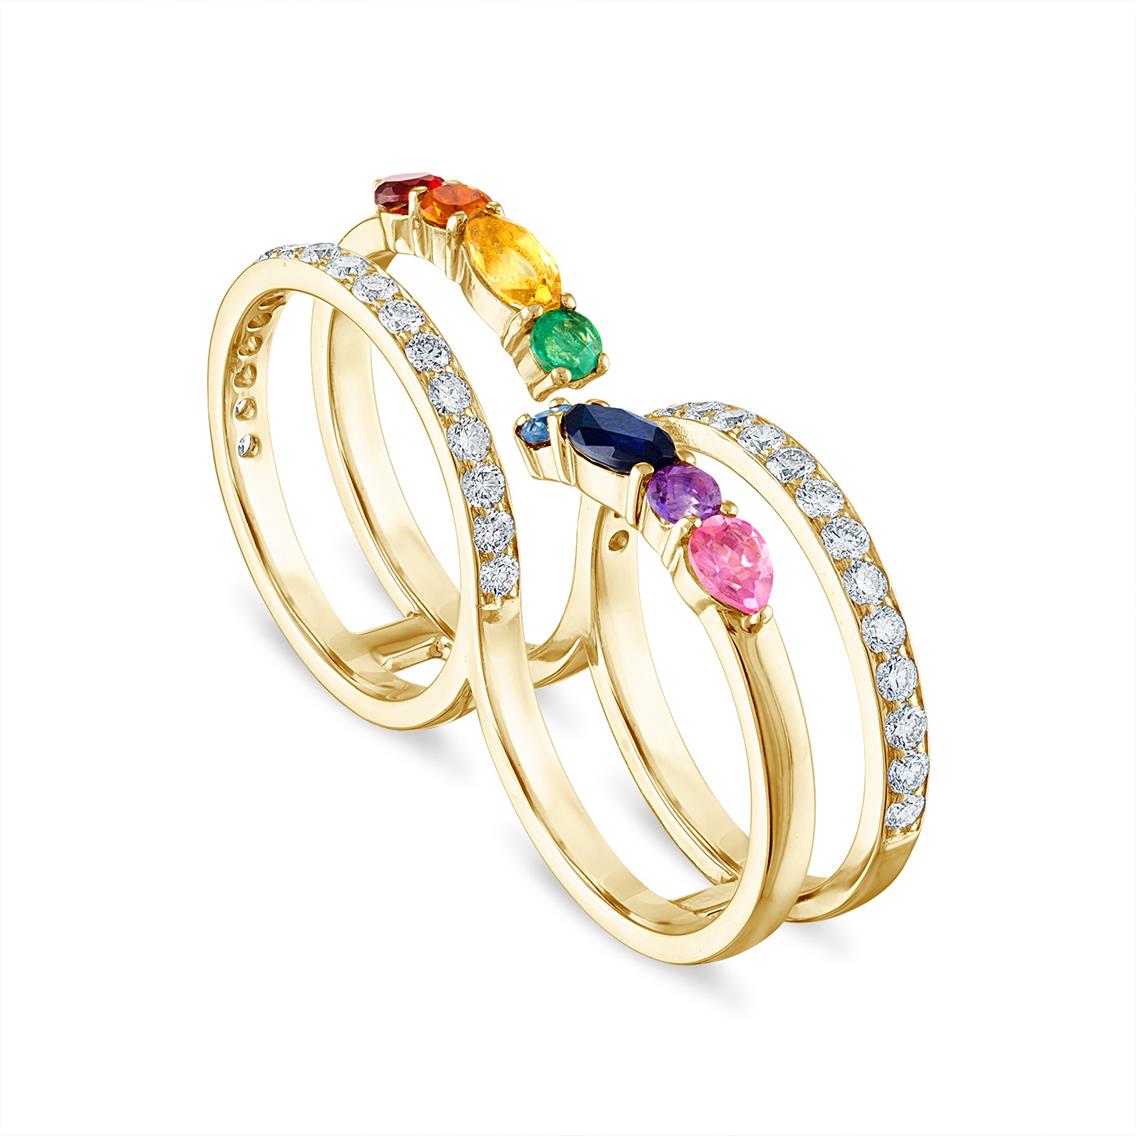
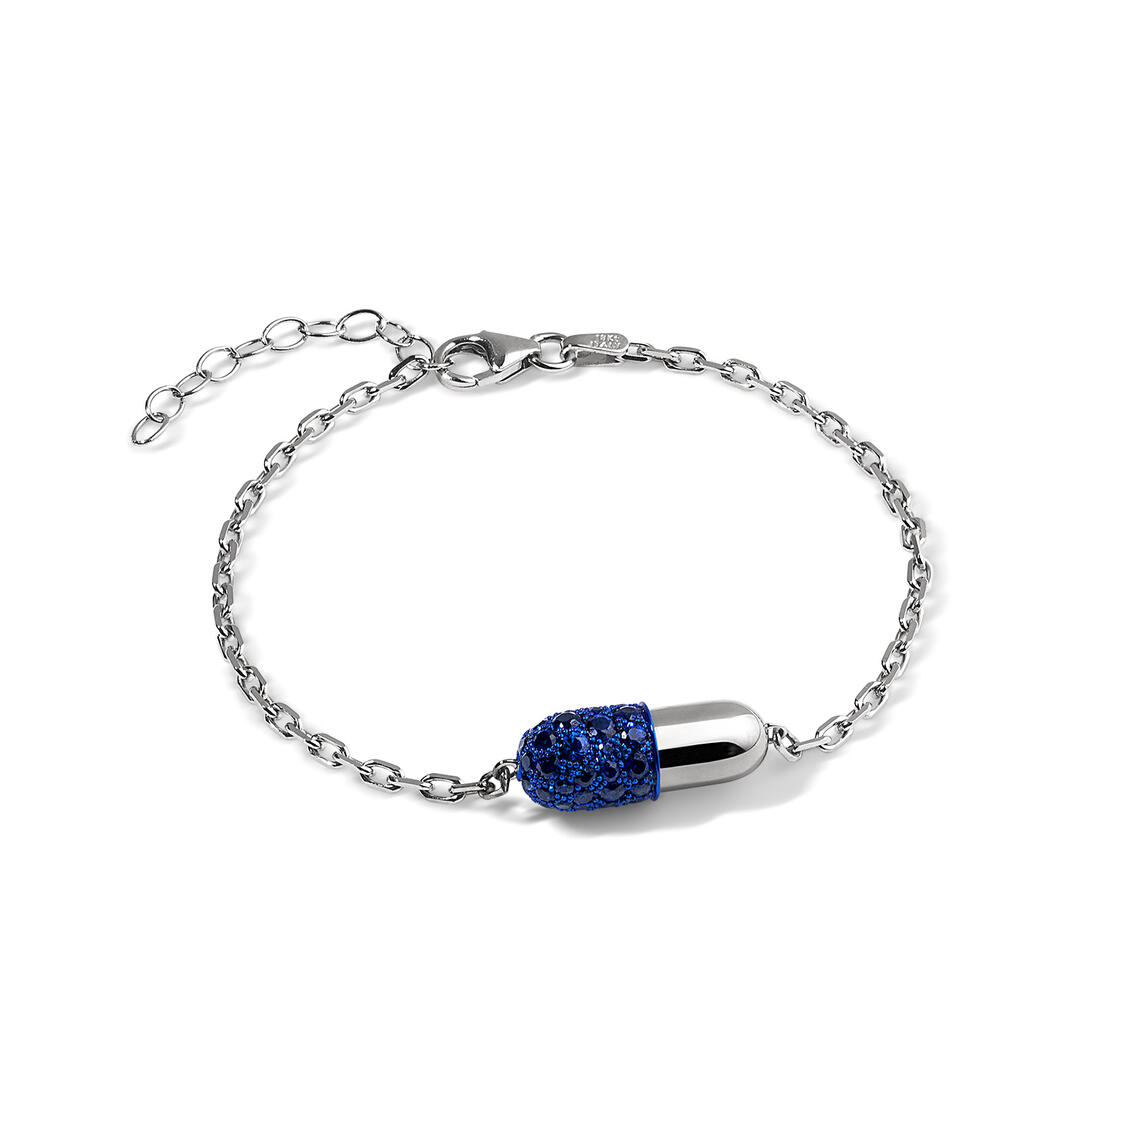
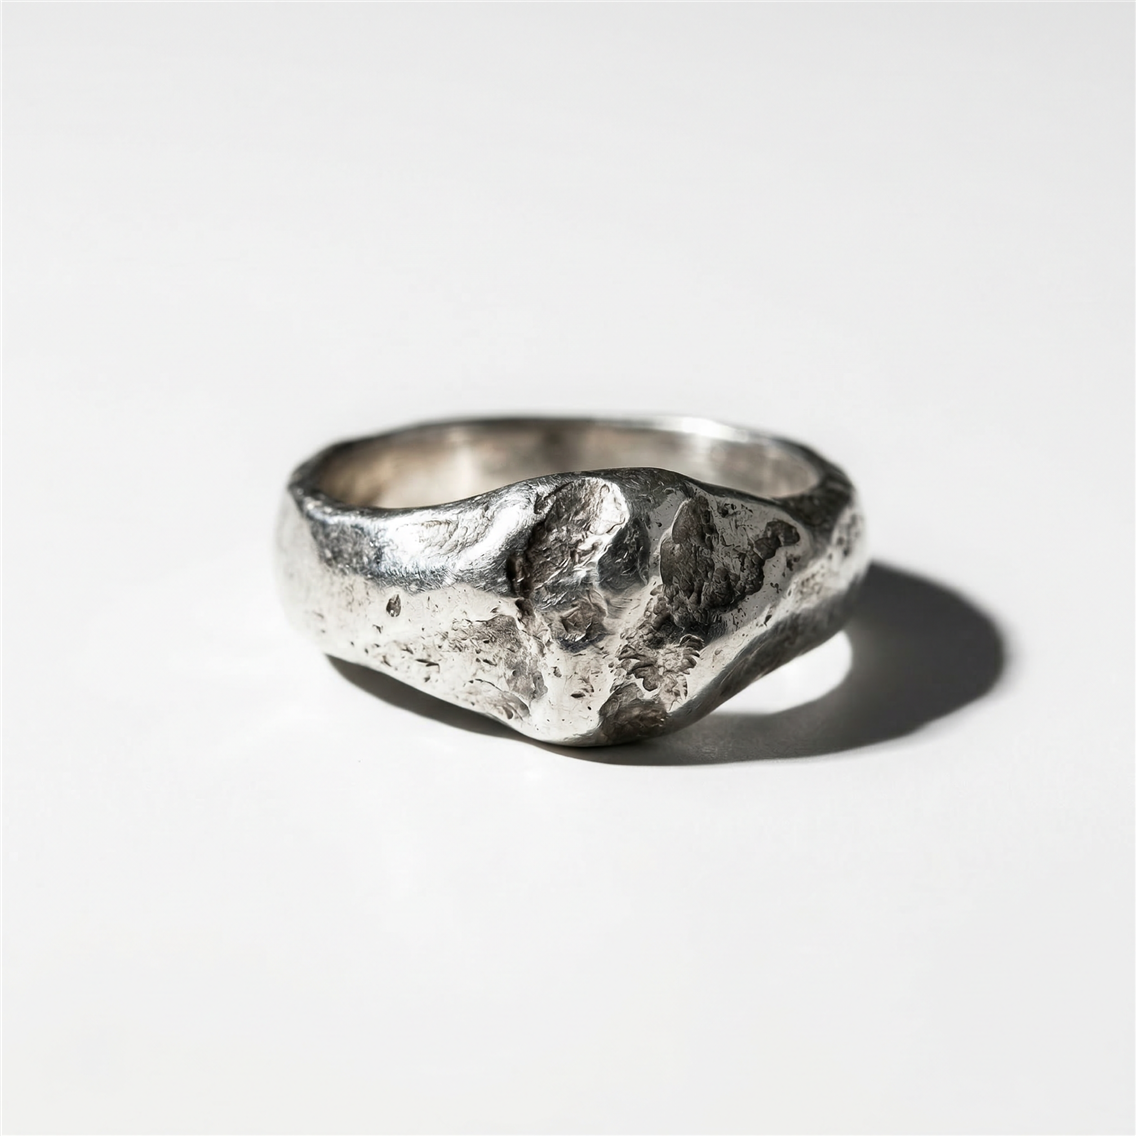
Jewelry is essentially a mirror wearing an expensive outfit. Every surface, every facet, every edge reflects your entire studio back at you. That’s why continuous lighting often becomes the default here: you can see the chaos before you press the shutter. You can rotate a ring or move a softbox and instantly watch how the highlight stretches across the metal.
Precise highlight placement is everything. A highlight that’s one inch too wide can make gold look cheap. A dark gap on a diamond can kill its brilliance. This is where small lamps and controlled sources become invaluable. You use continuous lights or strobes for the overall structure, then lamps to refine micro reflections, the tiny accents that make a jewelry piece look three-dimensional and expensive.
Managing specular reflections is a constant negotiation. Too much diffusion and you lose sparkle. Too much hard light and the reflections turn chaotic. Jewelry photographers often end up with three to five sources, all with very controlled modifiers, building contrast slowly rather than blasting the object with a single big light. This layered approach lets you draw shadows intentionally, add depth under the piece, or sculpt the metal so it feels heavy and luxurious instead of flat.

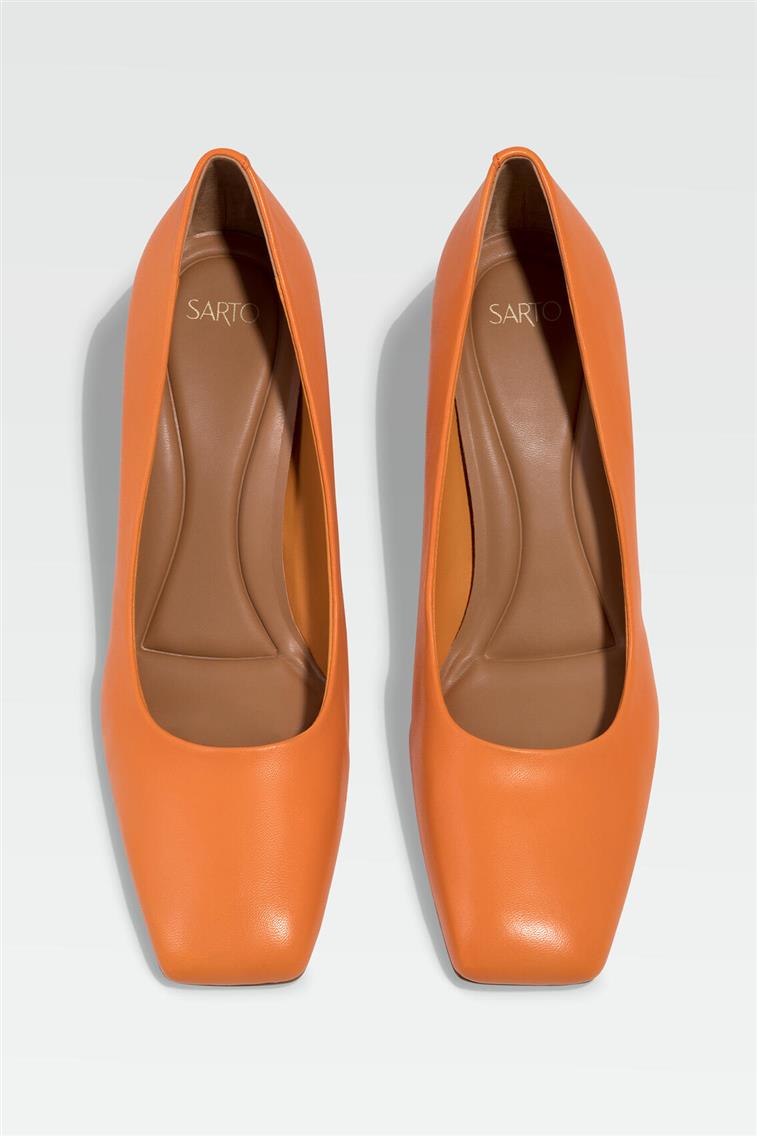
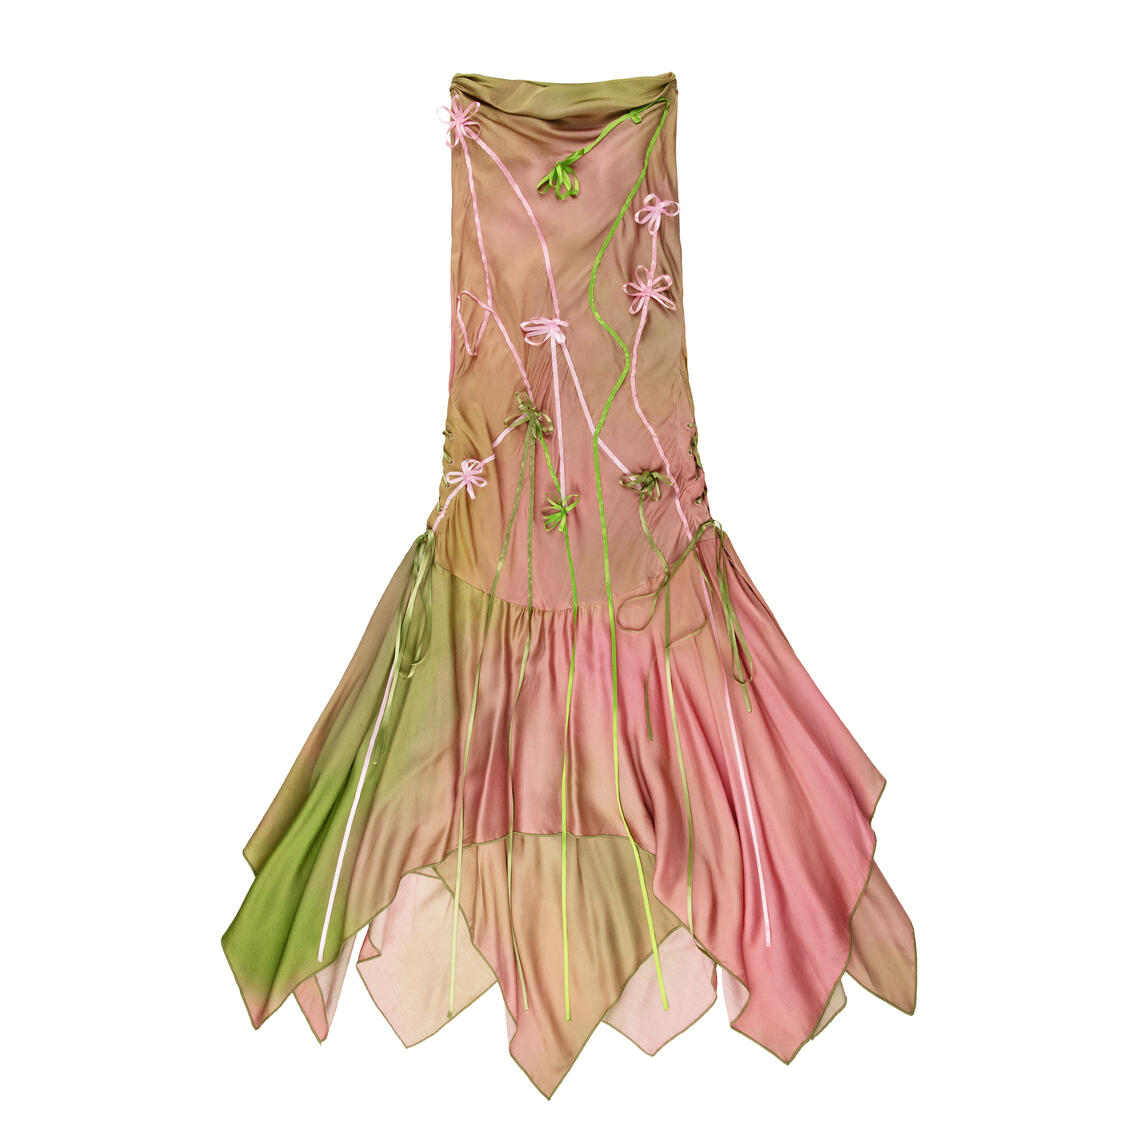
Textiles, Apparel, and Soft Goods
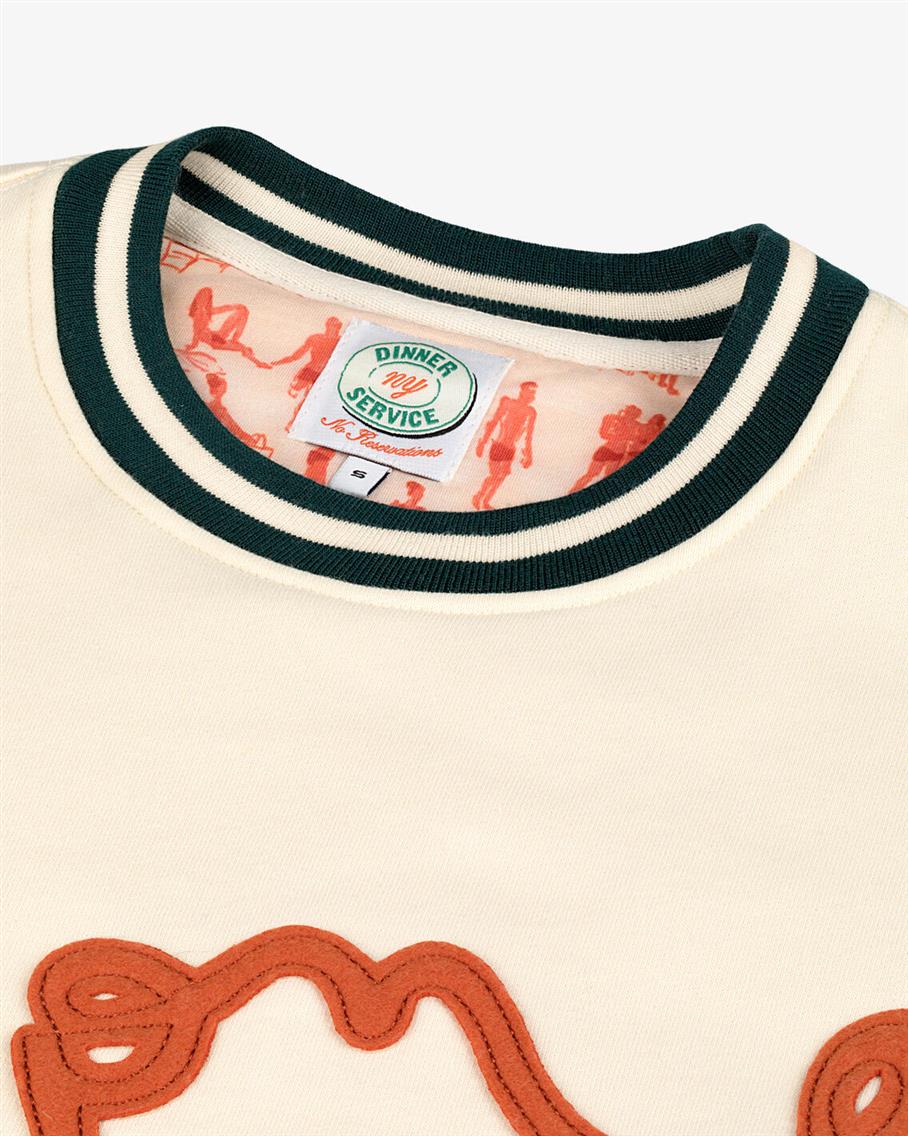
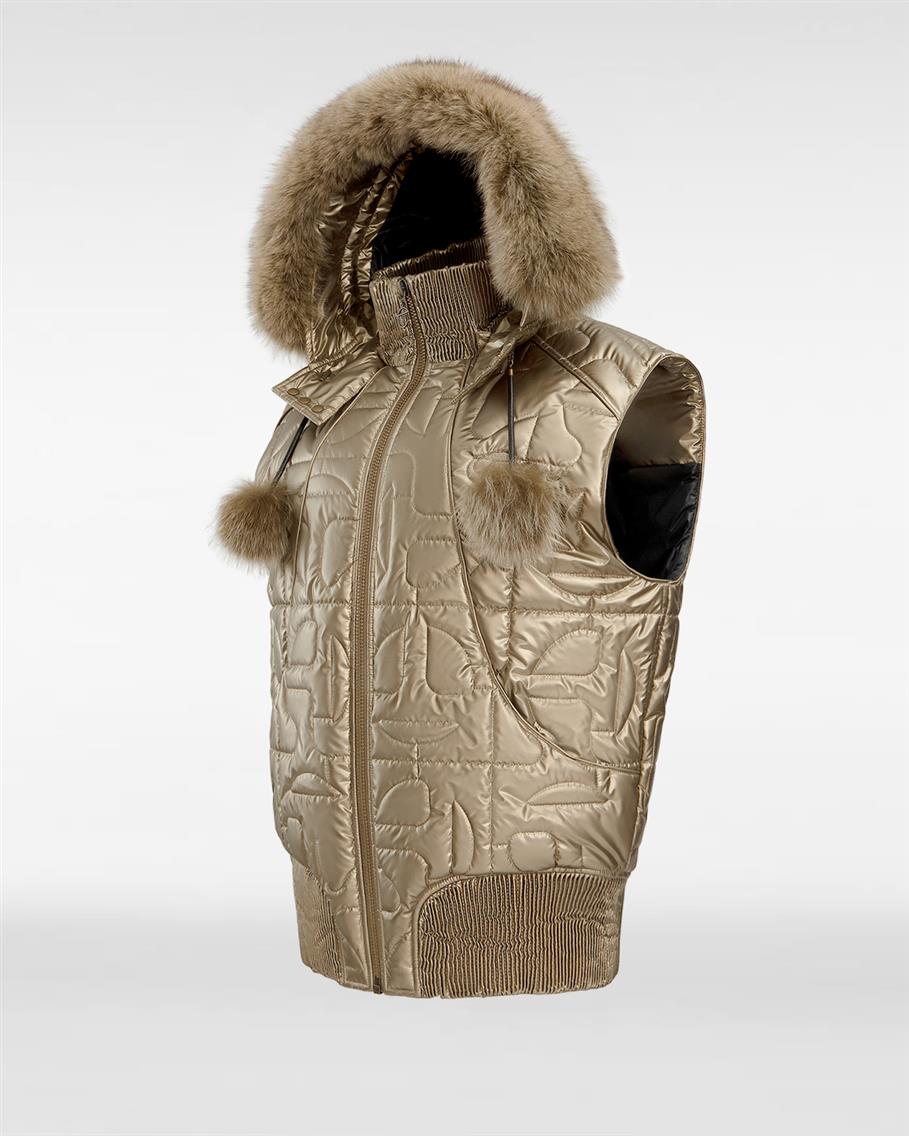
Textiles behave the opposite way. They don’t reflect; they absorb and scatter light. Their entire personality comes from shadow depth and texture visibility. A cotton t-shirt needs soft light to feel natural. A knitted sweater needs side lighting to reveal the pattern. A leather bag needs directional highlights to show tension in the material.
Continuous lighting works beautifully when you want to see those subtle transitions in real time, but strobes often give better crispness and color accuracy for fabrics. Apparel studios that shoot high volumes almost always lean on strobes because they provide consistent color and enough power to shoot at higher apertures, which is helpful when you need the entire product in focus.
The tricky part with textiles is softness versus definition. If the light is too soft, everything becomes flat. If it's too directional, shadows can look harsh or dirty. The solution is usually a mix of broad sources with controlled falloff: softboxes, diffusion sheets, or large umbrellas paired with flags and negative fill. This allows you to show the material without overwhelming it.
Color accuracy is also critical. Fabric brands often compare images to physical samples. If your lighting shifts hue slightly, the product listing becomes misleading. This is one more reason strobes dominate apparel studios: they simply hold color better across long shooting days.
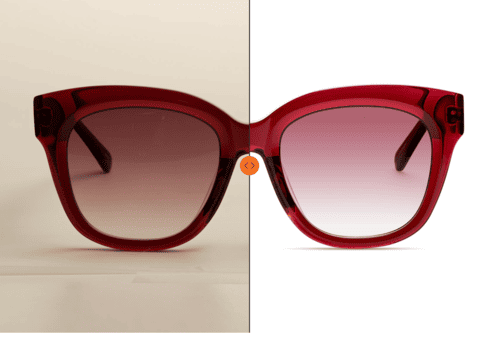
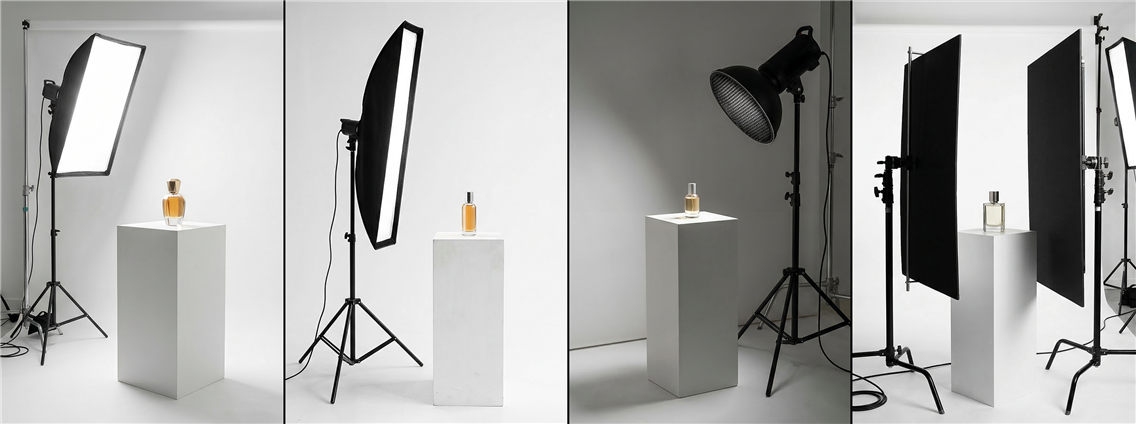
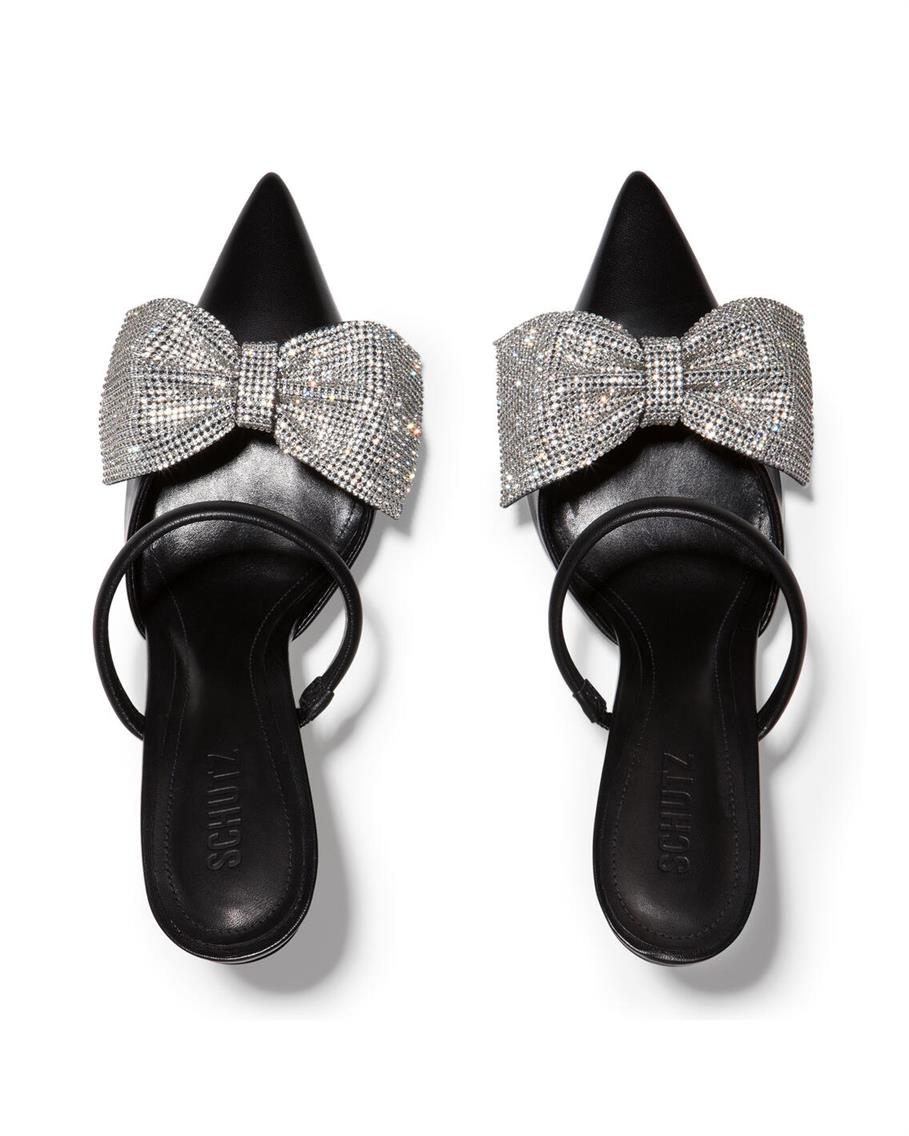
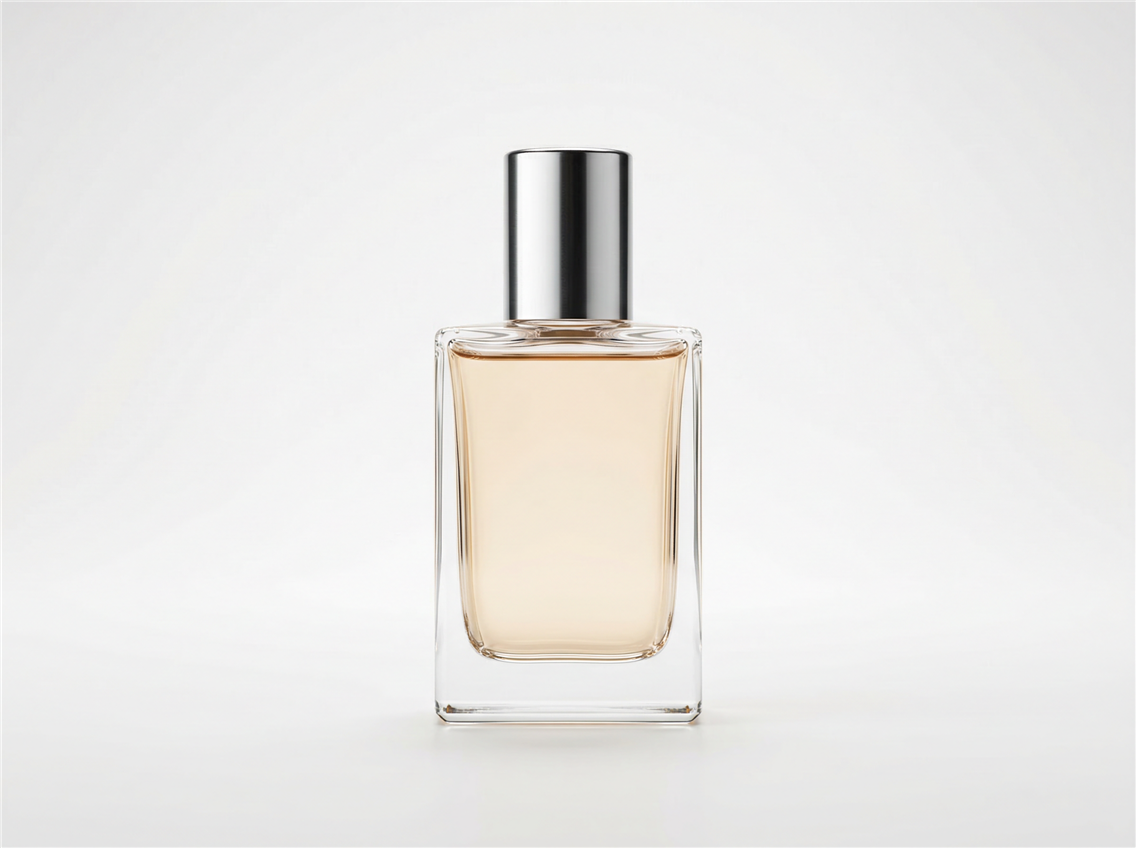
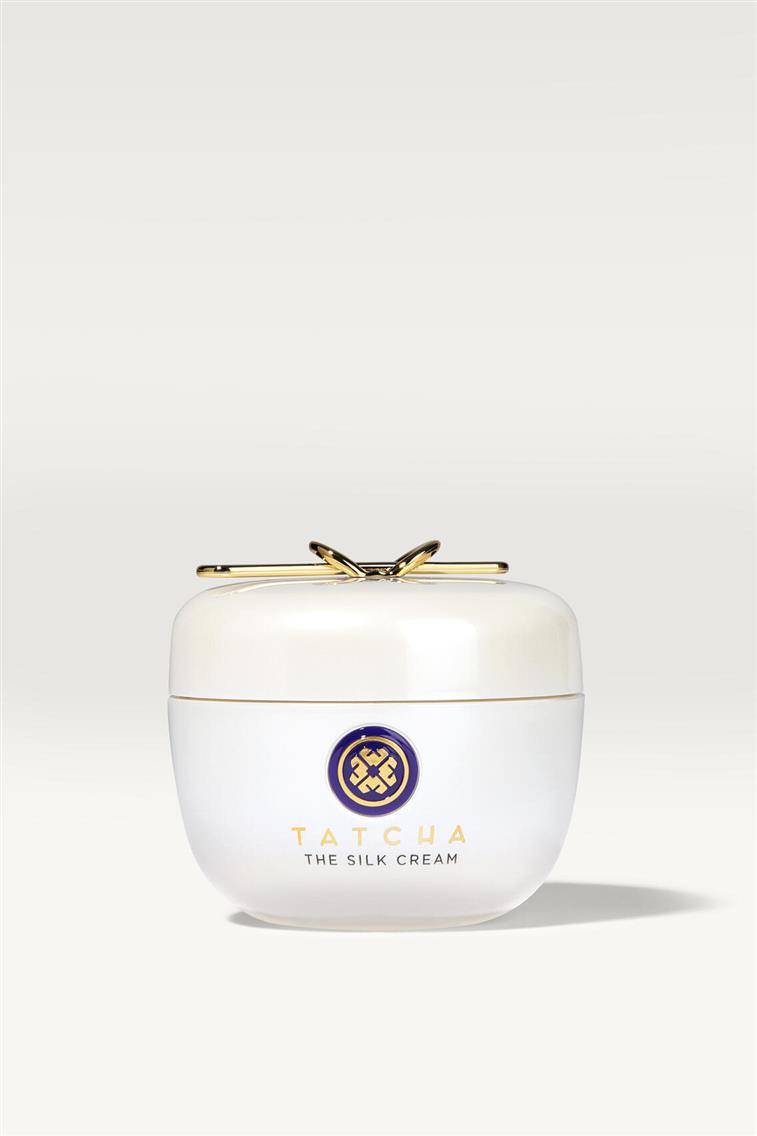
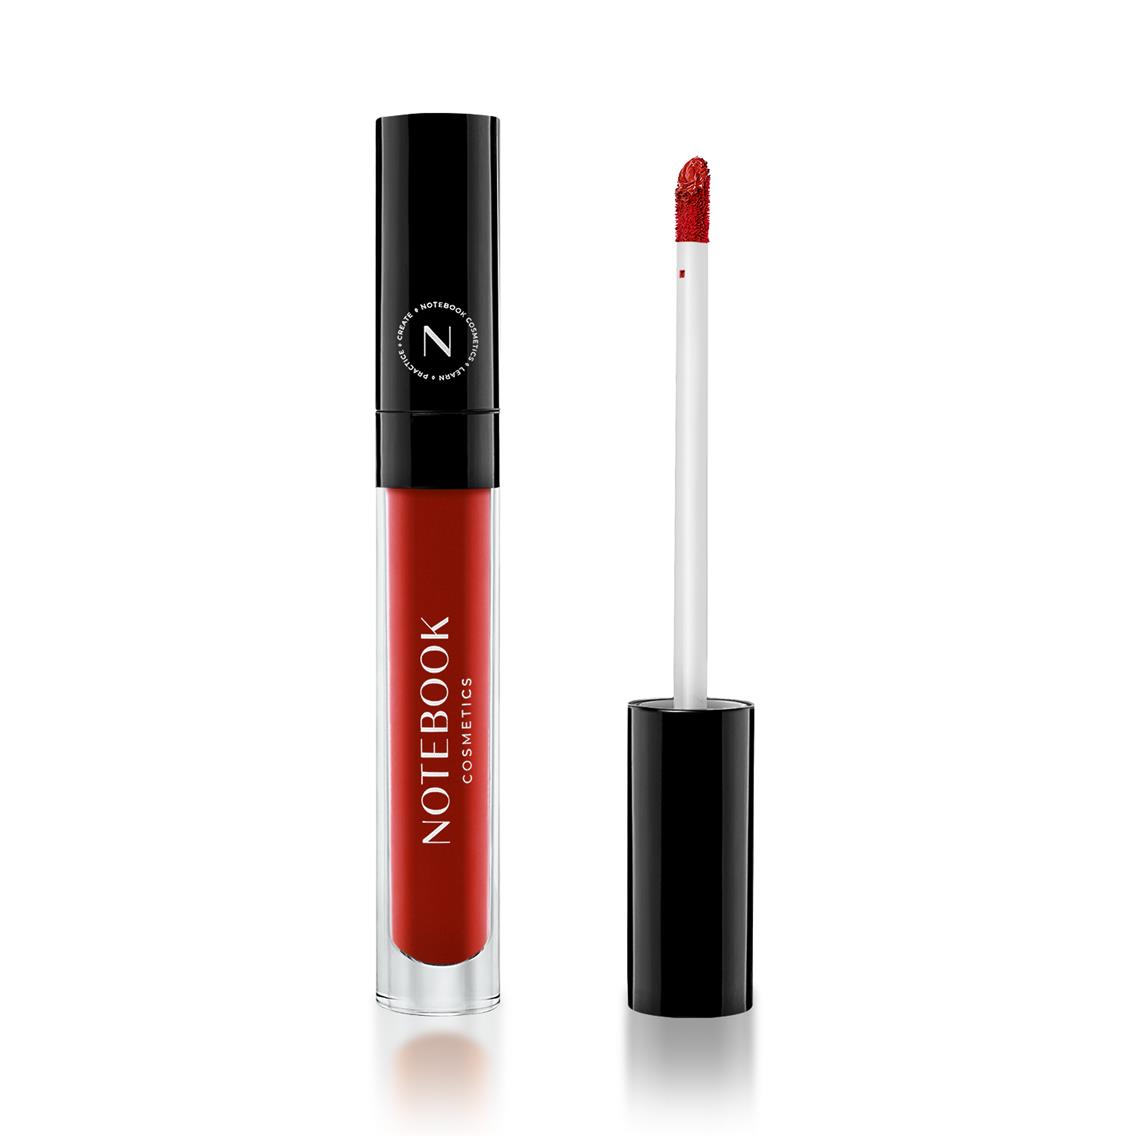
Cosmetics, Beauty Products, and Skincare
A cream jar, a serum bottle, or a lipstick needs clean, curved reflections that follow the product’s shape. If the reflection is too wide or too bright, the packaging looks cheap. If it’s too soft, the material loses its premium feel.
Glossy packaging exaggerates every mistake. Fingerprints, uneven highlights, dirty gradients, the camera sees everything. Continuous light is helpful here because you can sculpt the reflection slowly, but strobes often give that crisp highlight separation that cosmetics love.
Lamps become essential when you need micro-control. They let you draw a thin highlight along an embossed logo, lift the shadow under a cap, or create a subtle glow behind a translucent bottle. Flags help control these effects without flooding the entire scene. This is where product photography turns into lighting design: you’re not just illuminating the product; you’re shaping the perception of luxury.
Cosmetic brands expect consistent lighting across entire product lines. This is where a hybrid setup, like strobes for the main structure, continuous or small lamps for finishing, often works best. It gives you both consistency and nuance.
Building a Professional Photography Workflow With the Different Light Tools
A polished product image doesn’t come from choosing one perfect light. It comes from building a workflow where each tool plays a specific role. Photographers who work efficiently in the studio don’t think in terms of “continuous vs strobe vs lamp.” They think in terms of structure, refinement, and final shaping. The lighting tools simply become extensions of those stages.
Deciding on the Purpose of the Shot Before Choosing the Light
The first step is understanding what the image needs to communicate. A hero shot calls for sculpted highlights and distinctive shadows. A high-volume catalog shot needs consistency and speed. A social-first image might lean toward softer, lifestyle-oriented lighting.
Once you know the purpose, the lighting choices almost decide themselves. If you need elegance and dimensionality, strobes or structured continuous panels make sense. For reflective products that require careful highlight placement, continuous light gives you better real-time control. For high-depth-of-field macro work, strobes simply outperform continuous setups.
The mistake many photographers make is starting with equipment instead of intention. Lighting becomes intuitive when the shot dictates the tool, not the other way around.
How to Combine Continuous, Strobe, and Lamps Without Losing Control
When you start mixing light sources, the entire workflow becomes much easier once you stop thinking in terms of “this is a strobe, this is an LED” and start thinking in terms of roles. In product photography, every source of light has a job, and most of the time these jobs fall into two big categories: the key light and the fill light. Everything else is refinement.
| The key light is your main sculptor. It defines the contrast, the direction, the shape of the product, its shadows, and the feeling of volume. This is usually where strobes shine, as they give you powerful, clean, consistent illumination that holds up even when you need f/16 or a macro stack. A well-placed key light is what makes a product feel dimensional and intentional. It’s the backbone that tells the viewer: this is where the form lives. | 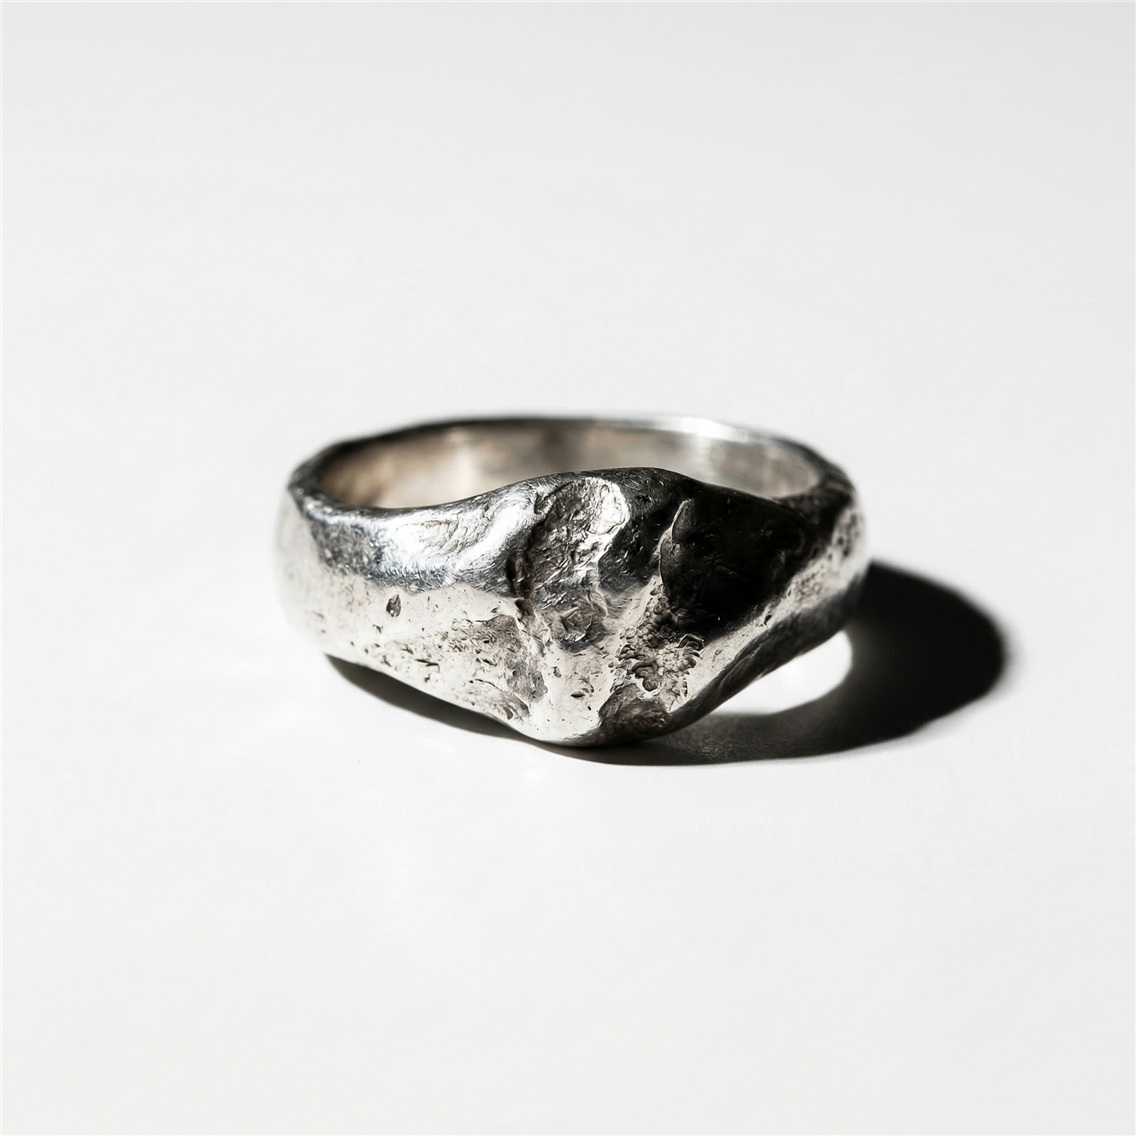 |
 | The fill light is a different story. It lifts the shadows just enough so the image keeps detail without flattening it. Continuous panels work beautifully as fill because you can dial them in visually until the contrast feels balanced. You’re not fighting the shadows; you’re taming them. Sometimes the best fill isn’t a light at all, but a white card or subtle bounce. The goal of fill is always the same: maintain detail without stealing the purpose of the key light. |
| Then you have lamps, the small, precise tools photographers use when the lighting is technically correct but emotionally incomplete. Lamps often function as accent lights, a separate category that doesn’t belong to key or fill. They’re the ones responsible for a clean line of reflection on a perfume cap, a controlled highlight on a metal logo, or a tight gradient running along the edge of a lipstick. Lamps help you draw. They tighten the composition and polish the shot by adding small but crucial moments of contrast. | 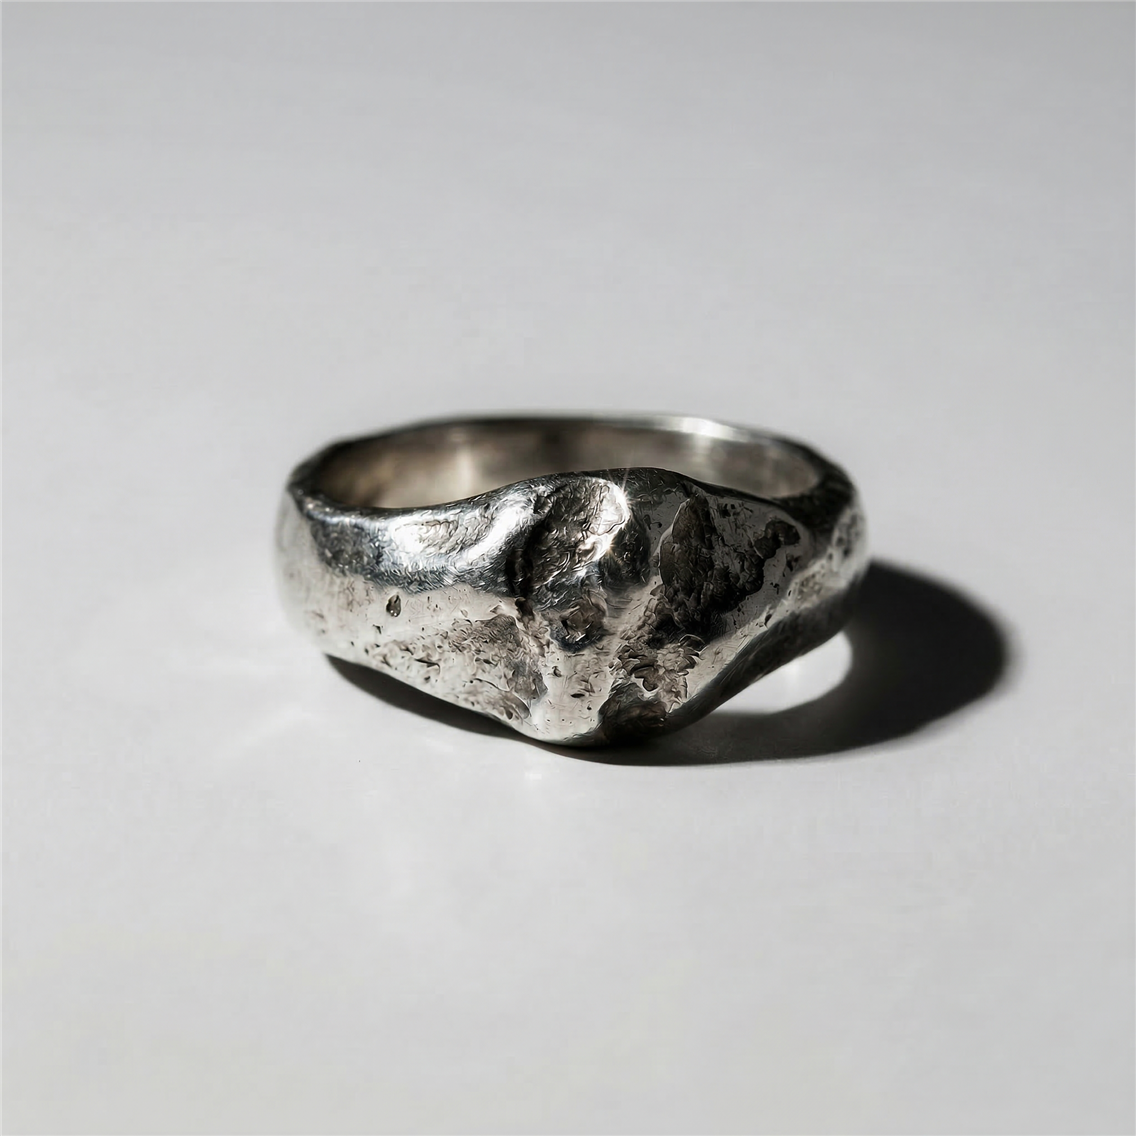 |
What breaks hybrid lighting is the confusion of roles. If two lights both try to be the key light, you get double shadows, multiple highlight angles, and a messy, uncontrolled image. If your fill is too bright, it fights the key, and the product looks flat. If a lamp is too strong, it competes with your primary highlight and pulls the eye to the wrong place.
When each source is treated as part of a hierarchy, everything falls into place. You maintain control over contrast, direction, and texture. And suddenly mixing strobes, continuous lights, and lamps doesn’t feel experimental at all. It becomes a structured, deliberate process.
Does Good Lighting Simplify Post-Production?
There’s a myth that if you light a product “perfectly,” the retoucher barely has anything to do. In reality, good lighting doesn’t eliminate retouching; it simply ensures that the retouching stays within a normal, healthy range. Perfect lighting gives you clean reflections, controlled shadows, accurate color, and well-defined texture, all of which create a strong base. But even the best-lit photograph will reveal dust particles, tiny scratches, micro-imperfections, uneven labels, and unavoidable reflections that need fine-tuning.
Product photography is brutally honest. A macro shot of a watch exposes details the human eye never sees. A glossy serum bottle will always reflect something unintended, no matter how carefully you flag your setup. And metals, even with flawless lighting, often need subtle shaping in post to achieve that elevated, premium finish. So no, great lighting doesn’t remove retouching, but it just keeps the process efficient and brings the final aesthetic closer to the client’s expectations.
For photographers outsourcing post-production, LenFlash offers affordable image editing services


