


Commercial Jewelry Photography Techniques for Product Photographers: From Rings to Watches
Looking for jewelry photography guidance for your brand? This article covers shooting techniques for photographers. For the brand owner's guide see: eCommerce Brand's Guide to Jewelry Photography
Jewelry photography is technically distinct from every other product photography category. The combination of reflective metal surfaces, translucent and transparent gemstones, intricate surface detail at macro scale, and the need for color accuracy that directly affects perceived value creates a set of technical challenges that require specific solutions.
A subtle shift in color temperature makes a diamond appear yellow. A poorly positioned light source creates a reflection that obscures an engraving entirely. A shallow depth of field at macro distance renders half the ring soft while the other half is sharp. None of these problems can be reliably fixed in post-production once the shoot is complete.
This guide covers the specific techniques, equipment choices, and lighting approaches for each major jewelry category, followed by the technical fundamentals that apply across all of them.
Part of the photographer technique guide: Product Photography Equipment: The Complete Gear Guide
Equipment for Jewelry Photography
Jewelry photography requires specific equipment choices that differ from general product photography. The combination of small scale, reflective surfaces, and the need for precise focus control makes several tools essential rather than optional.
Macro lenses are the primary optic for most jewelry categories. A 90mm to 105mm macro lens provides enough working distance to position lights effectively while maintaining the 1:1 magnification ratio needed to fill a frame with a ring or earring. Wider macro lenses reduce working distance and make lighting control more difficult.
Tripod and cable release are non-negotiable at macro distances. At 1:1 magnification, even minor camera movement between frames produces misalignment that ruins focus-stacked composites. A cable release or wireless remote trigger eliminates the vibration introduced by pressing the shutter button directly. Image stabilization must be turned off when shooting on a tripod, as the stabilization mechanism introduces micro-movement between frames.
Focus rail allows precise incremental camera movement along the shooting axis for focus stacking. Manual and automated versions are available. Automated focus rail systems programmatically capture a sequence of frames at defined intervals and trigger the shutter automatically, which is significantly more efficient than manual adjustment for large catalog volumes.
Lightbox provides controlled diffused illumination that eliminates environmental reflections and creates even light across reflective surfaces. Essential for rings, cufflinks, and any piece with highly polished metal surfaces.
Polarizing filter combined with polarized light sources allows selective control of reflections in metallic surfaces by rotating the filter. Particularly useful for watches and highly polished bangles where a lightbox alone does not eliminate all reflection problems.
Jewelry wax and positioning tools keep pieces stable and precisely positioned between frames. Rings, earrings, and cufflinks all require some form of stabilization to maintain position across a focus-stacked sequence.
For a complete guide to equipment selection across product photography categories: Product Photography Equipment: The Complete Gear Guide
Technical Foundations
These three techniques apply across all jewelry categories and determine image quality at the level that separates professional commercial work from technically competent but commercially insufficient results. Understanding them before approaching individual categories means applying them correctly from the first frame rather than diagnosing problems after the shoot.
Focus Stacking
Jewelry photography at macro distances produces an extremely shallow depth of field. At 1:1 magnification, the zone of acceptable sharpness may be less than one millimeter deep, making it impossible to capture an entire piece in a single frame at full sharpness.
Focus stacking resolves this by capturing multiple frames of the same piece, each focused on a different plane, then merging them in post-production into a single image with complete sharpness throughout. For a ring, this means separate frames for the gemstone face, the upper shank, the lower shank, and any engraving detail. For a bracelet, frames progress along the length of the piece at intervals determined by the depth of the individual design elements.
The technical requirements are precise. The camera must be mounted on a tripod with a cable release or remote trigger to eliminate movement between frames. Image stabilization must be turned off. Automated focus rail systems allow programmatic capture of focus-stacked sequences, moving the camera a defined distance between frames and triggering the shutter automatically.
In post-production, Photoshop's Auto-Blend Layers function, Helicon Focus, and Zerene Stacker are the standard tools for combining focus-stacked frames. Each handles edge transitions and depth mapping differently, and the choice between them affects how the composite handles complex reflective surfaces where focus transitions are not clean.
For retouching and compositing workflow after focus stacking: Jewelry and Watch Retouching Guide
Reflections Management
Reflections in jewelry photography fall into two categories: intended reflections that communicate material quality and surface finish, and unintended reflections that obscure detail or introduce distracting elements into the frame.
Unintended reflections come from light sources appearing directly in polished surfaces, the camera lens appearing in flat metallic surfaces shot straight-on, and surrounding studio equipment appearing in curved or convex surfaces. The standard approaches to managing these are:
- Repositioning lights: Moving the light source off the direct reflection angle removes specular hotspots without changing the overall lighting setup significantly.
- Polarizing filters: A circular polarizing filter on the lens, combined with polarized light sources, allows control of reflections in metallic surfaces by rotating the filter to reduce or eliminate specific reflections selectively.
- Flag and black card placement: Placing black cards or flags around the product eliminates reflections of the studio environment in curved and convex surfaces. For ring shanks and watch cases, a black card positioned at the reflection angle often solves the problem in a single adjustment.
- Tent diffusion: For highly polished pieces where multiple reflections from all angles are problematic, shooting inside a diffusion tent eliminates environmental reflections entirely while maintaining even illumination.
The critical principle is that reflections on glass, particularly watch faces, cannot be fixed convincingly in post-production. They must be resolved at the capture stage. Reflections on metal surfaces can be managed in post-production but require significantly more retouching time than a correctly captured image.
Color Calibration
Color accuracy in jewelry photography is not an aesthetic consideration. It is a commercial requirement. A diamond photographed under warm light appears yellow. A sapphire photographed under cool light loses saturation. A rose gold piece photographed under daylight-balanced light appears more yellow-gold than its actual warm pink tone.
The standard for color-accurate jewelry photography:
- Daylight-balanced light sources: Use light sources with a color temperature between 5500K and 6500K. This range renders most gemstone colors accurately and provides a neutral baseline for post-production color grading.
- RAW format capture: Shoot in RAW rather than JPEG. RAW files preserve the full color data captured by the sensor and allow white balance adjustment in post-production without degrading image quality.
- Color reference card: Include a color reference card such as an X-Rite ColorChecker in the first frame of each session. This provides a fixed reference for color grading and allows consistent color matching across images shot in different sessions or under different light sources.
- Custom white balance: Set a custom white balance before the session rather than relying on automatic white balance, which adjusts continuously based on the dominant color in the frame and produces inconsistent results across a sequence.
- Monitor calibration: Post-production color work on an uncalibrated monitor produces results that are accurate on that monitor but may read incorrectly on other displays. Calibrate the editing monitor regularly using a colorimeter.
For RAW processing, color grading, and final color accuracy standards in jewelry retouching: Best Practices for Retouching eCommerce Product Photos
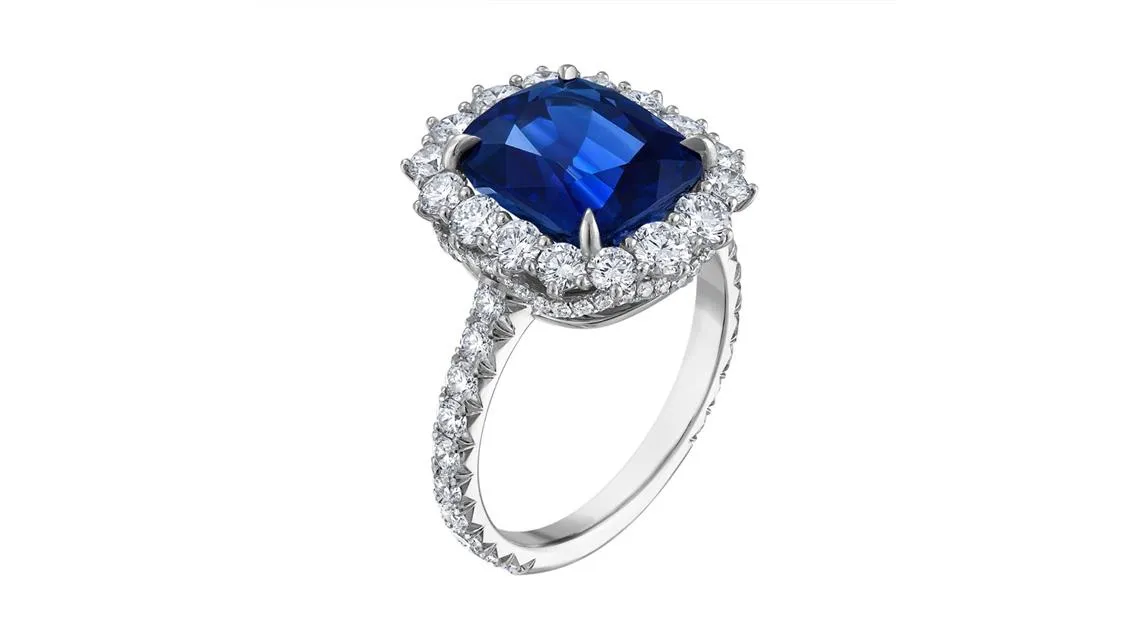
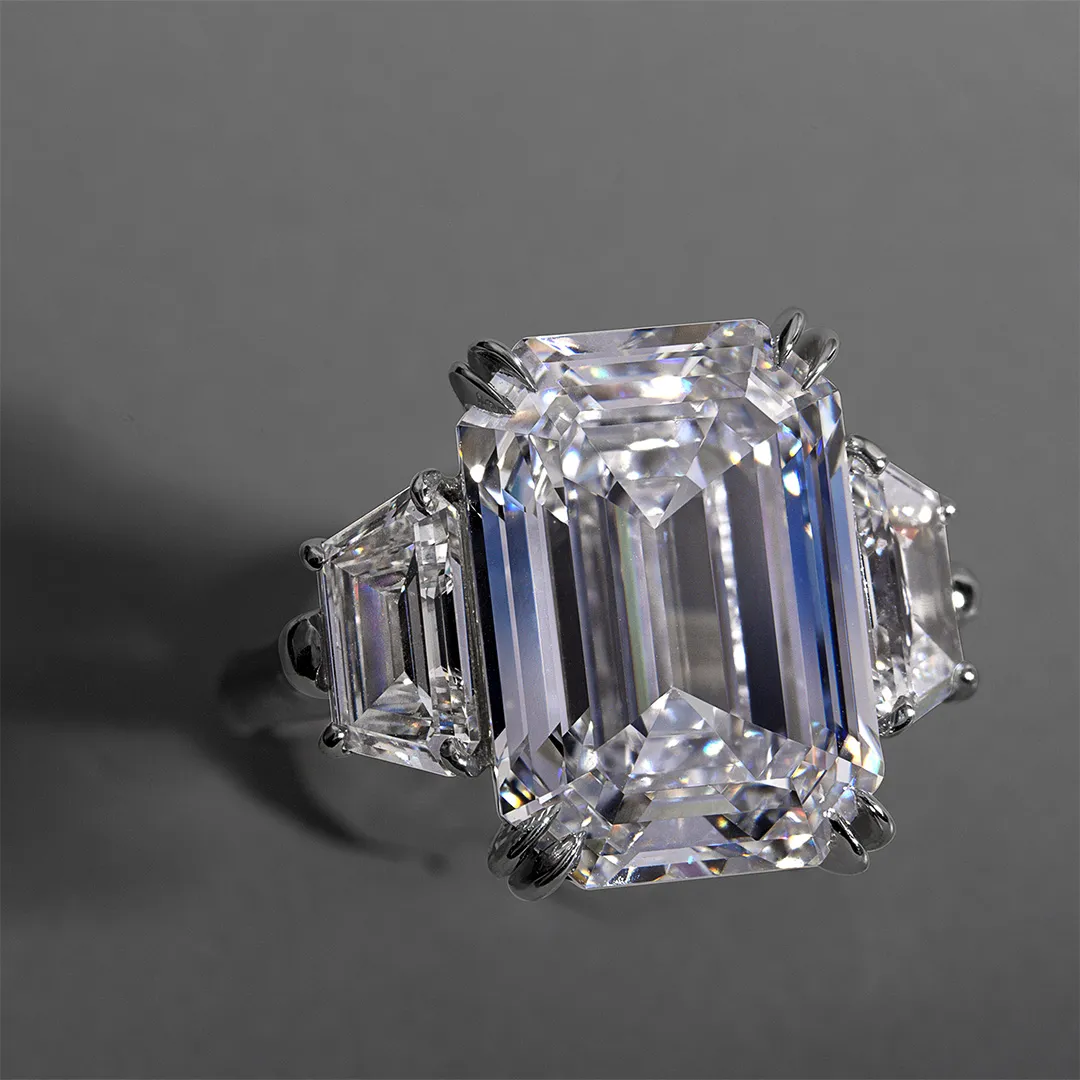
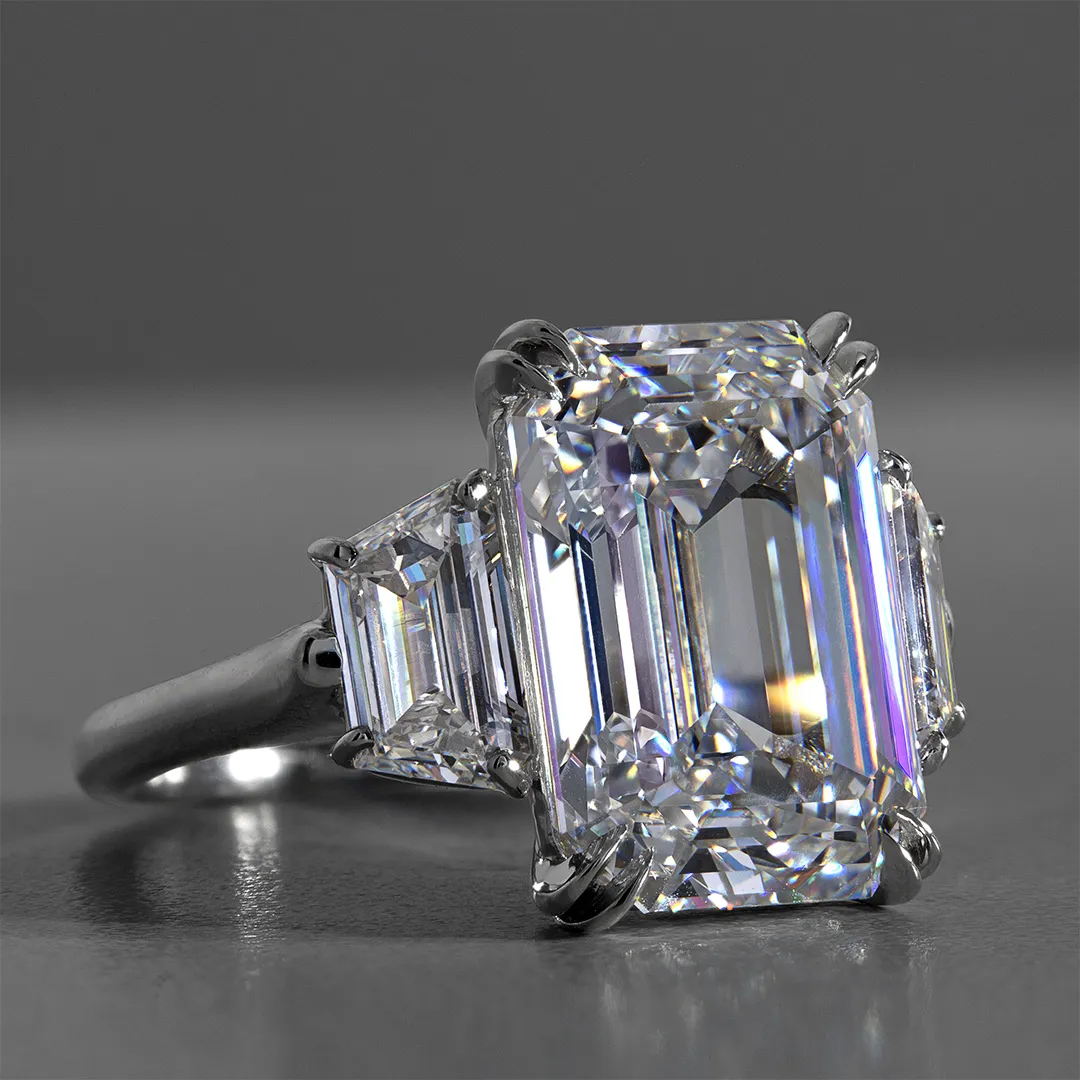
Photographing Rings
Challenges
Photographing rings requires absolute precision. Every detail, the cut of a gemstone, the polish on a shank, intricate engravings, must be rendered clearly and accurately. The challenge is managing reflective surfaces that can easily distort or obscure these details if not controlled correctly.
Achieving complete focus across an entire ring is technically demanding because macro photography produces an extremely shallow depth of field. At the distances required to fill a frame with a ring, the zone of acceptable sharpness may be only a fraction of a millimeter deep, making it impossible to capture both the gemstone and the band in a single frame at the required level of detail. Focus stacking is the standard solution.
The right angle is also critical. An improperly chosen perspective flattens the design or fails to highlight unique features such as a hidden engraving or the brilliance of a stone.
Lighting and Styling
A jewelry photography lightbox minimizes glare while maintaining the depth of gemstones and the shine of polished metals. It softens harsh reflections and ensures even, flattering illumination across the ring's surface.
Jewelry wax keeps rings securely positioned during tabletop setups, allowing subtle angle adjustments without risking movement between frames.
Highlight the ring's profile, the face of the gemstone, and the shank in a way that showcases the complete design. Experiment with slight tilts or three-quarter views to give depth while ensuring critical details remain visible and in focus. For brands and retailers with strict technical specifications, meet the required angles exactly — the shot must be both visually accurate and technically compliant.
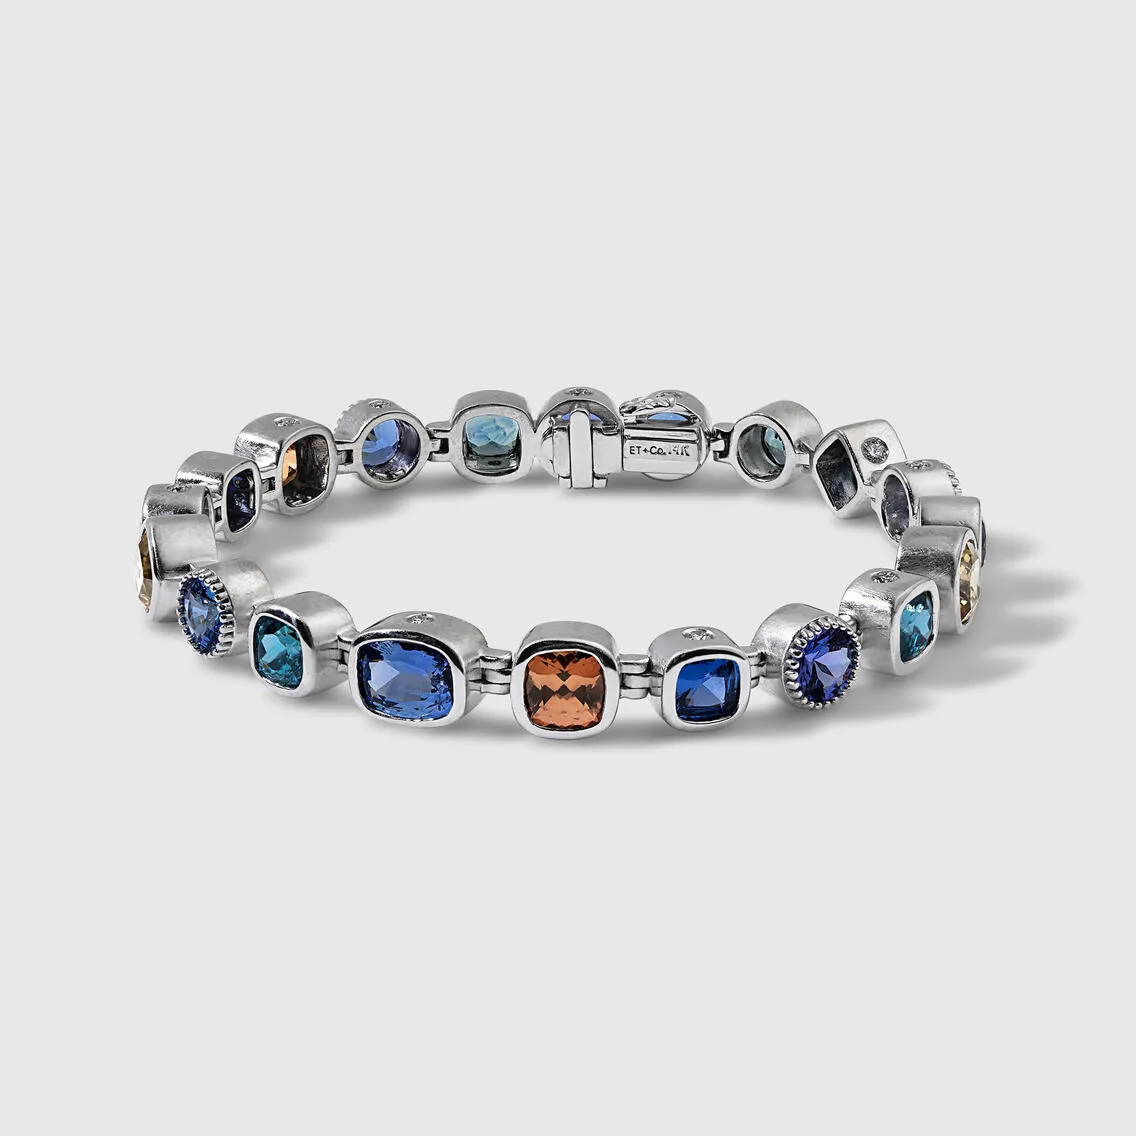
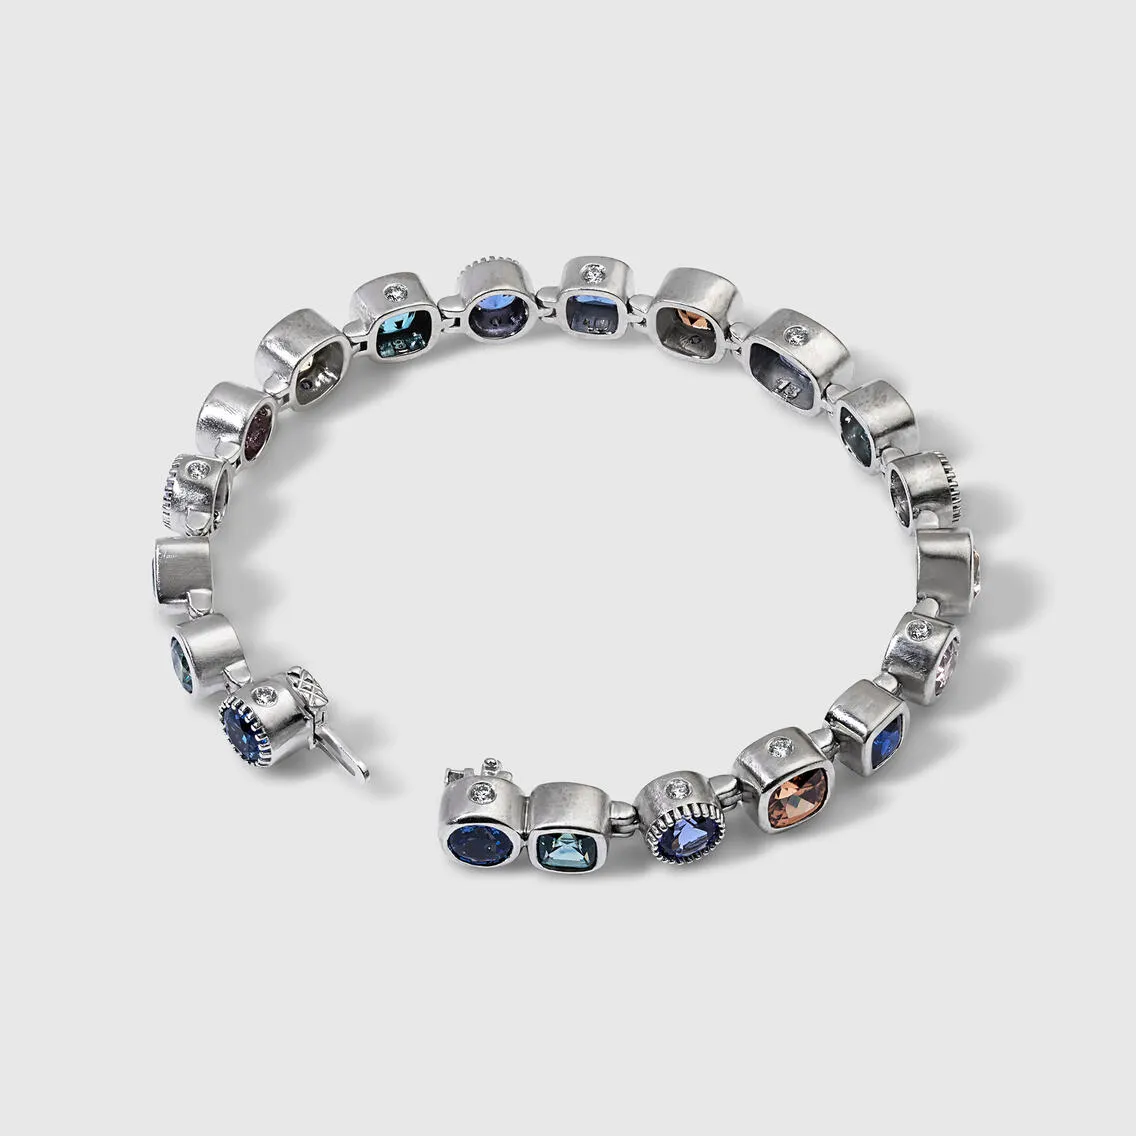
Photographing Bracelets
Challenges
Bracelets present unique challenges due to their elongated shapes and intricate designs. Capturing full length while emphasizing individual details requires careful planning. Achieving focus throughout the bracelet from the clasp to the embellishments is particularly demanding, and a single out-of-focus section compromises the final image.
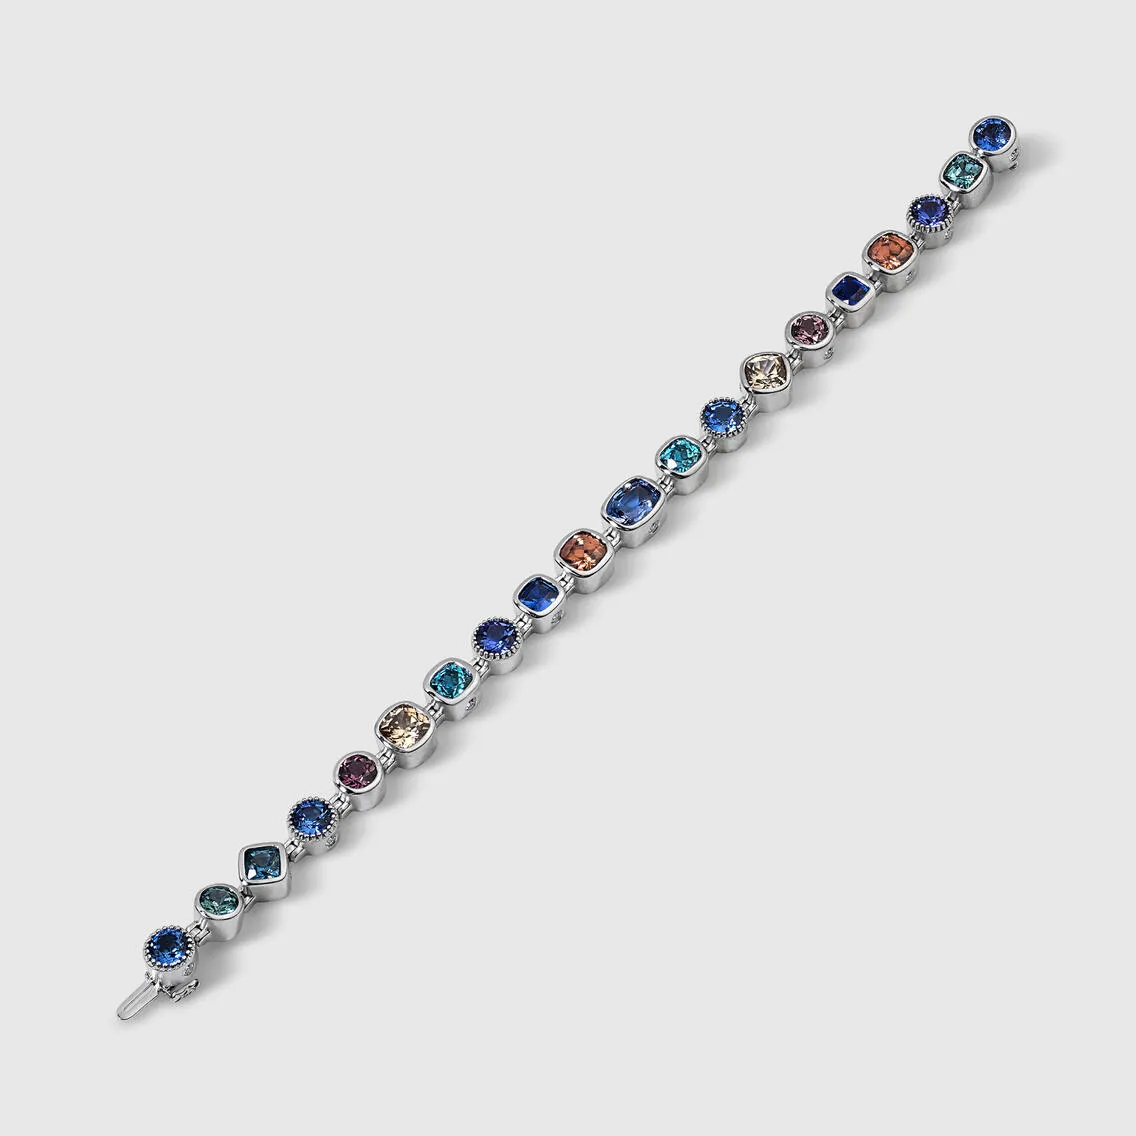
Proper alignment is critical. Whether laid flat or displayed in a natural curve, the bracelet must maintain a consistent shape that highlights its design. Distortion from poor positioning makes even a premium bracelet look unappealing. Long pieces with multiple segments or links must be styled to avoid unnatural bends or overlaps.
Lighting and Equipment
Soft, diffused lighting reduces harsh reflections on metals and gemstones while maintaining shine. A lightbox creates even, flattering illumination across the bracelet's surface.
A photography stand or clamp stabilizes the bracelet and allows natural display depending on the design, whether draped, curved, or flat. For particularly reflective pieces, a polarizing filter minimizes glare without dulling the bracelet's natural luster.
When working with gem-set bracelets, ensure lighting enhances the brilliance of each stone while maintaining accurate color representation. Avoid setups that create shadows or uneven highlights across long pieces.
Editing
Retouching focuses on correcting minor imperfections, ensuring the entire length is evenly lit and focused, and straightening any segments that could not be perfectly aligned during the shoot. Highlight adjustments balance the shine of metals and gemstones without overexposing reflective surfaces.
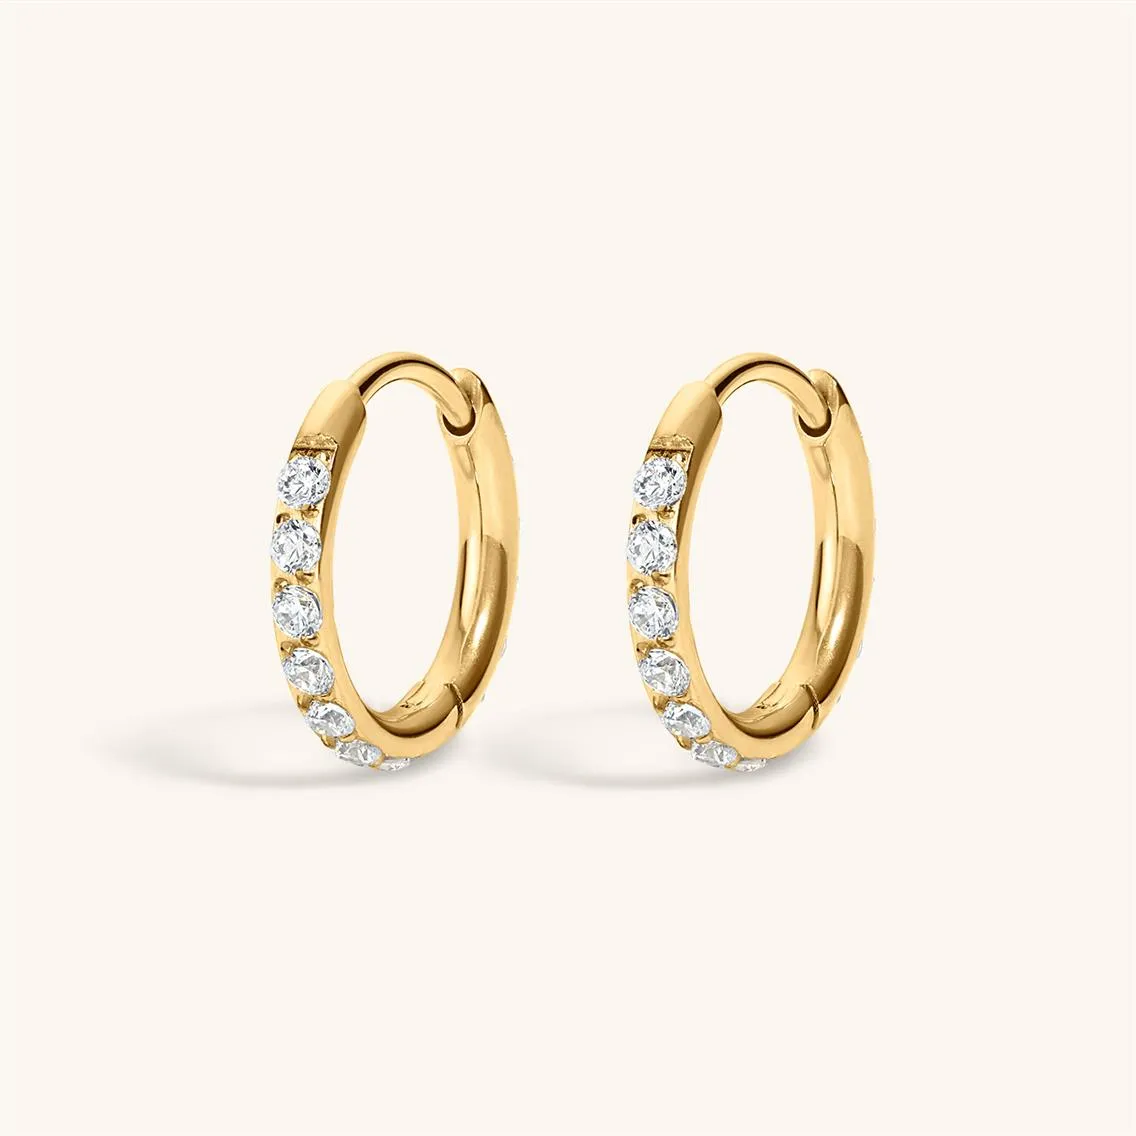
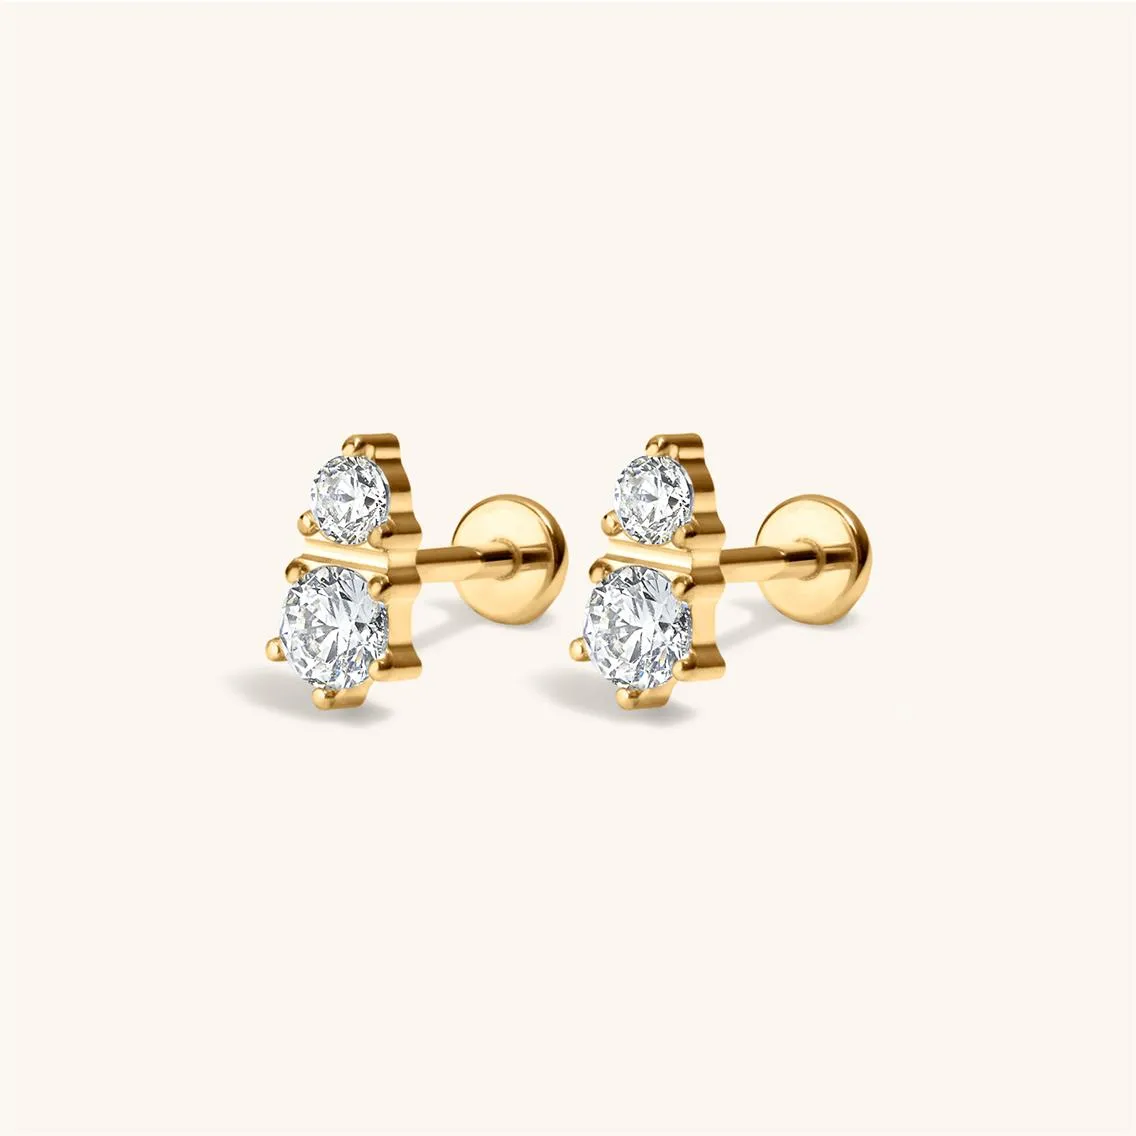
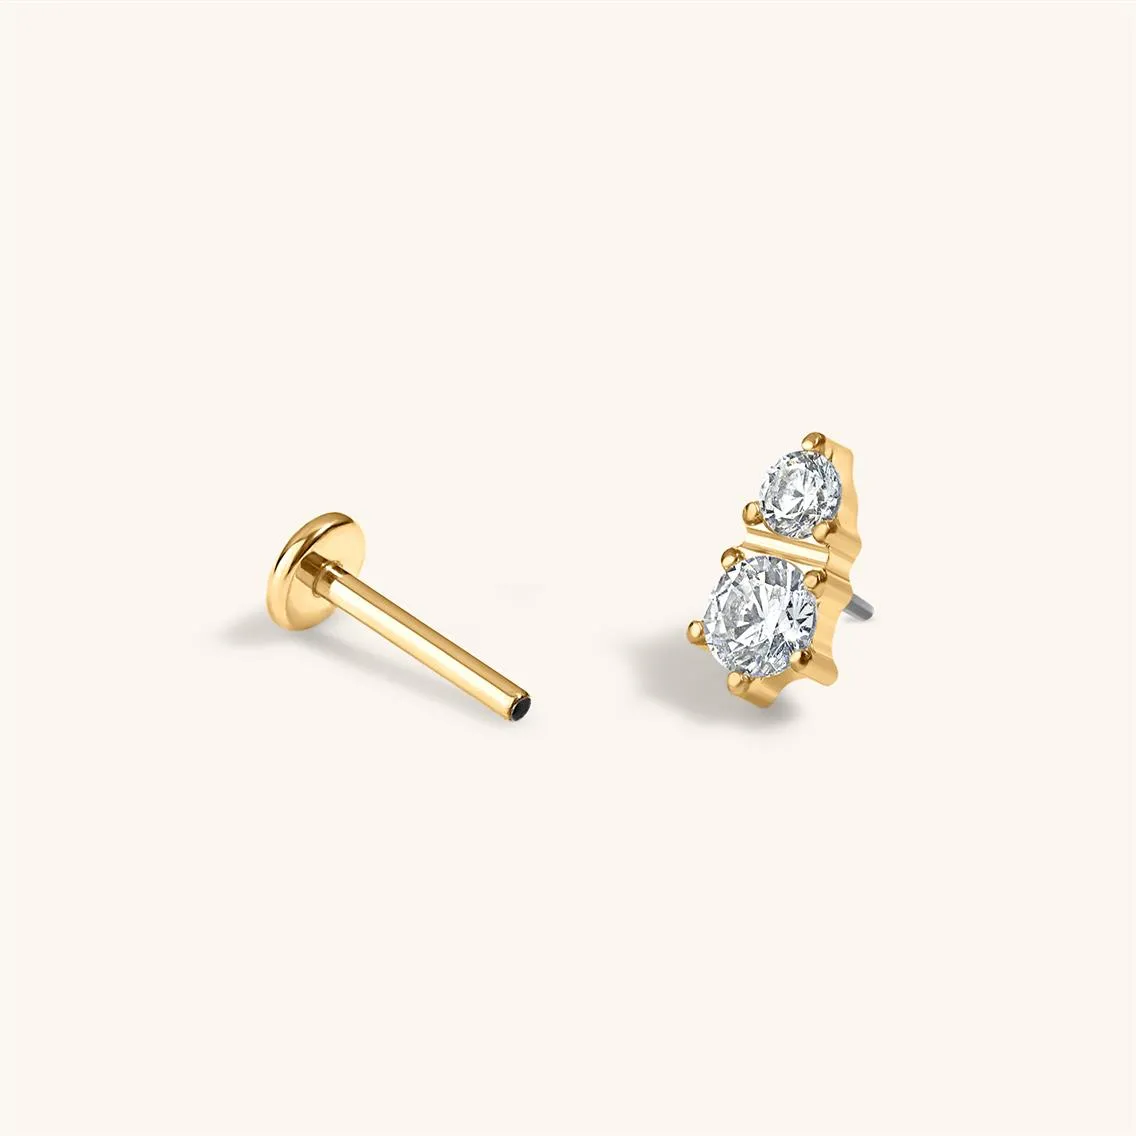
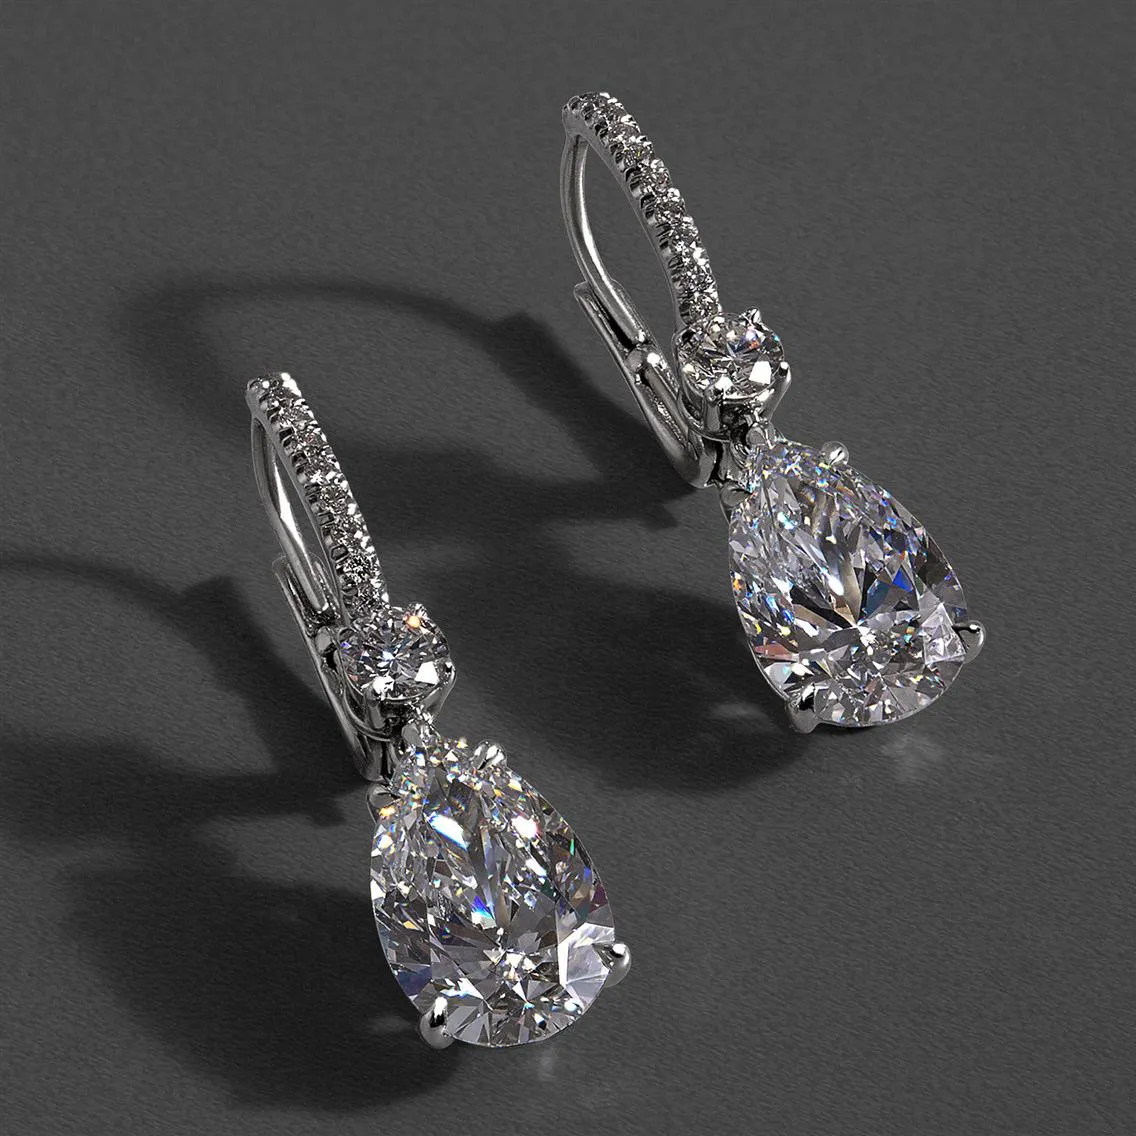
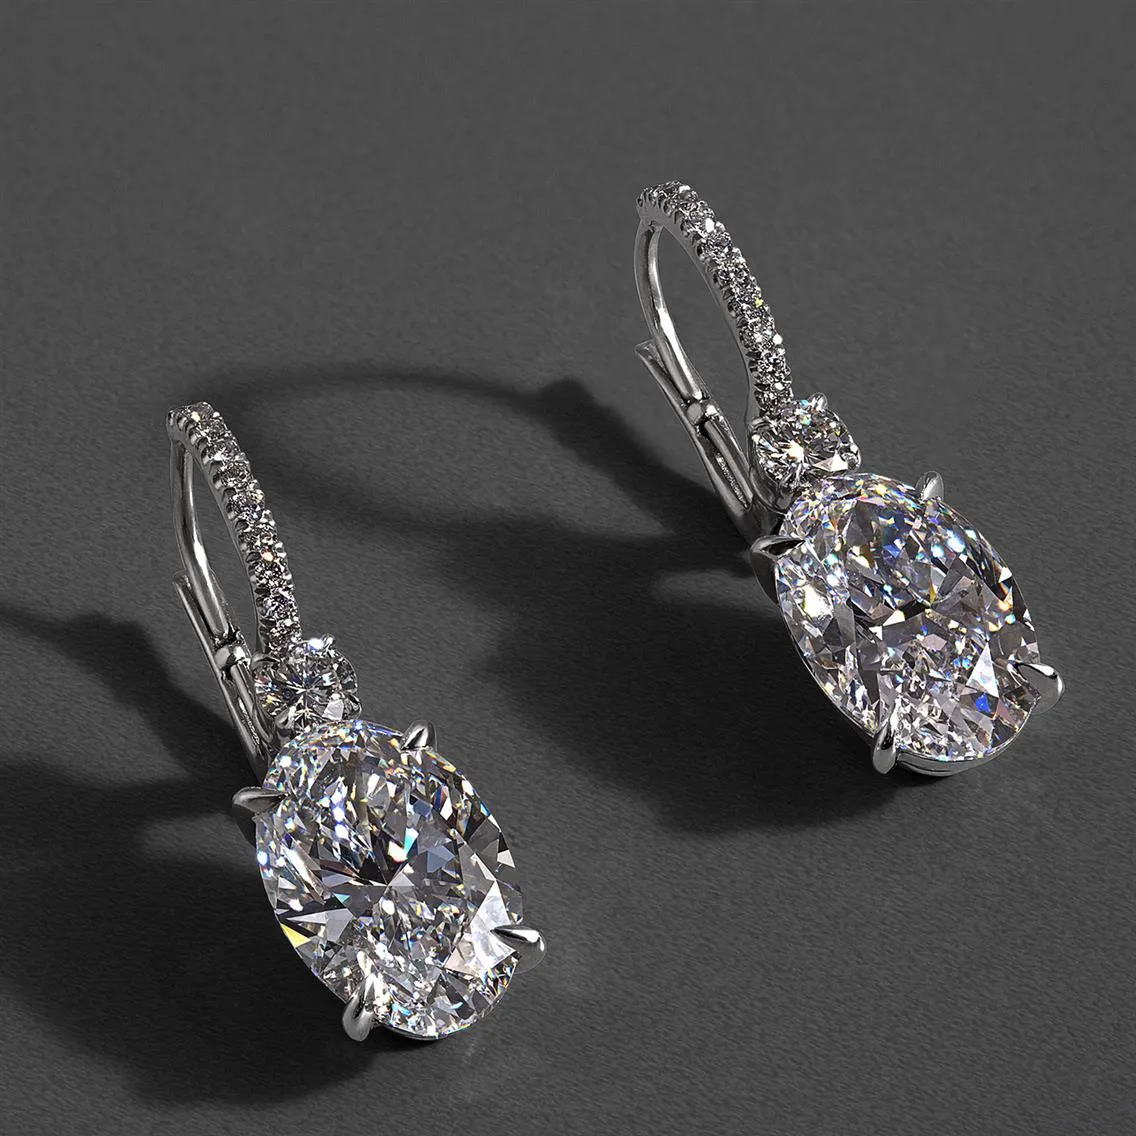
Photographing Earrings
Common Challenges
Earrings require showing both front and back details effectively, often through a three-quarter view that captures the full design while maintaining dimension. Dangling earrings add complexity through potential motion blur. Reflective surfaces and small size demand precise focus and controlled lighting. Symmetry between both pieces must be managed consistently throughout the session.
Equipment and Styling
- Stabilizing earrings: Use clamps, stands, or earring holders to keep pieces stable. Position supports so they are sturdy enough to prevent movement while remaining subtle enough to edit out or position outside the frame. For dangle earrings, suspend them naturally from hooks or stands to replicate how they appear when worn.
- Lighting techniques: For controlled studio work, a lightbox or diffused softbox minimizes harsh shadows and manages reflections on polished surfaces. Adding a reflector bounces light back onto gemstones and enhances sparkle without overexposing metal. Natural light can emphasize inherent material beauty when positioned carefully, allowing darker areas to define shape and create depth.
- Angles: Use a three-quarter view to capture depth, showing both front design and any back detailing. For dangle earrings, shoot slightly from above to emphasize natural drape and length.

Post-Processing
- Focus on gemstone retouching to bring out clarity, brilliance, and color without introducing artificial-looking effects. Check both earrings for alignment consistency.
- Eliminate any visible supports such as clamps or hooks during editing. Retouch stray reflections or imperfections caused by uneven surfaces or poor lighting.
- For dangle earrings, use sharpness adjustments to emphasize intricate details like engravings or metal textures, ensuring the image reads as sharp at every point.
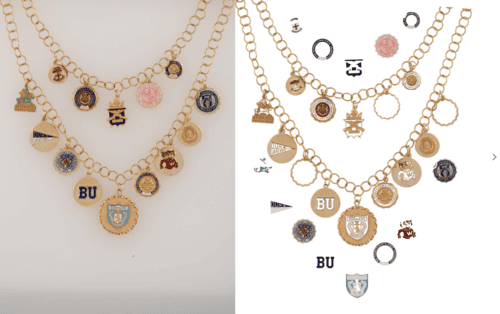
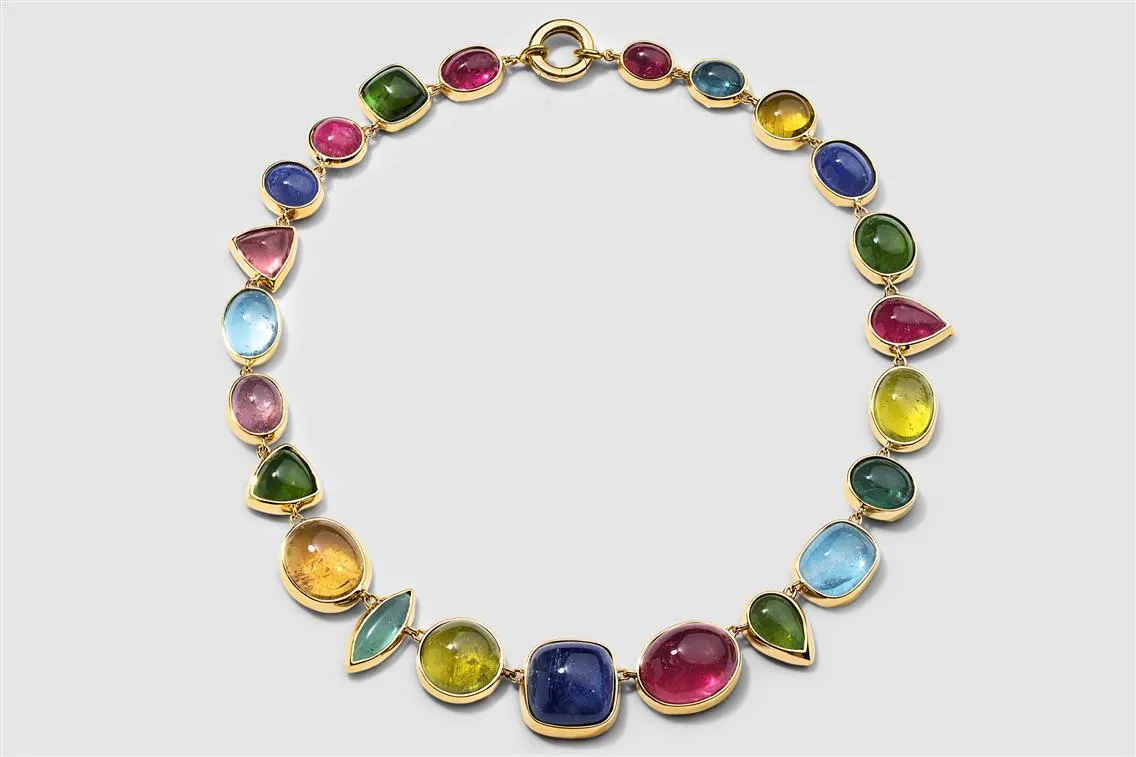
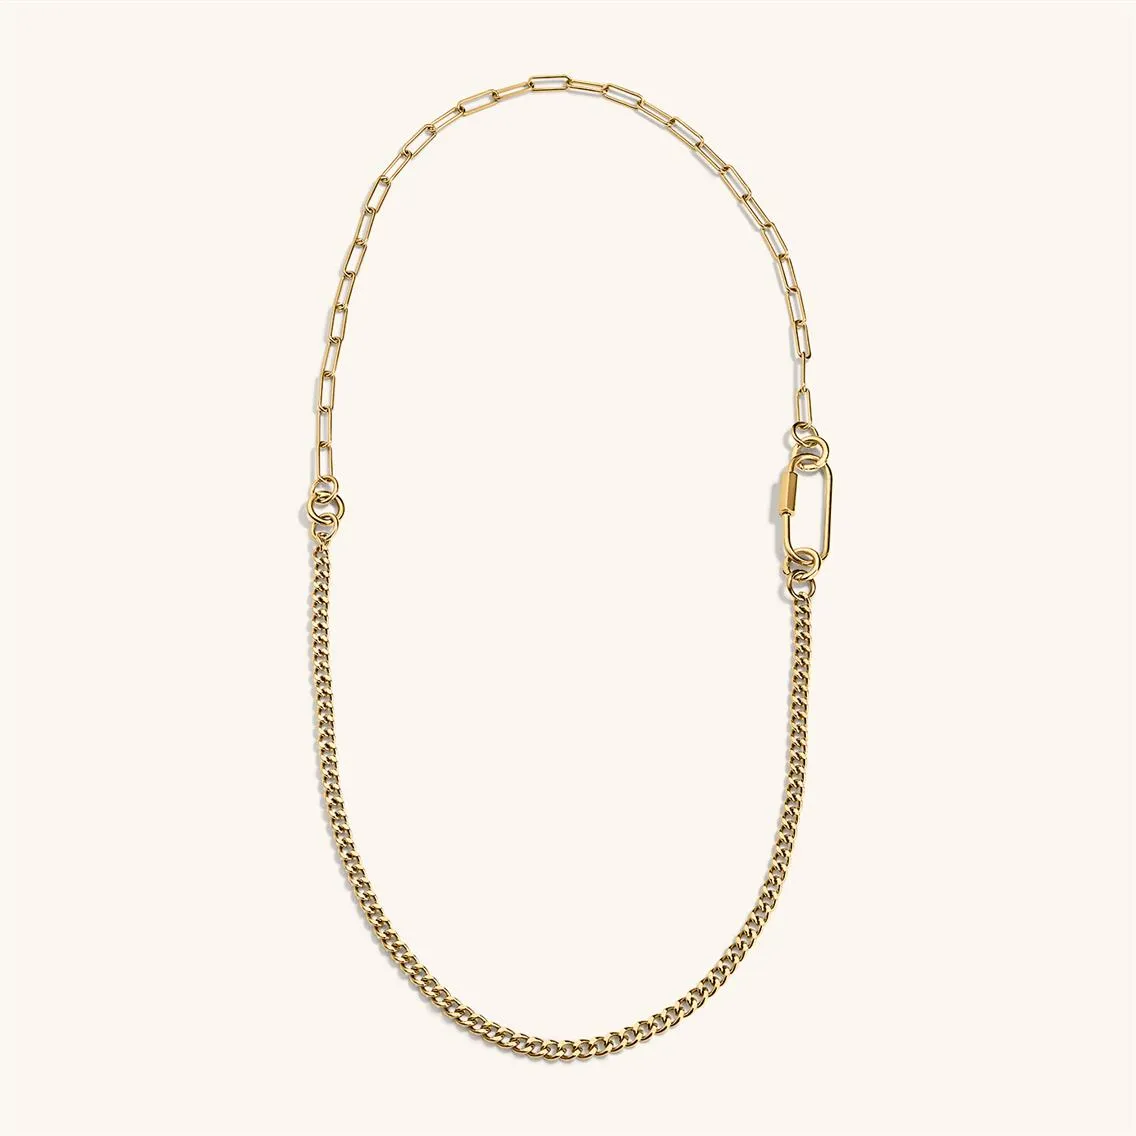
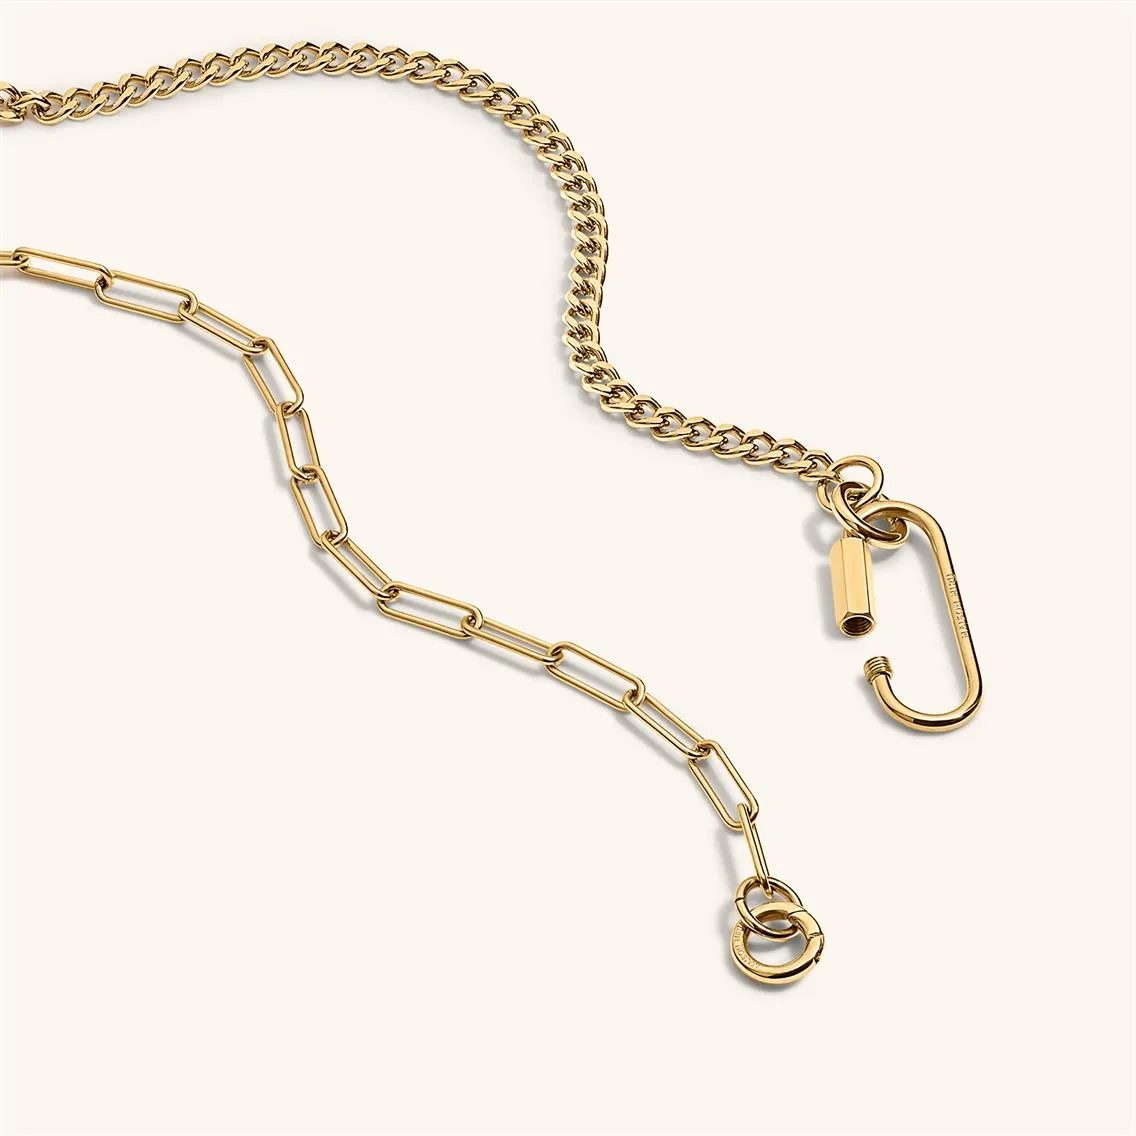
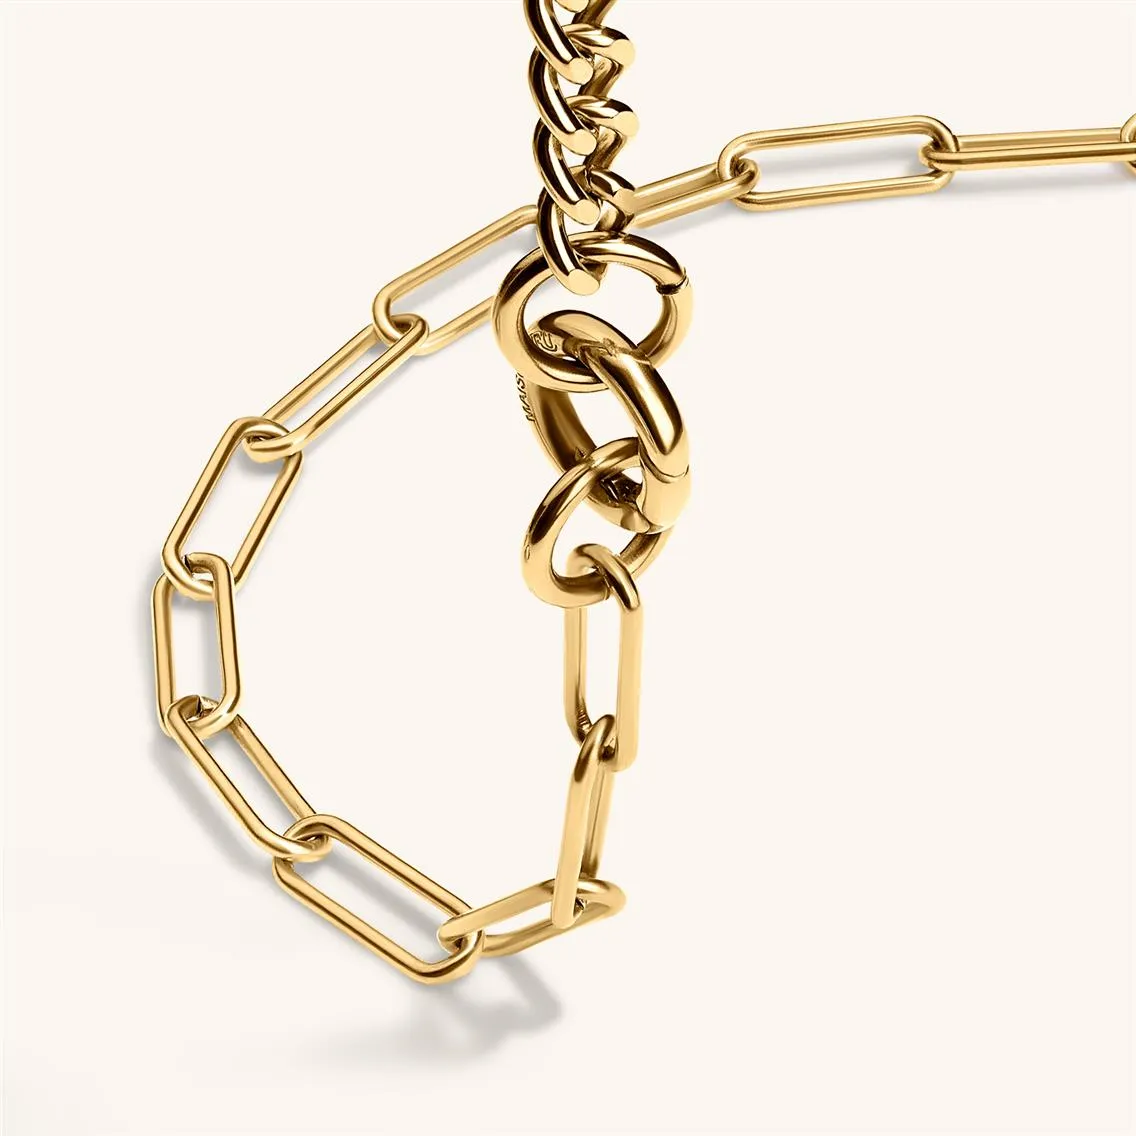
Photographing Necklaces
Challenges
Necklaces present challenges through the combination of length, intricate pendants, and delicate chains. Achieving balance means ensuring the chain's drape is natural while highlighting pendant details without overshadowing the overall piece. Tangled chains or uneven displays immediately communicate poor production quality.
Maintaining focus along the entire length is particularly demanding for long chains that can fall out of focus if depth of field is not carefully managed. This is important for designs where both pendant and chain craftsmanship are selling points.
Techniques and Equipment
- Bust displays or stands: Bust displays capture the necklace in a natural drape, showing how it will look when worn. For simpler chains or contemporary styles, flat lays provide a clean, minimalist aesthetic. Ensure the chain is evenly arranged with no visible kinks. Use jewelry styling tools such as clips or weights to keep the chain in place.
- Lighting for necklaces: Soft, diffused lighting highlights the shine of metals and the sparkle of gemstones without creating harsh reflections. Position a reflector or secondary light source below the necklace to bring out chain and pendant details, ensuring even illumination across the full length.
- Angles and depth: Shoot from slightly above the necklace for a natural perspective in flat-lay compositions. For bust displays, maintain an eye-level angle to replicate how it appears when worn. For gem-set necklaces, include close-up shots to showcase stone brilliance and clarity.
Post-Processing
- Straighten any overlaps or uneven sections in the chain that could not be styled perfectly during the shoot. Focus on the pendant, bringing out texture, gemstone brilliance, and intricate design through subtle sharpening and accurate color adjustment.
- Adjust lighting inconsistencies along the necklace's length, particularly for chains that reflect light unevenly. Ensure the overall image maintains a cohesive and polished look.
- Remove any visible tools, supports, or shadows that detract from the necklace's presentation.
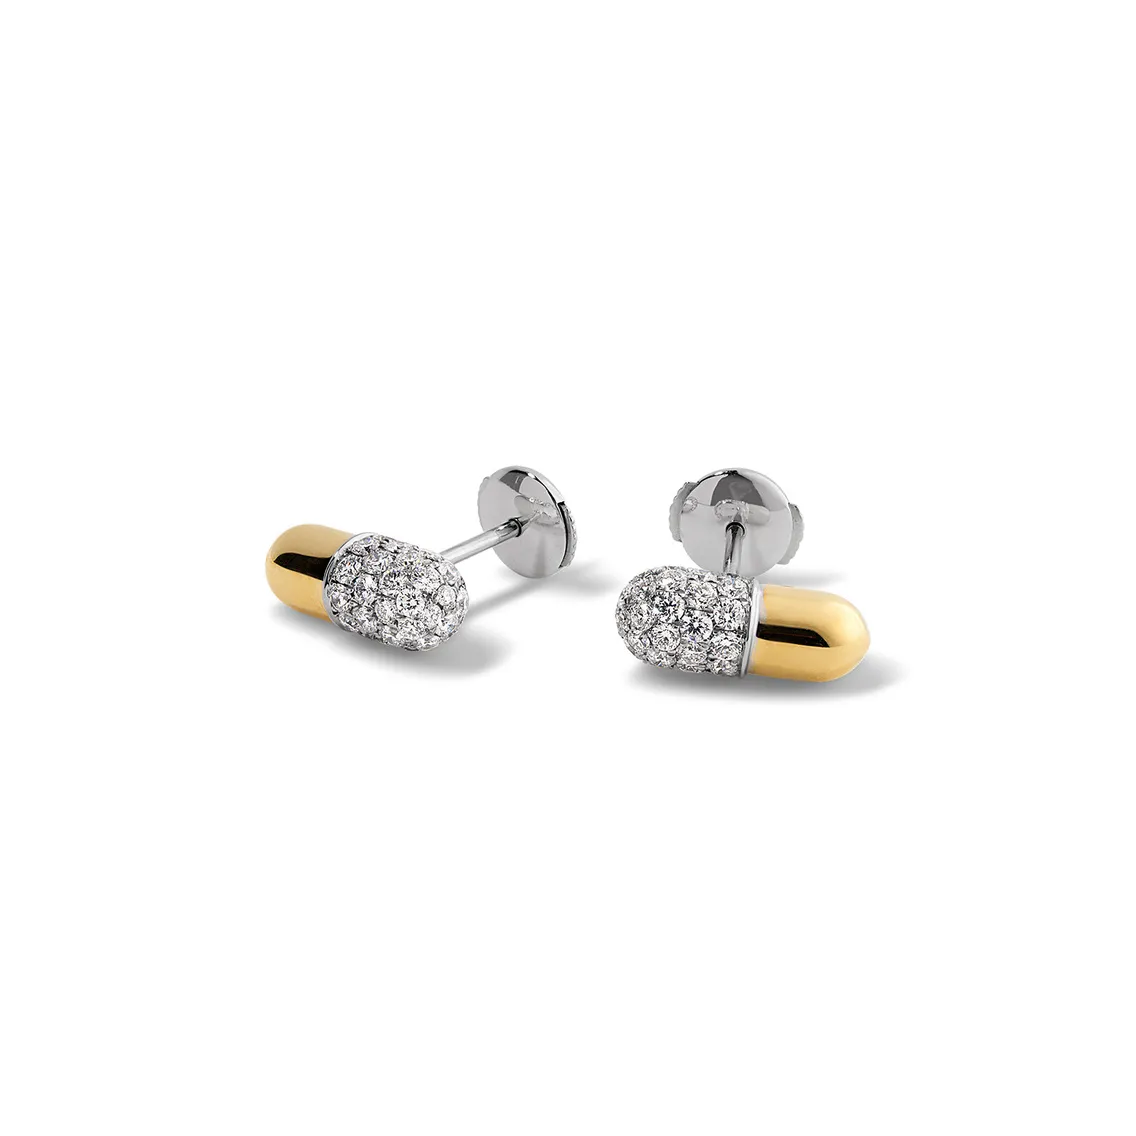
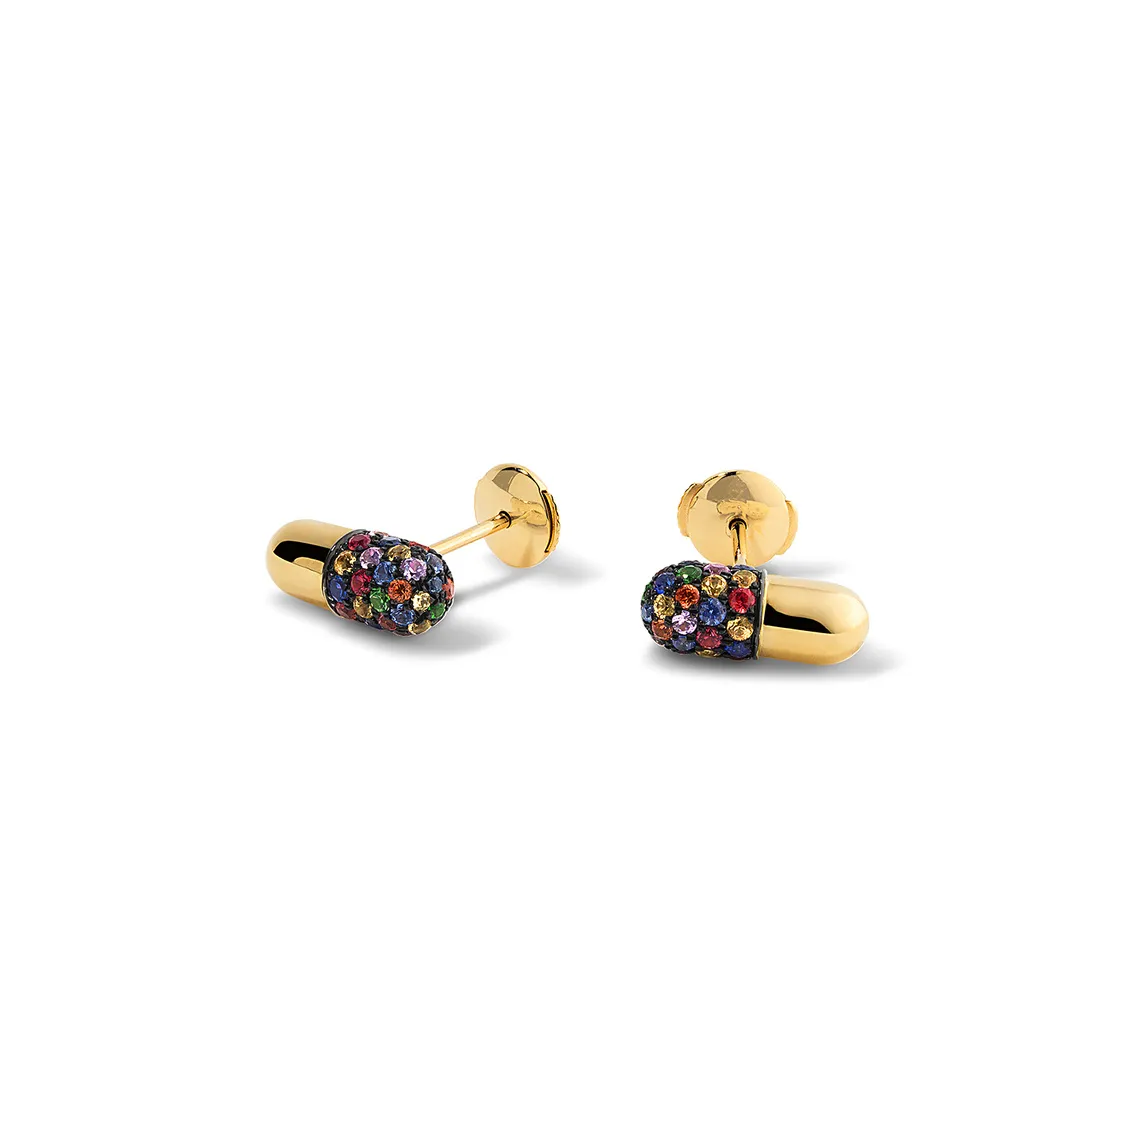
Photographing Cufflinks
Cufflinks are among the most detail-oriented pieces to photograph. Every engraving, gemstone, and texture must be captured with absolute clarity, requiring precise lighting and careful styling to showcase craftsmanship at a scale where errors are immediately visible.
Challenges
Small size makes it difficult to maintain sharpness across the entire piece. Each design element must stand out without losing focus. Highly polished metallic surfaces reflect surrounding objects including the camera and equipment. Eliminating these distractions while preserving natural shine is the central technical challenge.
Lighting and Styling
- Directional lighting: Use directional lighting to bring out the depth of engravings and emphasize textures without overexposing polished surfaces. Angled lighting creates subtle shadows that add dimension to surface detail.
- Diffusion for reflective surfaces: A lightbox controls harsh reflections and minimizes glare on metallic finishes. For highly reflective pieces, a polarizing filter reduces unwanted highlights.
- Contrasting backdrops: Dark velvet highlights silver. Light linen complements gold. The backdrop enhances the cufflinks' design without overpowering it.
- Stabilization: Use clamps or stands designed for small items to keep cufflinks stable. This is particularly important for round or irregularly shaped designs that may shift between frames.

Editing
- Refine metallic surface shine by reducing residual reflections and evening out highlights without making the material appear unnatural.
- Pay close attention to engraved details, enhancing depth and clarity without distorting the original design.
- Ensure textures on metals and gemstones retain their natural character. Over-smoothing removes the authenticity that communicates craftsmanship.
- For sets of cufflinks, ensure both pieces appear identical. Discrepancies between the two undermine the presentation.
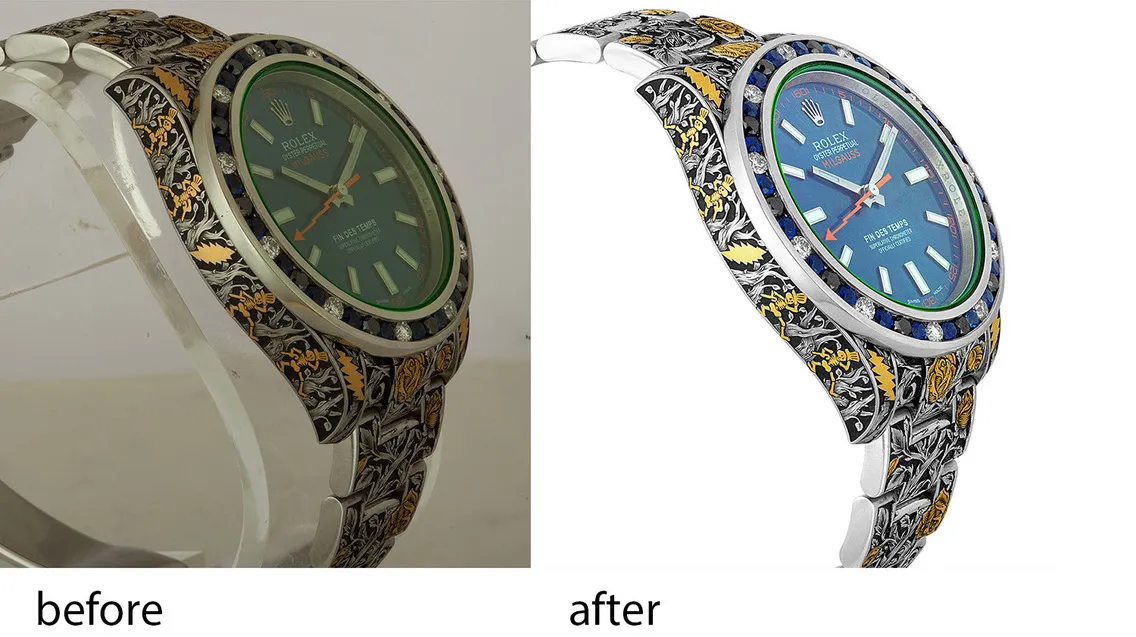
Photographing Watches
Watch photography is among the most technically complex categories in jewelry photography. The combination of intricate dials, polished straps, and highly reflective glass surfaces demands meticulous attention. Watch buyers expect precision, and any technical failure in the image communicates a quality problem with the product regardless of its actual quality.
For a complete dedicated guide to watch photography: Luxury Watch Photography: What Professionals Do Differently
Lighting and Composition
- Control reflections: Watches are highly reflective, particularly glass faces and polished metallic elements. Position lights at a 45-degree angle to the watch surface and adjust placement until glare is eliminated before shooting begins.
- Diffuse light: A lightbox softens harsh light and reduces distracting hotspots. Soft, even lighting enhances the luxurious appearance of stainless steel, leather, or gold.
- Focus on key features: Ensure branding elements such as logos, engravings, and unique design details are prominently visible. These are critical selling points for high-end watches.
- Depth and detail: A slight tilt in composition creates depth, emphasizing dial intricacy while maintaining focus on the strap and casing.
- Highlight craftsmanship: Side or macro shots showcase engravings, bezel cuts, and strap stitching. These close-ups are effective for marketing materials and editorial use.
Retouching Watches
- Managing reflections and glare: Reflections on glass during a shoot indicate improper lighting or positioning, not a post-production problem. These cannot be eliminated through retouching and require correction at the capture stage.
- Enhance dial details: Ensure hour markers, hands, and sub-dials are sharp and well-lit. Boost contrast subtly to make these elements stand out without looking artificial.
- Polish strap and casing: Eliminate smudges, fingerprints, and dust from metallic finishes. For leather straps, enhance texture without over-sharpening to maintain natural material character.
- Maintain realism: Luxury watch buyers value authenticity. Enhance the product's natural elegance rather than creating an overly processed appearance.
Gemstones and Metals
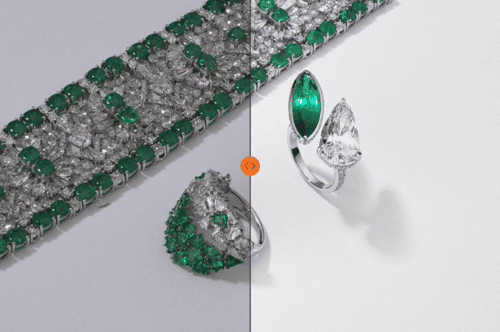
Photographing Gemstones
- Use a pinpoint or focused light source to enhance brilliance and depth in faceted stones.
- For colored gemstones including emeralds, rubies, and sapphires, ensure light enhances natural hue without washing it out or oversaturating it.
- Use a lightbox to create soft, even illumination that avoids reflections detracting from gemstone clarity.
- Position the camera and light source at different angles to avoid capturing reflections from surrounding equipment or the photographer in the stone's facets.
- Use daylight-balanced lighting to achieve accurate color reproduction and shoot in RAW format to preserve flexibility during post-production.
- Avoid overly warm or cool light temperatures unless they enhance the gemstone's natural color intentionally.
Photographing Metals
- Use diffused light to minimize harsh reflections and hotspots on polished surfaces.
- To highlight textures such as brushed or matte finishes, incorporate directional side light to emphasize depth and detail.
- Ensure the lighting for gemstones does not overpower the metal. Adjust intensity and angle so both elements complement each other and highlight the overall design.
- For engraved metals, position light at a low angle to cast subtle shadows that emphasize engraving depth. Macro lenses capture intricate detail at the scale needed for commercial use.
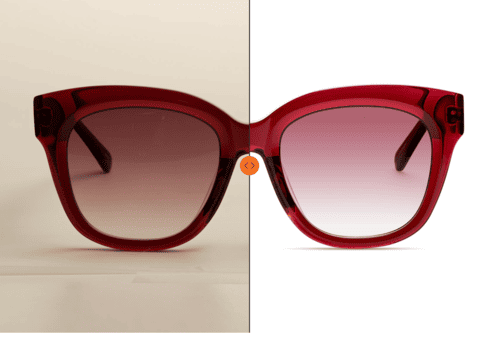
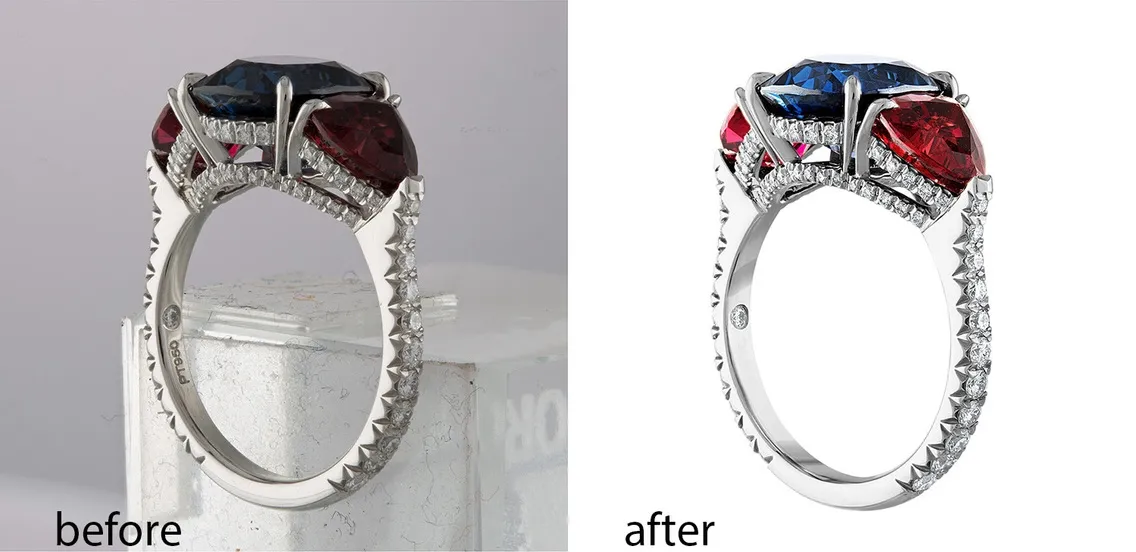
Post-Production and Retouching Jewelry Photos
Professional retouching is an integral part of commercial jewelry photography workflow. Raw images from even technically excellent shoots require refinements to reach a professional standard.
Retouching ensures every detail is visible and sharp across the full piece. Dust particles, smudges, and minor scratches captured during the shoot are removed without altering the authenticity of the piece. Reflective surfaces that pick up unintended reflections or uneven lighting are corrected to produce a clean, cohesive result. Consistent visual presentation across a catalog requires uniform lighting, color tone treatment, and quality standards applied across every image in the set.
For the complete technical retouching workflow for jewelry and watches: Jewelry and Watch Retouching Guide
For photographers evaluating whether to handle retouching in-house or delegate it as volume grows: Product Retouching: Mastering or Delegating?
LenFlash provides professional jewelry retouching services for commercial photographers. Online ordering with real-time quotes, standard turnaround 7 to 8 business days with rush options available.


