

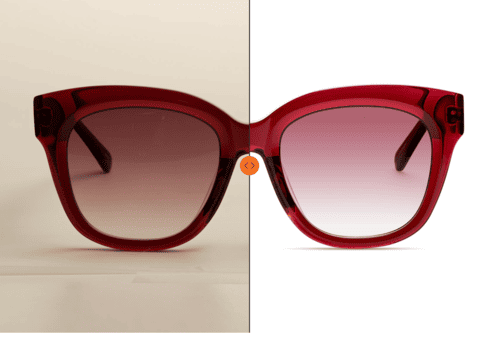

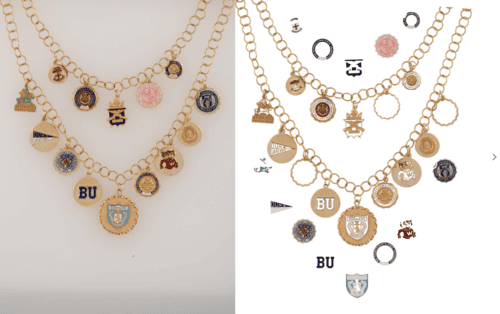

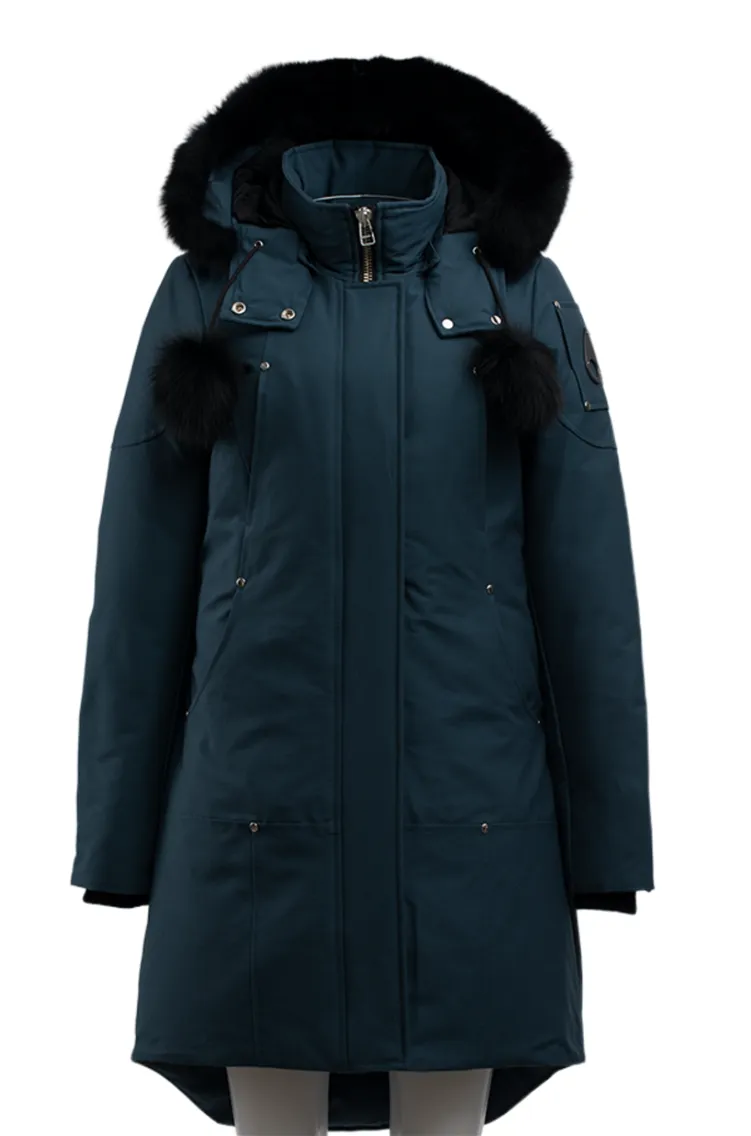
Retouch Clothing & Fabric Photography Like A Pro: Editing Hacks and Techniques
When you capture a stunning image, the last thing you want is for wrinkles, fabric distortions, or lint to steal the spotlight. Even if you have a professional stylist carefully adjusting every fold between shots, chances are, you’ll be left fixing imperfections in post-production. Even the best photographers face this challenge.
Mastering key techniques can dramatically elevate your clothing and fabric retouching, preserving the realism of your material’s texture that top brands expect. In this article, we’ll cover the essential tools, workflows, and pro-level hacks that will help you deliver cleaner, sharper, more professional results. And if you're looking to reclaim your editing time without sacrificing quality, we'll also introduce you to an easier solution at the end.
Part of our complete guide: How Product Photo Editing Services Impact Online Sales
Why Editing Clothing and Fabrics Photos Considered Difficult to Do Well
Clothing retouching is a specialized art that demands precision, subtlety, and an understanding of how fabrics behave both on and off-camera.
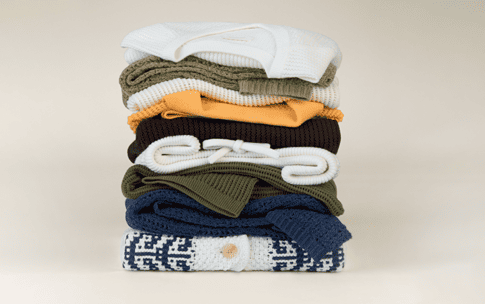
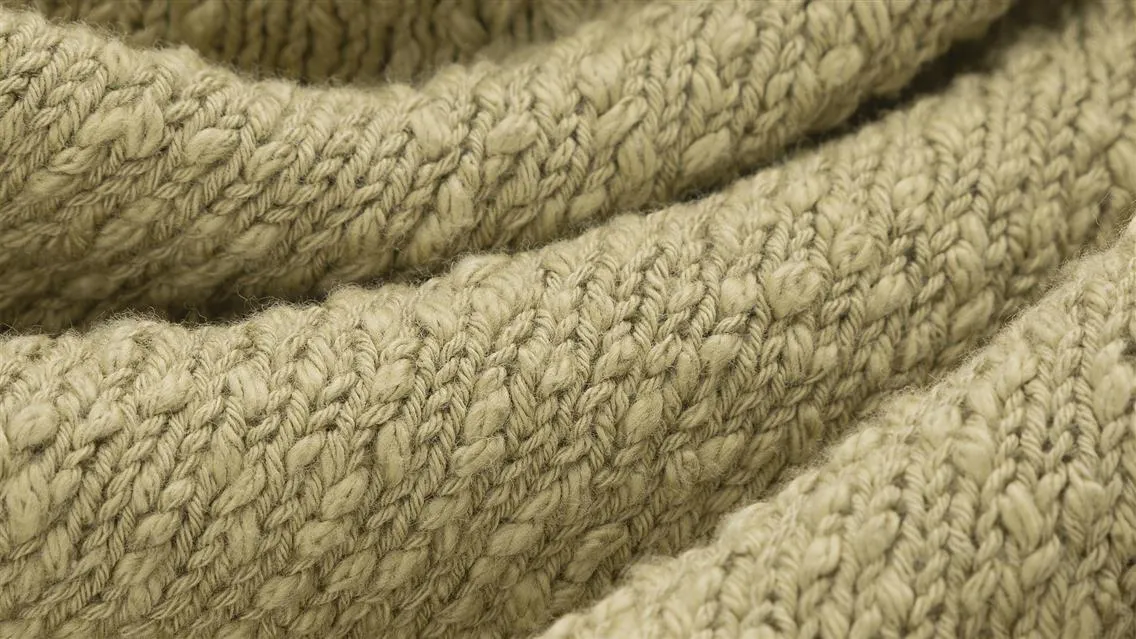
Unlike skin retouching, where the goal is often to create light smoothness and even tones, fabric must retain its natural texture to look believable. Silk should still feel soft and luminous. Denim must appear rugged and dimensional. Knitwear needs to hold its cozy structure.
Common fabric challenges photographers face include:
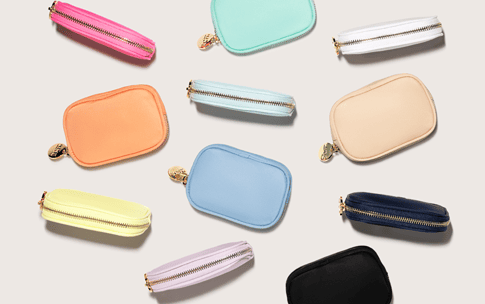
- Wrinkles and unwanted folds: Garments often fall naturally into less-than-ideal shapes that look unpolished in a high-resolution image, especially without a stylist on set.
- Fabric stretching and sagging: Movement or gravity can distort the garment's intended fit.
- Unwanted reflections: Shiny fabrics like satin or certain synthetics can pick up stray light.
- Moiré patterns: Fine textures, especially in synthetic fibers, can create distracting visual noise.
- Lint, dust, and minor damage: Even the cleanest studio environment can leave small imperfections that are magnified under studio lighting.
- Inaccurate or lost colors: This often occurs when the lighting setup isn’t properly calibrated for the fabric being photographed, resulting in muted or overexposed tones.
Mastering fabric retouching means respecting the original characteristics of each material, enhancing, not erasing, its personality. And most importantly, knowing when to step in and when to leave natural folds that add authenticity and life to the image.
Essential Tools for Professional Fabric Photography Retouching
Before diving into advanced techniques, it's crucial to have the right tools in your retouching arsenal. These are the foundations for professional, fabric-specific editing that keeps garments looking real, dimensional, and appealing.
Frequency Separation
Best for: Separating texture from color and tone for precision editing. Frequency separation is a must when retouching fabrics because it allows you to clean up blemishes, wrinkles, and minor distortions without blurring the fabric's natural weave or detail.
- Use a low-frequency layer for adjusting color inconsistencies and smoothing uneven lighting.
- Use a high-frequency layer to preserve and correct texture, such as the fine weave of linen or the knit of wool.
Tip: Adjust your radius carefully based on fabric type: heavier textures require a different balance than smoother materials like silk.
Dodge and Burn
Best for: Subtle shaping, smoothing wrinkles, and enhancing natural folds. Rather than erasing wrinkles, professional retouchers often dodge (lighten) and burn (darken) to reshape the fabric naturally.
- Dodge areas where the light should naturally hit.
- Burn areas where deeper folds and shadows belong.
This creates a refined, sculpted look without making the fabric seem unnatural or plastic.
Clone Stamp and Healing Brush
Best for: Removing lint, dust, and small distortions.
- Use the Healing Brush for minor imperfections where you want Photoshop to automatically blend tones.
- Use the Clone Stamp Tool for more controlled corrections, especially along seams or patterned fabrics where blending must be precise.
Pro tip: Always sample from areas that match the texture and lighting direction to avoid introducing inconsistencies.
Liquify Tool
Best for: Correcting garment shape and symmetry. Liquify isn't just for body shaping — it’s a powerful tool for fixing sagging hemlines, skewed seams, or awkward bunching in clothing.
- Use the Forward Warp Tool gently to realign garment edges.
- Avoid excessive warping that can make fabric stretch unnaturally or distort stitching details.
Reminder: Keep the Liquify adjustments subtle, think "nudging," not reshaping.
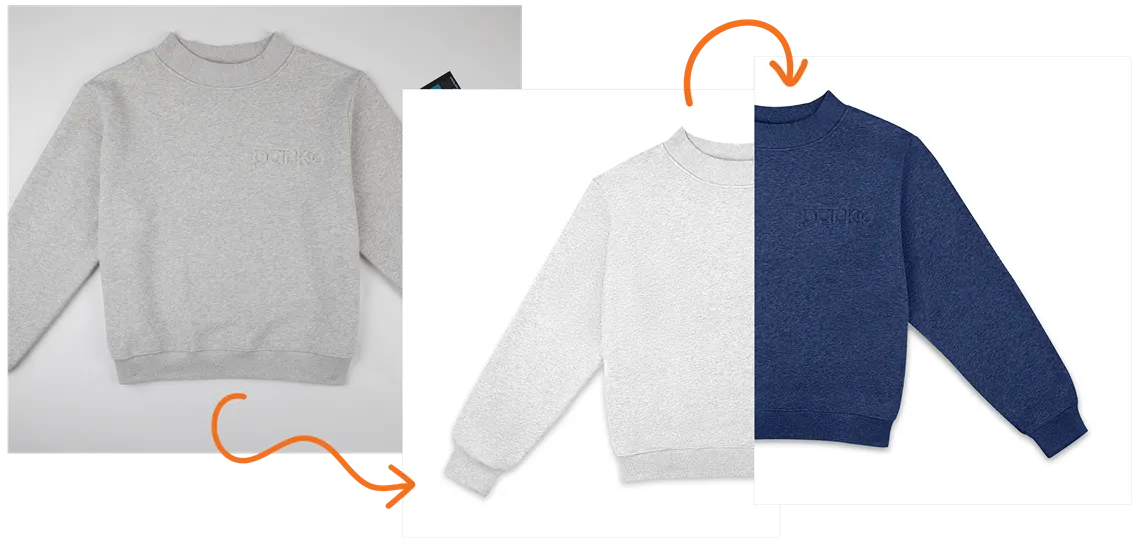
Color Correction Layers
Best for: Fixing lighting-induced color shifts and bringing fabric colors back to life. Studio lighting can alter the true color of garments, making blacks look washed out or whites appear bluish. Using adjustment layers like Curves, Hue/Saturation, and Selective Color, you can:
- Correct fabric tone inconsistencies.
- Remove color casts introduced by studio lighting.
- Restore true blacks, crisp whites, and vibrant colors — critical for maintaining brand consistency.
Professional fabric retouching relies on precise, layered work, not just quick fixes. Each tool plays a specific role in preserving the garment’s realism and elevating the final image.
Pro-Level Editing Techniques and Workflow Tips
Using the right tools is essential, but how you use them and in what order makes the biggest difference between average and professional-looking clothing retouching. Let’s break down the workflow step-by-step.
1. Start With Structure First
Before touching any blemishes, wrinkles, or color shifts, correct the garment’s shape. Open the image in Liquify and gently adjust any sagging, pulled seams, misaligned hems, or overly bunched areas. Focus especially on symmetrical garments: jackets, shirts, dresses, where even slight misalignments can make the image look sloppy.
Important: Use Liquify minimally. Drastic reshaping risks making garments look unnatural, especially if stitching, logos, or fabric grain visibly warp.
2. Clean the Texture Without Destroying It
Once the structure is corrected, move on to texture cleaning. Use Frequency Separation to target small wrinkles, lint, and surface-level inconsistencies. Work on the low-frequency layer to even out lighting and color. Work on the high-frequency layer to clean small bumps or weave inconsistencies without flattening the fabric’s natural surface.
Pro Tip: When in doubt, zoom out. Over-smoothing while zoomed in often leads to unrealistic flatness at normal viewing distances.
3. Sculpt With Dodge and Burn
Instead of "removing" wrinkles entirely, sculpt fabric realistically using dodge and burn. Dodge to lift soft highlight areas where the fabric naturally bulges. Burn into shadow creases for natural depth. Smooth out unintentional wrinkles without making the fabric look starched or CGI-fake.
Technique tip: Work on a 50% gray layer set to Soft Light blending mode. This keeps your adjustments non-destructive and easy to tweak later.
4. Address Color and Tone Last
Once structure and texture are perfect, handle color correction. Use Curves to refine contrast, especially important to make white clothing look rich without blowing out details. Fix color shifts using Selective Color or Hue/Saturation layers. Pay attention to blacks: many fabrics shot under studio lighting turn into flat dark grays without careful tonal adjustment.
Remember: Color work is not just about saturation. It's about restoring the fabric’s true character.
5. Keep a Non-Destructive Workflow
Pro retouchers never risk ruining their base image. Use smart objects whenever possible. Organize edits into labeled groups (Liquify, Frequency Separation, Dodge and Burn, Color Correction) so you can toggle and adjust easily. Save layered files if client revisions might be needed — fabric retouching often needs last-minute tweaks.
6. Batch Efficiently Without Losing Quality
If you're working with e-commerce series (hundreds of similar images), record Photoshop actions for repetitive tasks like setting up Frequency Separation layers. Use synchronized Liquify grids when working with multi-angle shots (like front, side, back views of the same garment) to maintain garment consistency across shots.
Common Retouching Mistakes to Avoid
Even experienced photographers know how challenging it can be to retouch clothing in a way that looks completely natural. Certain mistakes come up over and over again, and they can undermine the entire feel of an image, no matter how strong the lighting, posing, or initial capture might have been.
- One of the most common issues is over-smoothing or/and changing the fabric structure. It’s tempting to reach for quick fixes like Gaussian Blur or aggressive frequency separation settings to wipe out wrinkles fast. But the problem is, once you overdo it, the fabric starts to lose its natural weave and dimensionality. Instead of looking like real cotton, silk, or denim, the garment takes on an oddly plastic, artificial finish — something that’s immediately noticeable, especially in high-resolution imagery. When retouching, it's crucial to remember that texture is your friend. The goal is not to erase every imperfection but to refine the fabric while keeping it lifelike.
- Another mistake is distorting the natural flow of fabric when using Liquify. It’s easy to get carried away trying to make everything perfectly symmetrical or perfectly straight, especially when the garment didn’t sit quite right during the shoot. But heavy Liquify adjustments can warp stitching, logos, or natural seams, making the clothing look off, even to the untrained eye. Liquify should be used sparingly, more like a gentle nudge than a full-on transformation. The more subtle the touch, the more believable the result.
- Many editors also fall into the trap of flattening the garment's volume. In the quest to "clean up" the fabric, they end up removing the folds and curves that give clothing life and structure. Fabric isn’t meant to be completely smooth. It bends, drapes, and moves naturally with the body. Good retouching preserves that sense of volume. It’s not about removing every wrinkle, but about highlighting the garment’s true form. This is where tools like Dodge and Burn shine, helping you gently sculpt the fabric rather than erasing its character.
- Color can be another casualty of rushed or overly focused retouching. Studio lighting sometimes introduces unwanted color shifts, maybe whites start to lean blue, or blacks turn into muddy grays. When too much attention is paid to the structure and texture of the garment, it’s easy to overlook these subtle but critical color problems. They can make a product line look inconsistent and unprofessional, especially across a whole series of images. A careful color correction pass is essential, restoring true blacks, bright whites, and vibrant hues so that the clothing looks just as it should.
- Finally, consistency is a make-or-break factor, especially when retouching multiple shots from the same session. It's not enough to edit each image individually and hope they match. When garments look noticeably different from one image to the next, whether in tone, texture, or overall polish, it creates a disjointed feel that can hurt the brand’s credibility. A strong retouching workflow always accounts for consistency across the full set, ensuring that every piece fits seamlessly into the visual story.
Clothing retouching demands a careful balance. You have to enhance without over-editing, correct without distorting, and polish without erasing the natural beauty of the fabric.
Fabric Photo Retouching Requires a Unique Skill Set
At some point in every photographer’s workflow, there’s a crucial decision to make: Should I keep spending hours retouching these fabrics myself, or is it time to hand it over to professionals?
When you’re working on a handful of signature images, handling retouching yourself can make sense. It gives you full creative control and allows you to finesse every detail. But as soon as the project grows, whether it’s a full product line, a seasonal collection, or just a large batch of editorial looks, the hours behind the screen start to multiply. What once felt like manageable post-production quickly turns into a bottleneck, draining time and creative energy you could have invested elsewhere.
And that’s assuming the images didn’t have complications. Without a stylist on set, garments often settle awkwardly or shift between shots, creating more wrinkles, uneven hems, and fabric distortions that need meticulous correction. Even perfect lighting doesn’t guarantee perfect fabric, meaning the workload on the backend can expand faster than you realize.
It’s important to remember that fabric retouching isn’t simply an extension of general photo editing. It demands a specific set of skills, like understanding how different fabrics behave and how texture should be preserved. Knowing how to sculpt folds without flattening them.
Correcting color shifts caused by studio lighting while maintaining the fabric’s original richness.
Without this specialized knowledge, it’s easy for clothing to end up looking over-smoothed, distorted, or inconsistent across a set. These problems weaken the final visual impact and, ultimately, hurt a photographer’s credibility.
For photographers specifically evaluating whether to handle retouching themselves or delegate it: Product Retouching: Mastering or Delegating?
FAQ about Clothing Photography Editing
What are the most common fabric issues photographers face in post-production?
Common challenges include wrinkles and unwanted folds, fabric stretching or sagging, unwanted reflections on shiny fabrics, moiré patterns on fine textures, lint or dust, and inaccurate or lost colors due to lighting inconsistencies.
What are the essential tools for professional fabric retouching?
Key tools include Frequency Separation (to separate texture from color/tone), Dodge and Burn (to sculpt fabric folds naturally), Clone Stamp and Healing Brush (to remove lint and small imperfections), Liquify (for subtle garment shape corrections), and Color Correction layers (to fix lighting-induced color shifts).
How should I approach the workflow for retouching clothing and fabric?
Start by correcting the garment’s shape with Liquify, then clean texture using Frequency Separation without over-smoothing. Next, sculpt fabric folds with Dodge and Burn to maintain volume, followed by careful color and tone correction. Always work non-destructively with layers and smart objects.
What are common mistakes to avoid in fabric retouching?
Avoid over-smoothing that erases fabric texture, excessive Liquify adjustments that distort natural seams or stitching, flattening the garment’s volume by removing natural folds, neglecting subtle color shifts caused by lighting, and inconsistency across multiple images in a series.
When should I consider outsourcing fabric retouching to professionals?
If your project involves large volumes, seasonal collections, or complex fabric issues, outsourcing can save time and ensure consistent, high-quality results. Fabric retouching requires specialized skills to preserve texture and color while correcting imperfections, which can be time-consuming without expertise.
How can I maintain consistency across multiple images in a product shoot?
Use synchronized Liquify grids for multi-angle shots, record Photoshop actions for repetitive tasks, and organize your workflow with labeled layers and groups. Consistency in texture, color, and garment shape is critical to maintaining brand credibility.
Why is color correction important in fabric retouching?
Studio lighting can cause unwanted color casts, making whites look bluish or blacks appear muddy. Precise color correction restores the true fabric colors, ensuring the product looks accurate and consistent across images, which is vital for brand representation.


