


The Ultimate Guide to eCommerce Product Photography for Brands that Sell Online
Most brands that come to us for the first time are dealing with one of four problems, and none of them are what they think the problem is.
They think the issue is the photos themselves. In most cases, it's the decisions behind them.
Good eCommerce photography isn't about making products look better than they are. It's about making them look exactly like they are — accurately, consistently, and in a format that every platform and retailer will accept without reshooting.
This guide covers the shot types that work for each product category, the technical requirements of the major platforms and retail chains, what professional studio production actually involves, and how to avoid the four problems above before they cost you a listing rejection or a spike in returns.
We've been shooting product lines for vendors supplying Nordstrom, Macy's, Signet Jewelers, and Amazon from our New York studio since 2004. Everything in this guide comes from that experience.
Types of Commercial Product Photography
Catalog Product Photography
This is your bread and butter: clean, detailed shots of your products, typically on a white background, but not necessarily. It’s not the flashiest type of content, but it’s absolutely essential. These images help customers see what they’re buying, with no distractions.
Pro Tip: Invest in high-quality photography, even for simple product shots. These images are often the first point of contact with your brand, and a well-lit, crisp product image says, “we’re serious about quality.”
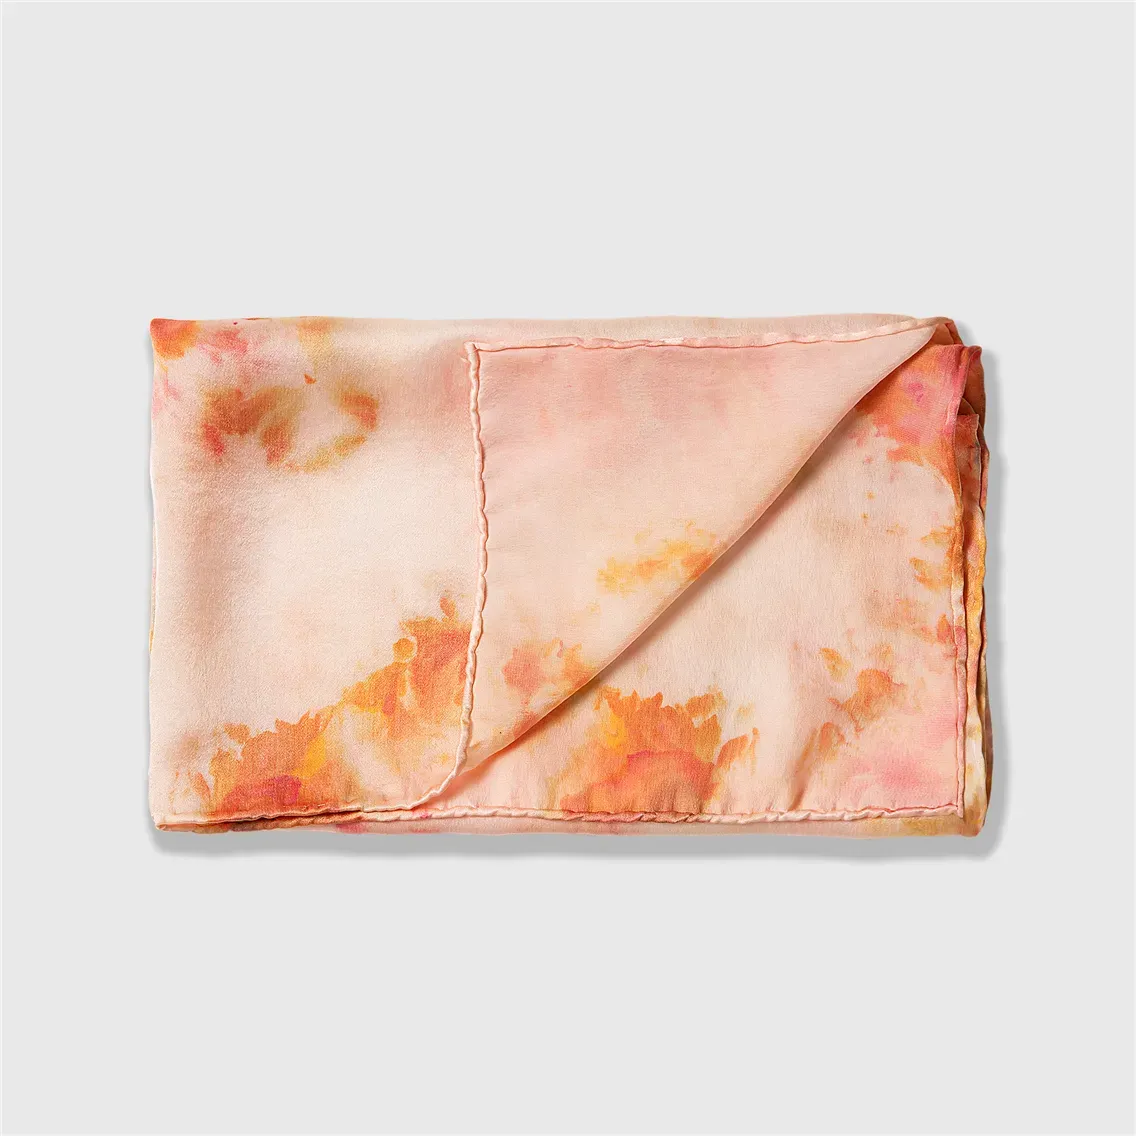
Still Life Photography
Still life shots allow brands to get a bit more creative. Instead of focusing solely on the product, you can introduce props, textures, and backgrounds that reflect your brand’s personality. These photos work wonders for social media or online store pages, where creativity catches attention.
Pro Tip: Use still-life photos to showcase how your product fits into everyday moments. For example, instead of just placing jewelry on a plain background, pair it with items that people might naturally have nearby, like a favorite book, a cup of coffee, or a handwritten note, to suggest how the jewelry complements daily life.
For skincare, show the product alongside things like a clean towel, a glass of water, or a small plant to hint at freshness and routine without feeling staged. These simple, relatable setups help customers imagine using the product in their own space, making your photos feel authentic and inviting.
Related read: Product Still Life Photography: Full Guide for Your Business


Lifestyle Photography
Here’s where you show your product in action by capturing an actual person interacting with it. Lifestyle photography takes your product out into the real world, letting potential customers visualize themselves using it.
Pro Tip: Keep an audience in mind. If your customer is likely a young professional in a sprawling metropolis, show your product in settings that resonate with that lifestyle, maybe in a trendy café or at a chic office space.
Related read: Strategic Impact of Lifestyle Photography on eCommerce Business
Fashion Editorial Photography
Fashion brands, take note: editorial photography is where things can be truly artistic. It evokes the feeling and tells the story behind your brand. These are stylized, high-end shoots that often end up in lookbooks or as some of the most impactful campaign images.
Pro Tip: Use this photography to create a mood that uniquely belongs to a brand. Whether it’s eclectic or minimalist, editorials bring a brand’s style to life.
Related Read: The Essential Role of Fashion Photography in Branding
Fashion Campaign Photography
If you’re launching a new product or collection, fashion campaign photos tie it all together. These high-impact images are designed to tell a concept and are often the foundation of larger marketing pushes. Think of them as the hero shots for a campaign.
Pro Tip: Plan campaign visuals to be consistent across all promotional channels regardless of whether it's your website, social media, PR, and email marketing. Campaign photos should be instantly recognizable and on-brand.
Social Media Photography
Social media is fast, effortless, and often less polished than traditional product shots. But that doesn’t mean they should be taken lightly. Social media photos need to be engaging, on-brand, and often tailored to the specific platform.
Pro Tip: Mix it up! Show behind-the-scenes content like snapshots from events or collaborations. Social media is a brand-awareness playground; use it to connect with your audience in a more casual, authentic way.
Related read: Social Media Photography to Elevate Your Fashion Brand's Digital Presence
User-Generated Content (UGC)
There’s no stronger endorsement than real customers showing off products. UGC adds authenticity and builds a sense of community around a brand. Encourage customers to share their photos featuring your brand’s products and reward them by shouting out their content. Or consider collaborations with influencers and content creators.
Pro Tip: UGC is perfect for social proof, so showcase it on product pages or social media to build trust and create a sense of inclusion.
For how many images are needed per product for your brand see: How Many Product Photos Do You Need?
eCommerce Product Photography by Category
eCommerce product photography isn’t one-size-fits-all. The approach varies greatly depending on the industry, as each category has unique requirements, consumer expectations, and visual priorities. From fashion and jewelry to electronics and home goods, different types of products demand different styles of presentation. Below are the main categories of e-commerce product photography based on industry:
- Fashion and Apparel (Clothing, Accessories, Bags, Footwear)
- Jewelry (Rings, Necklaces, Bracelets, Earrings)
- Beauty Products(Cosmetics, Skincare, Haircare)
- Electronics (Gadgets, Devices, Home Tech)
- Packaged Goods (Snacks, Beverages, Health Items)
- Home & Living (Furniture, Decor, Kitchenware)
Each of these categories has its own best practices, visual standards, and technical nuances. In the sections below, we’ll dive into each type to show how photography should be tailored to suit the products you’re selling.
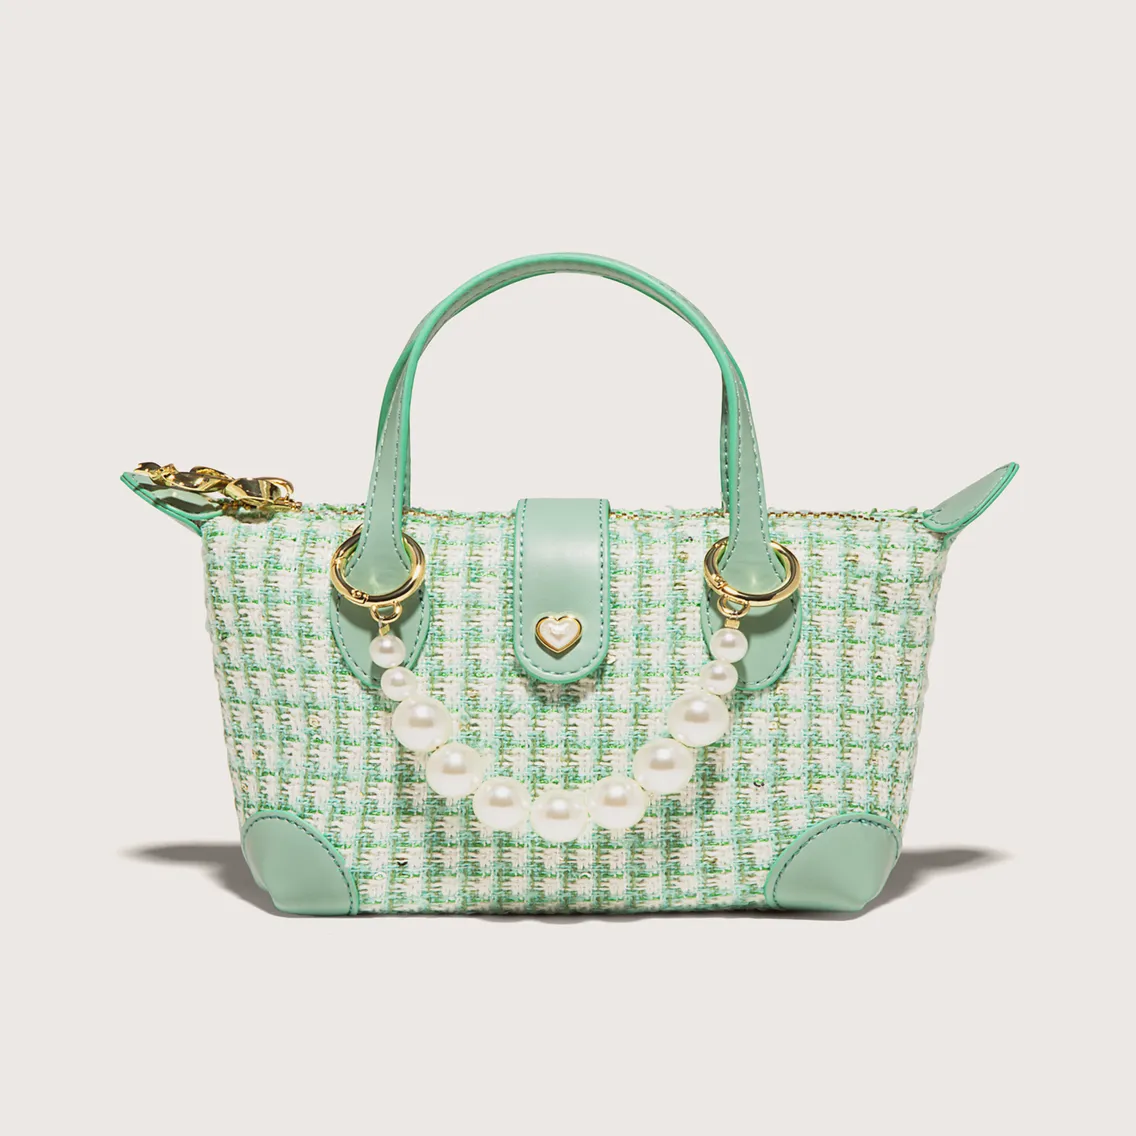
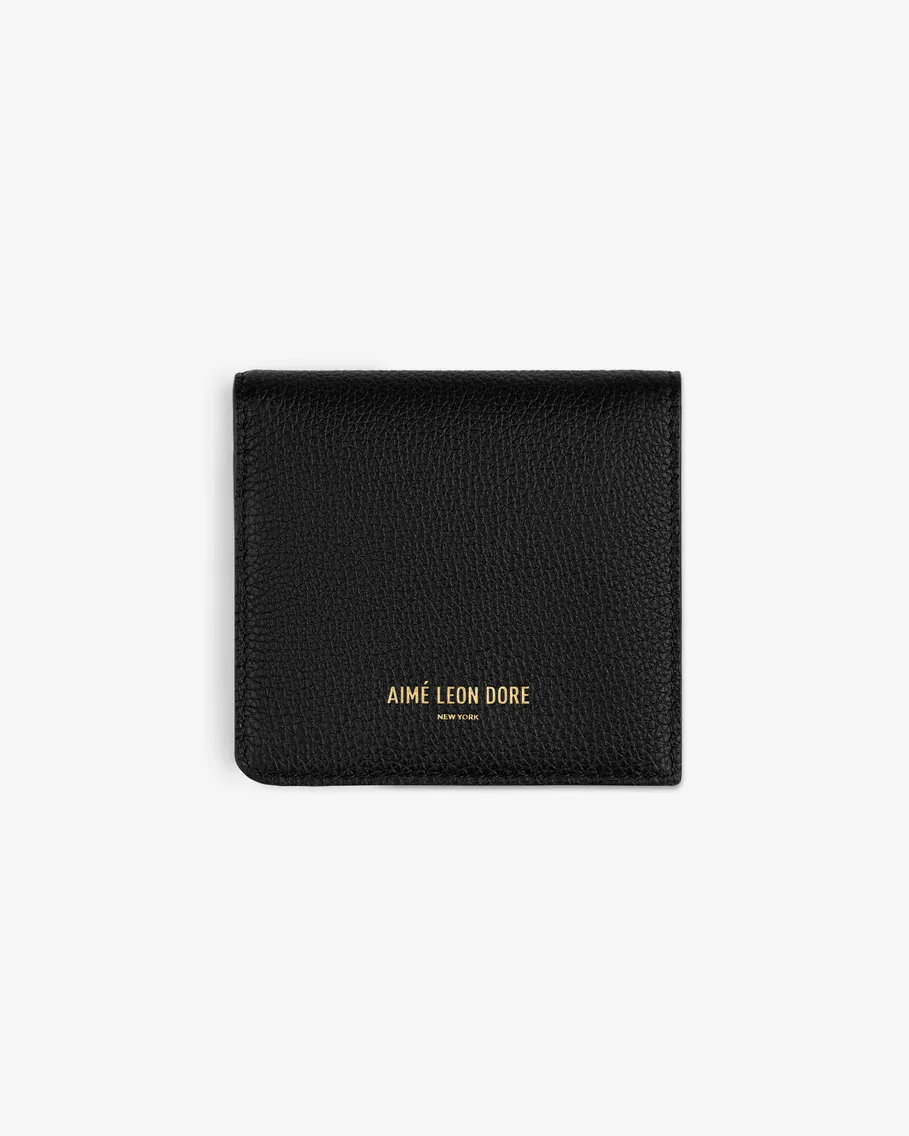
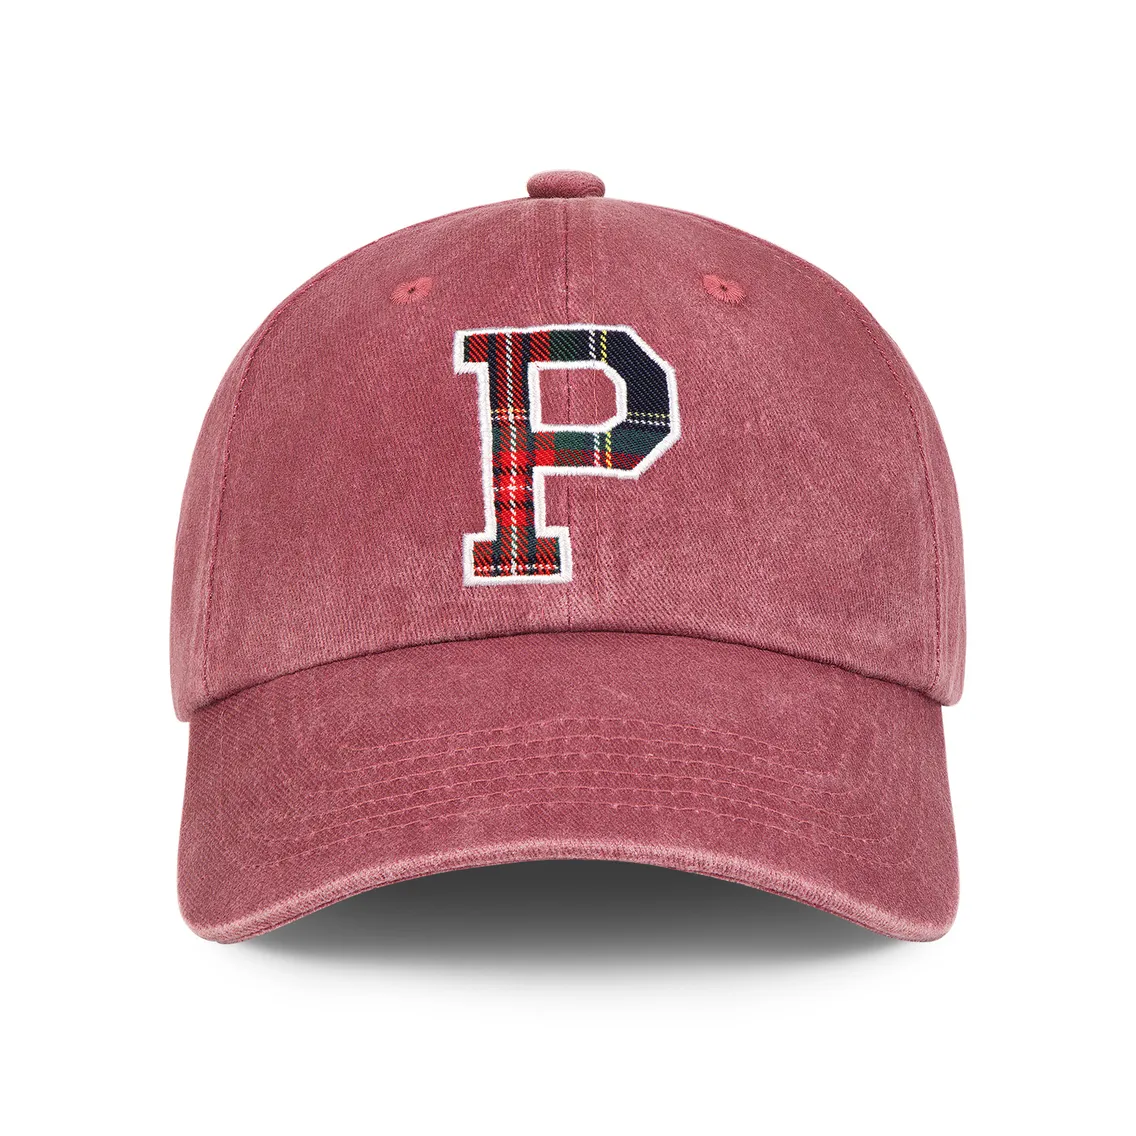
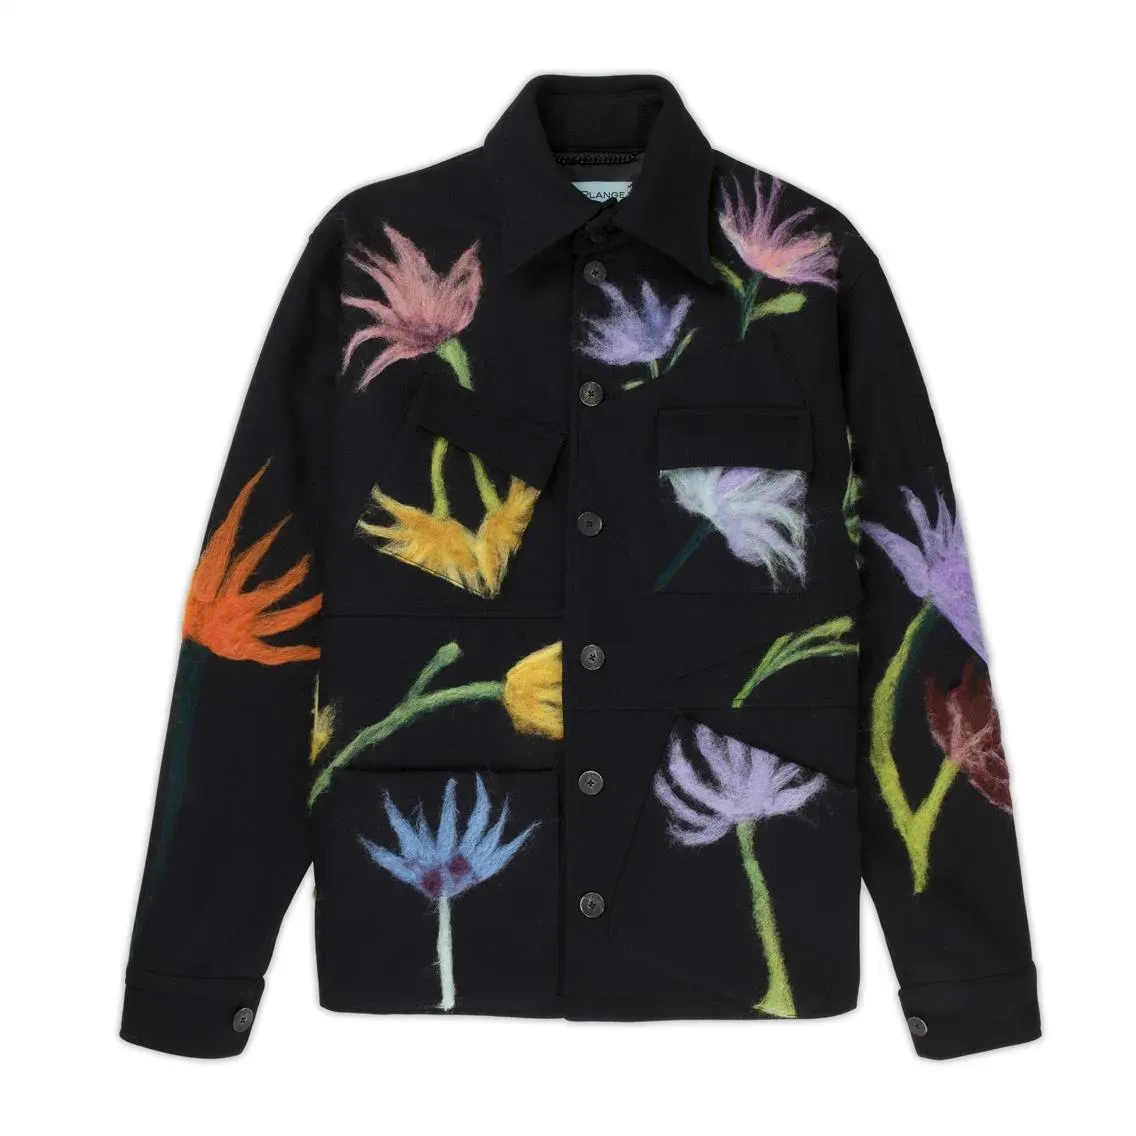
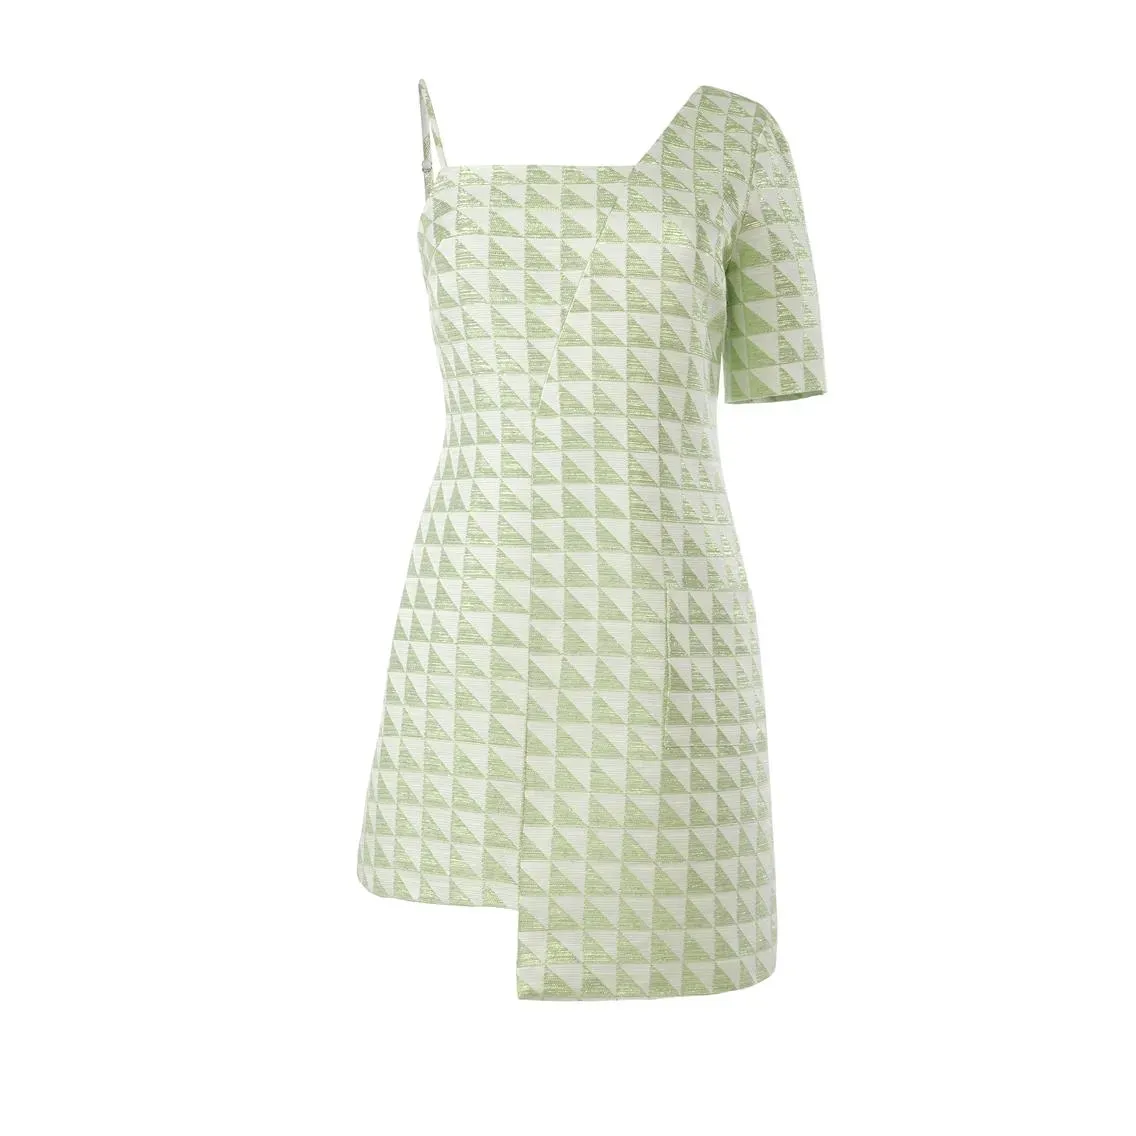
Fashion Product Photography for Clothing, Accessories, and Footwear
Apparel photography splits into four distinct approaches depending on how the garment needs to be presented.
White Background Photography — flat lay or ghost mannequin against a pure white background — is the Amazon and mass-market retail standard. Consistent, efficient, and platform-compliant.
Related Read: Do You Need White Background Photos for an eCommerce Website?
Flat lay — garment photographed from directly overhead on a flat surface — works well for accessories, folded items, and social media content. Faster and cheaper per image than ghost mannequin. Less effective for structured garments where the three-dimensional shape is part of the product.
Related Read: How to Use Flat Lay Photography for Your eCommerce Brand
Ghost mannequin (invisible mannequin) gives clothing a three-dimensional shape without a visible mannequin. The mannequin is removed in post-production, leaving the garment appearing filled out. Standard for catalog photography where you need consistent product-forward images at volume. LenFlash maintains men's, women's, and children's mannequins in-studio.
Related Read: Flat Lay vs Ghost Mannequin Product Photography: Choosing the Best for Your Business
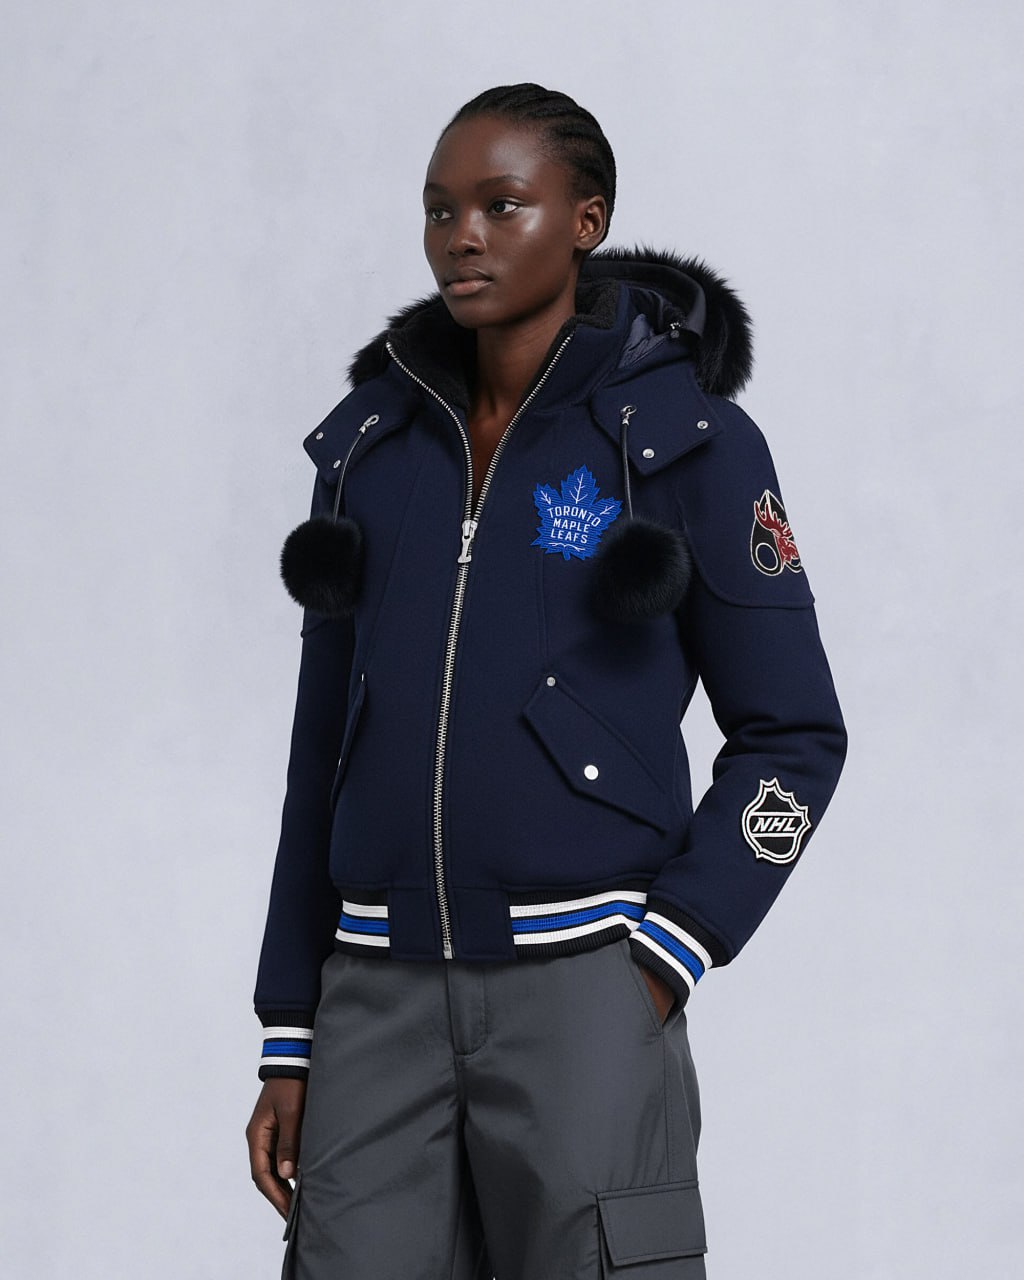
On-model photography shows the garment on a person, giving customers fit, drape, and scale context. Converts better than ghost mannequin or flat lay for fashion brands where the lifestyle context matters. Requires more pre-production (casting, styling, MUA) and costs more per image.
Related Read: Professional Fashion Photography for eCommerce Brands

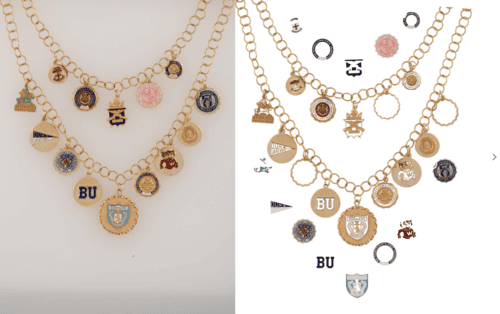
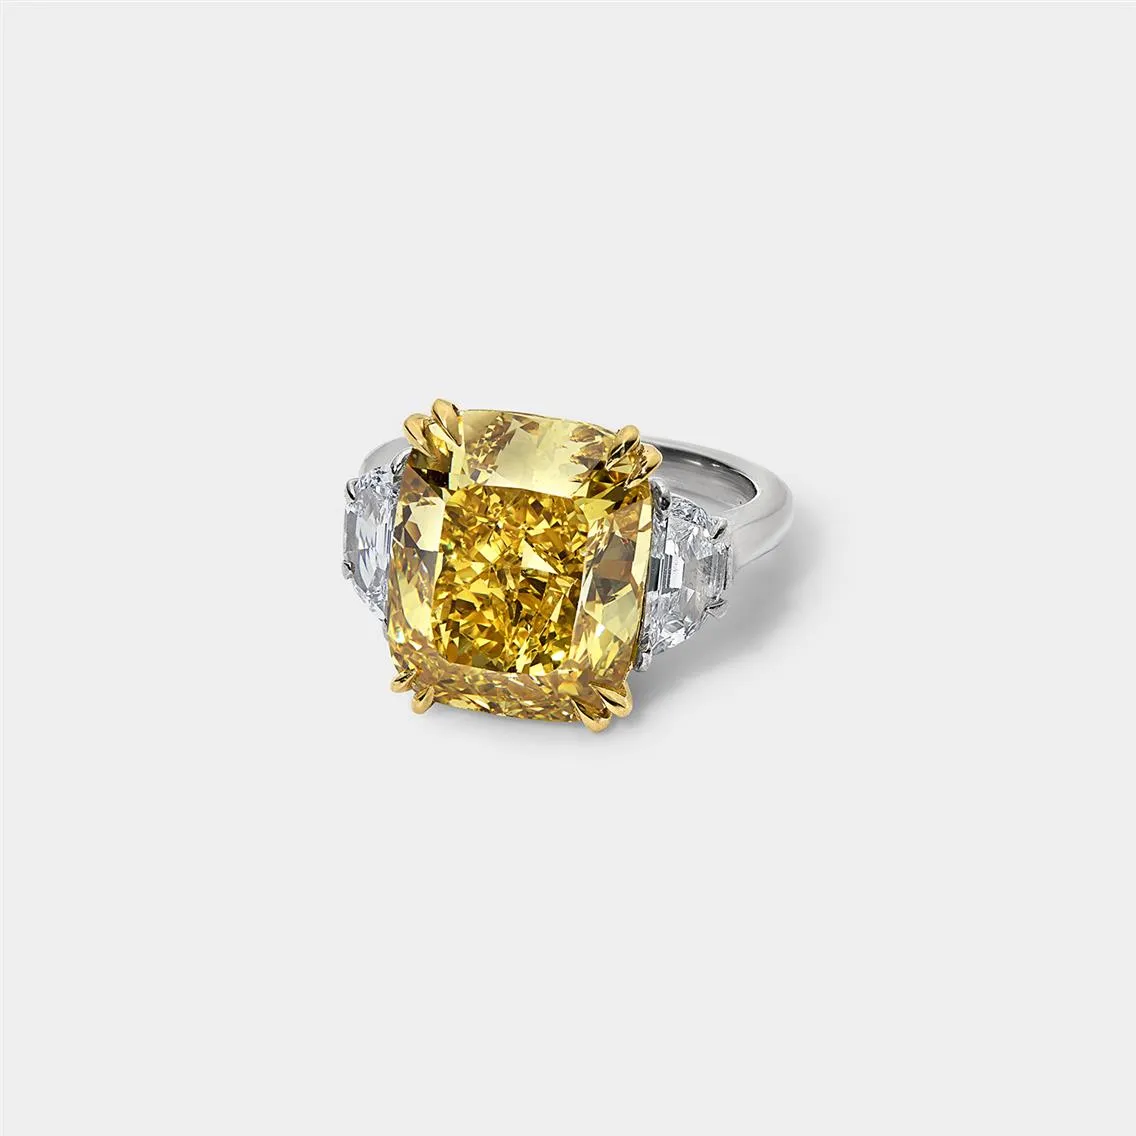
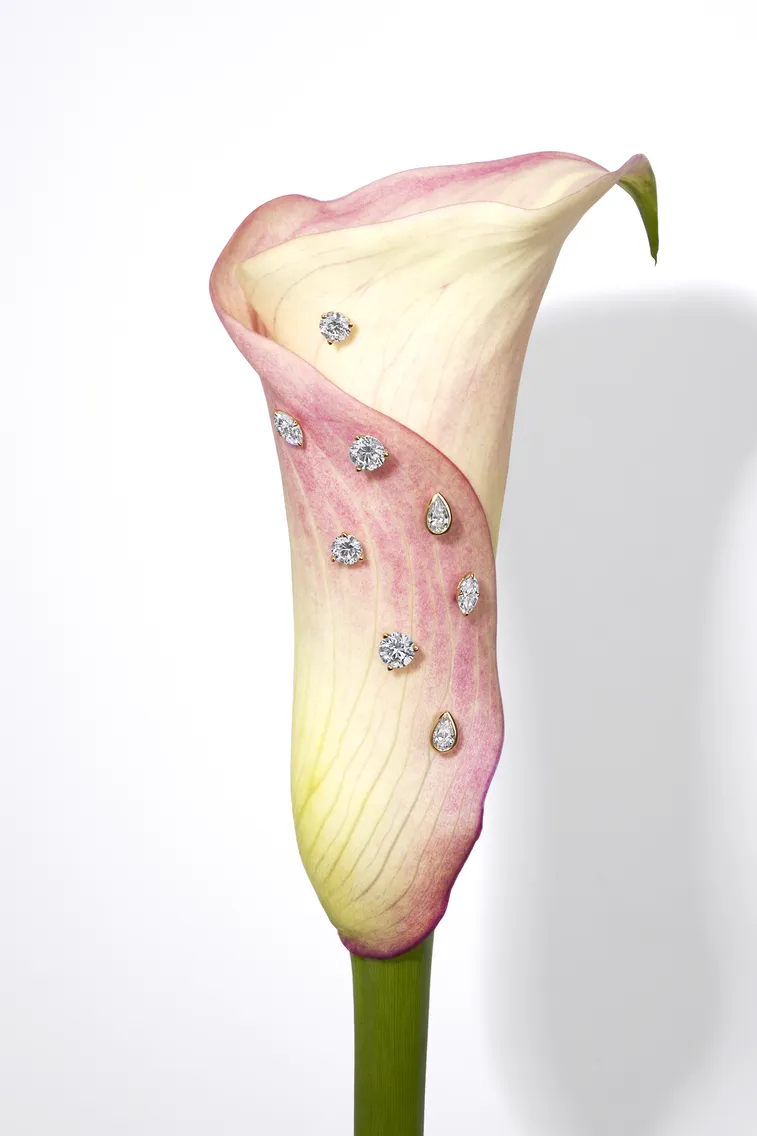
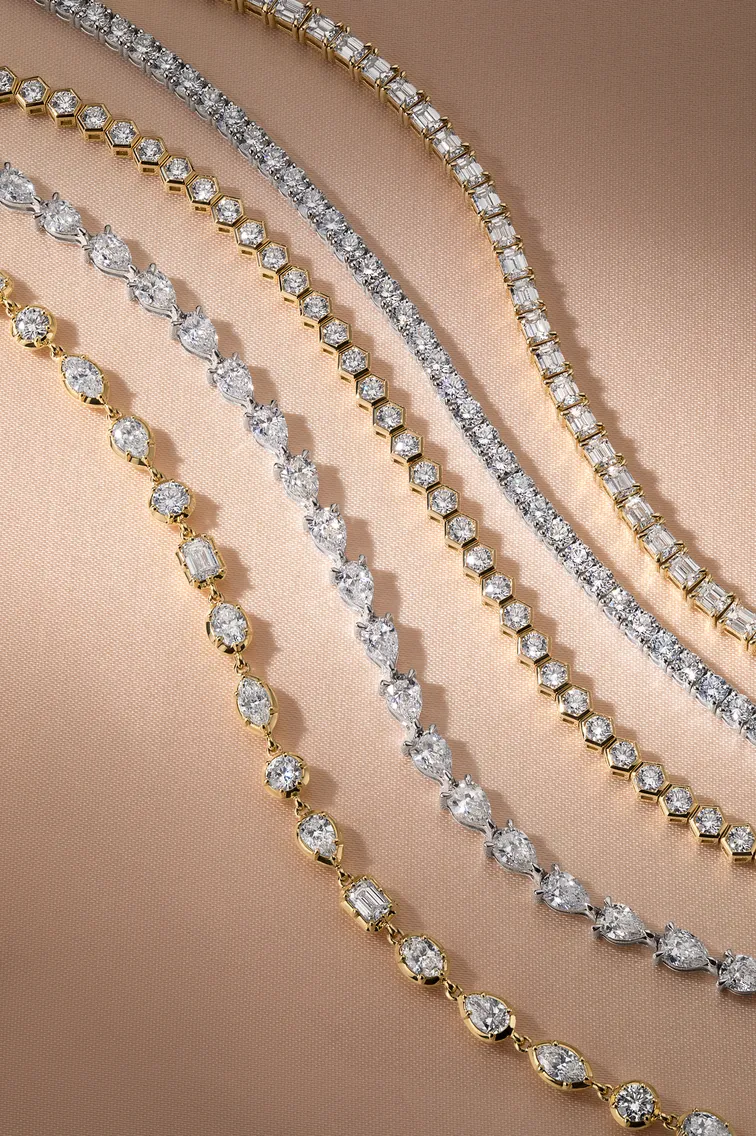
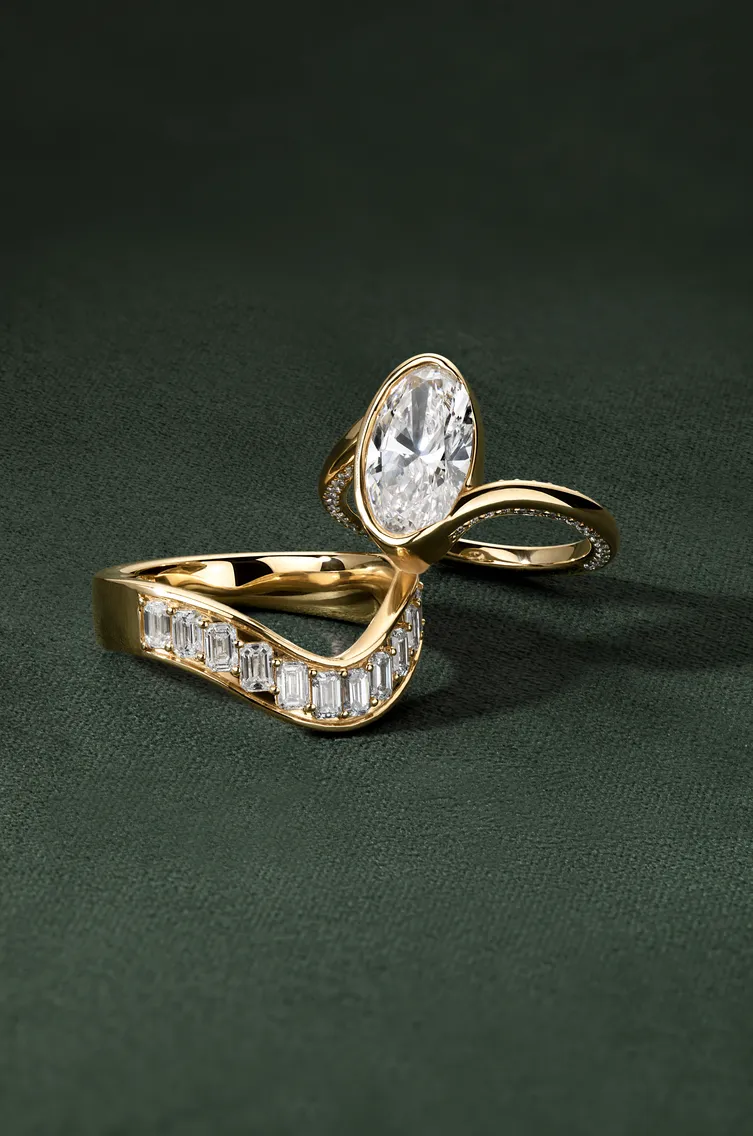
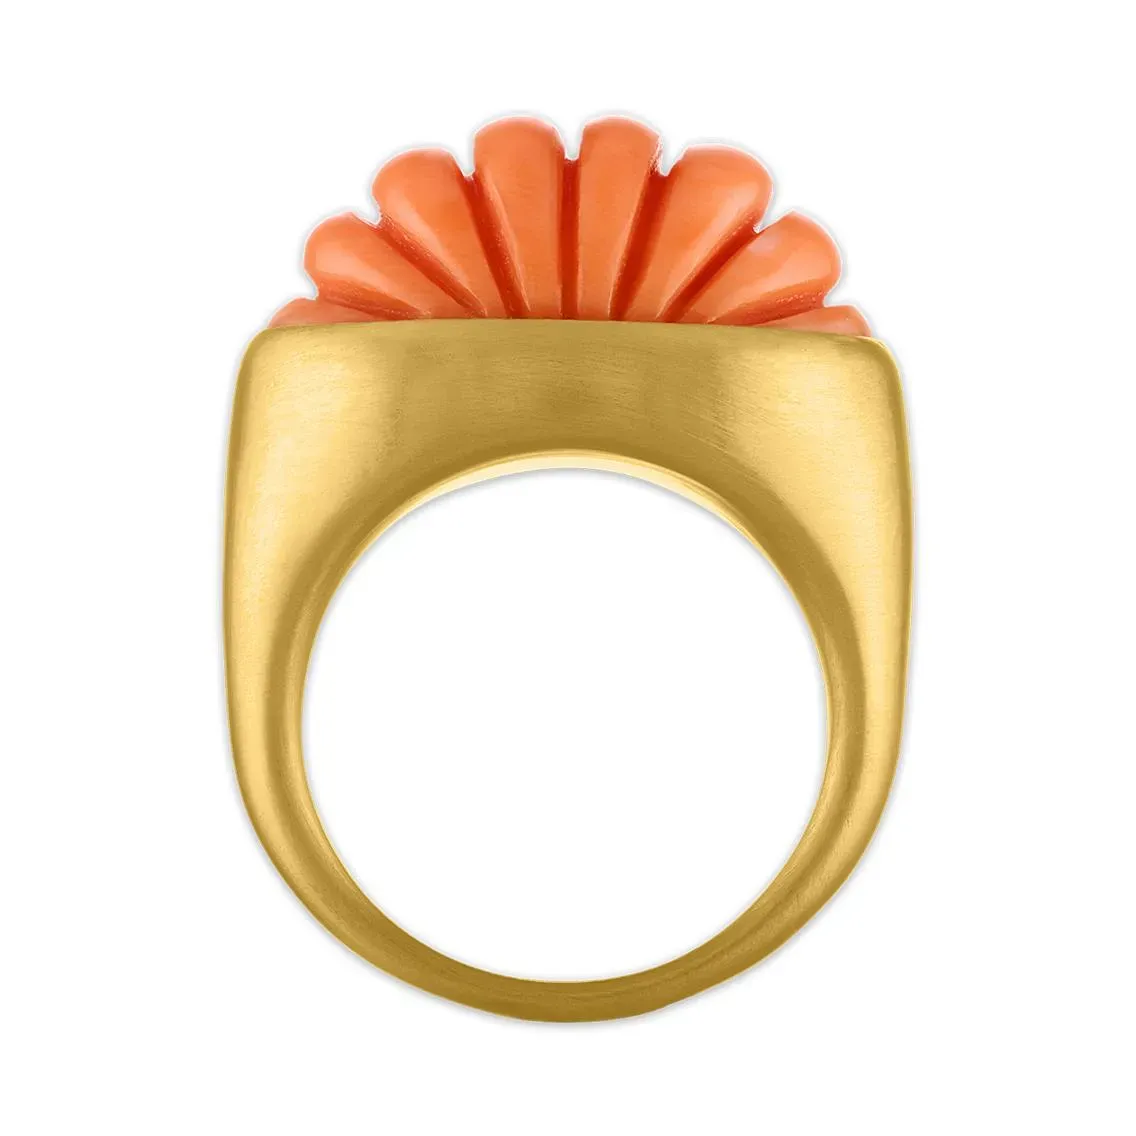
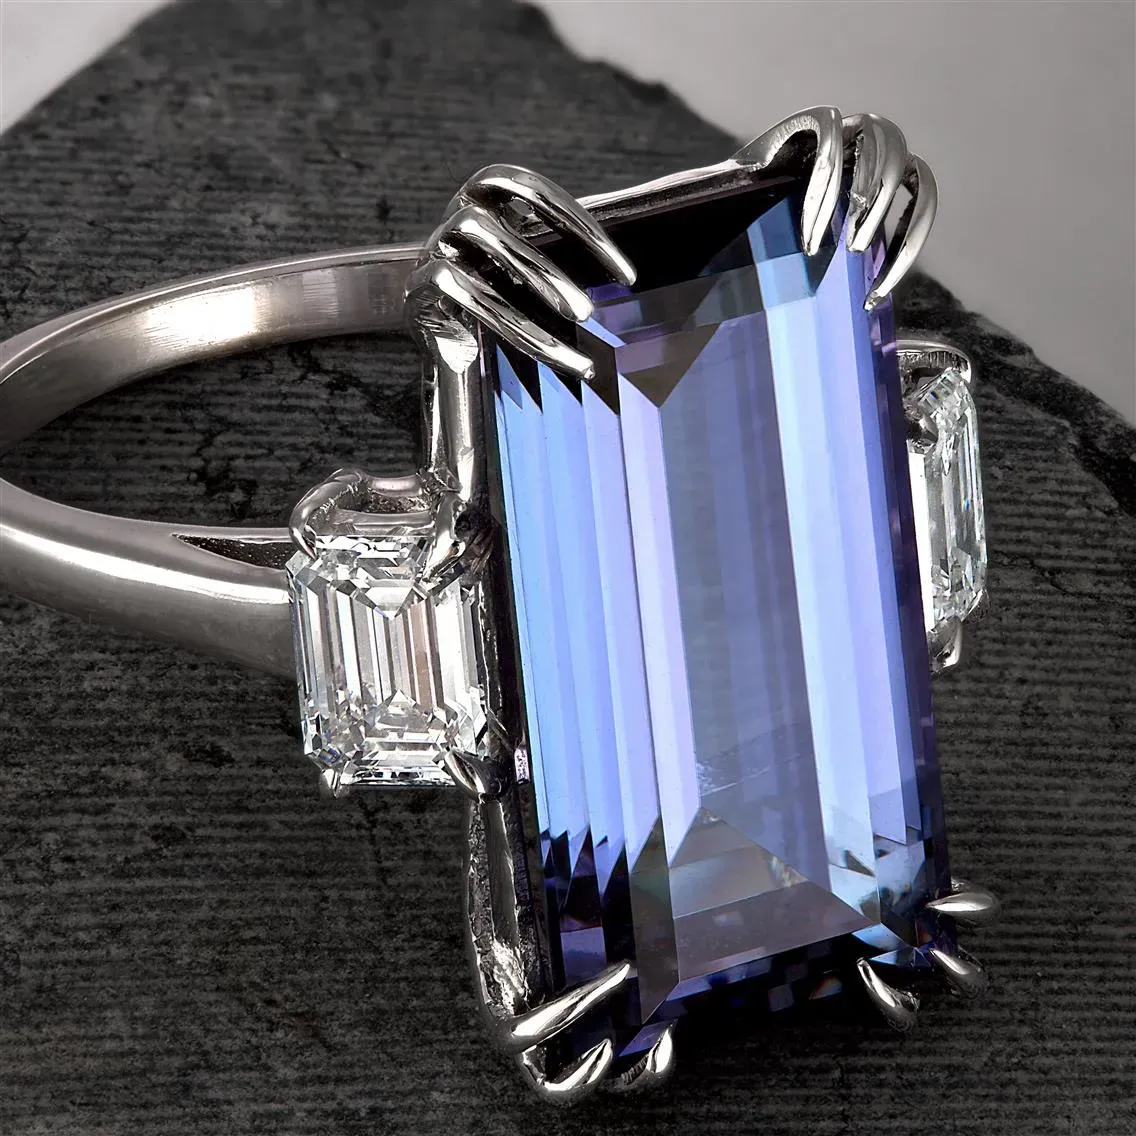
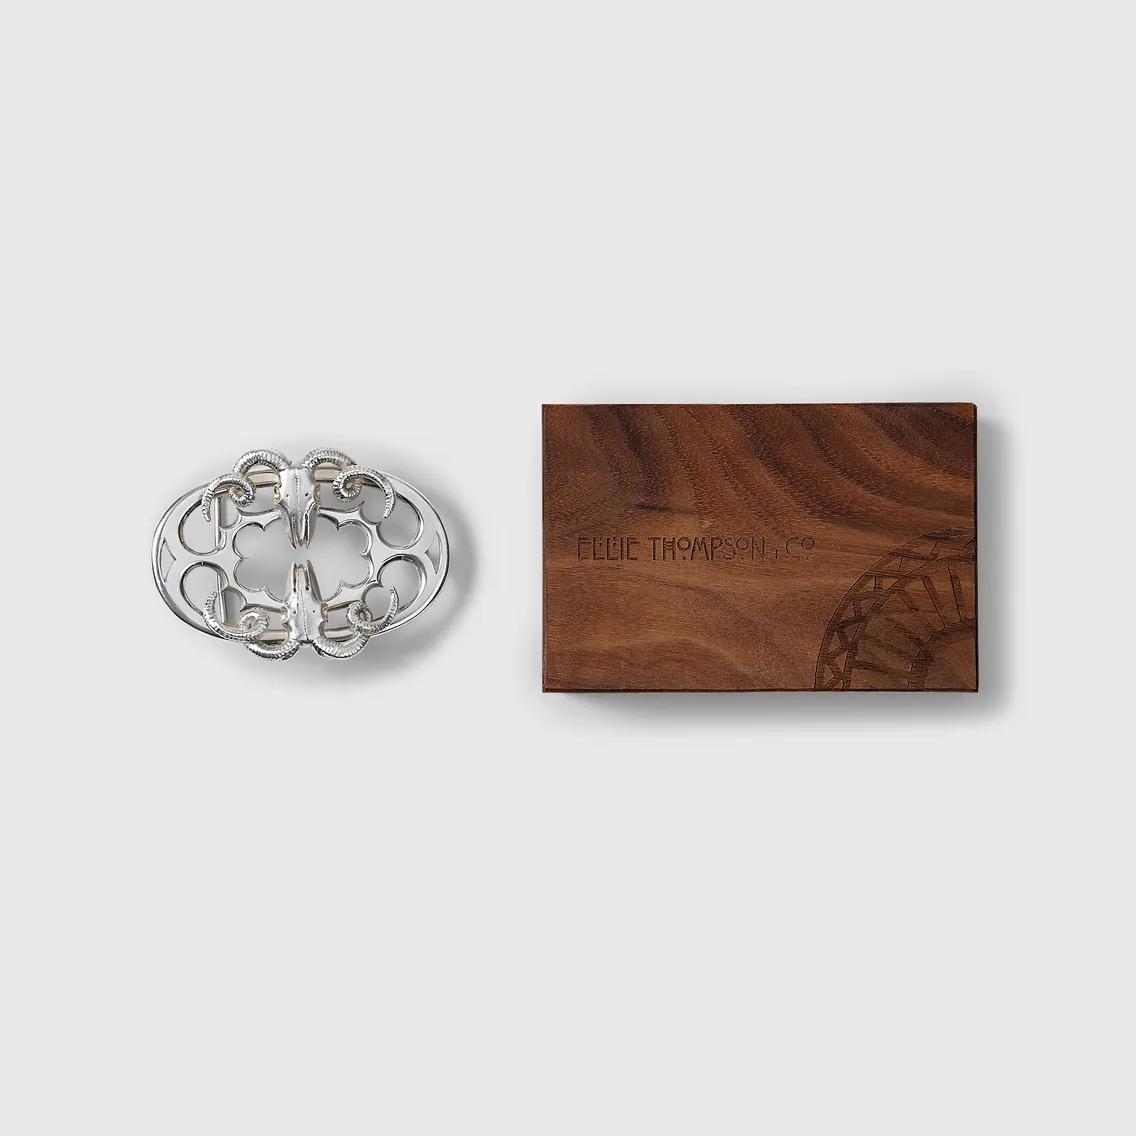
Jewelry Product Photography for Rings, Necklaces, Bracelets, Earrings, etc.
Jewelry photography is technically the most demanding category in eCommerce. Reflective metal surfaces, refractive gemstones, and small physical scale all create challenges that don't exist for other product types.
Read the full guide: Brand’s Guide to Jewelry Photography
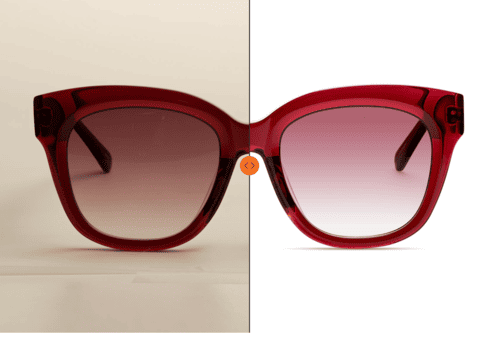
White and off-white background remains the standard for retailer submissions. Signet Jewelers (Zales, Kay, Jared), Macy's, Kohl's, JCPenney, Helzberg, Fred Meyer, and Sherwood all specify specific background requirements in their vendor guidelines. Pure white is the default; some retailers now accept off-white or gradient.
Open light photography uses harsh lighting to capture jewelry with natural reflections. Better for showing true depth of the item.
Related read: Introducing Open Light Product Photography Technique
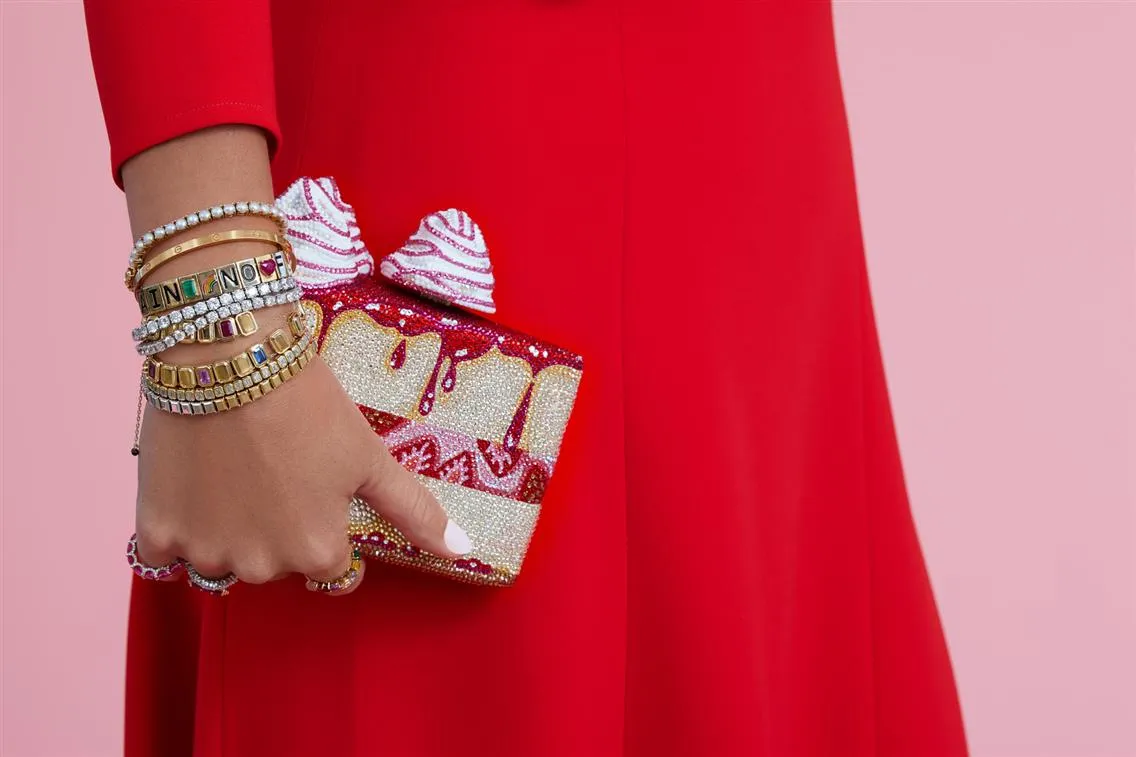
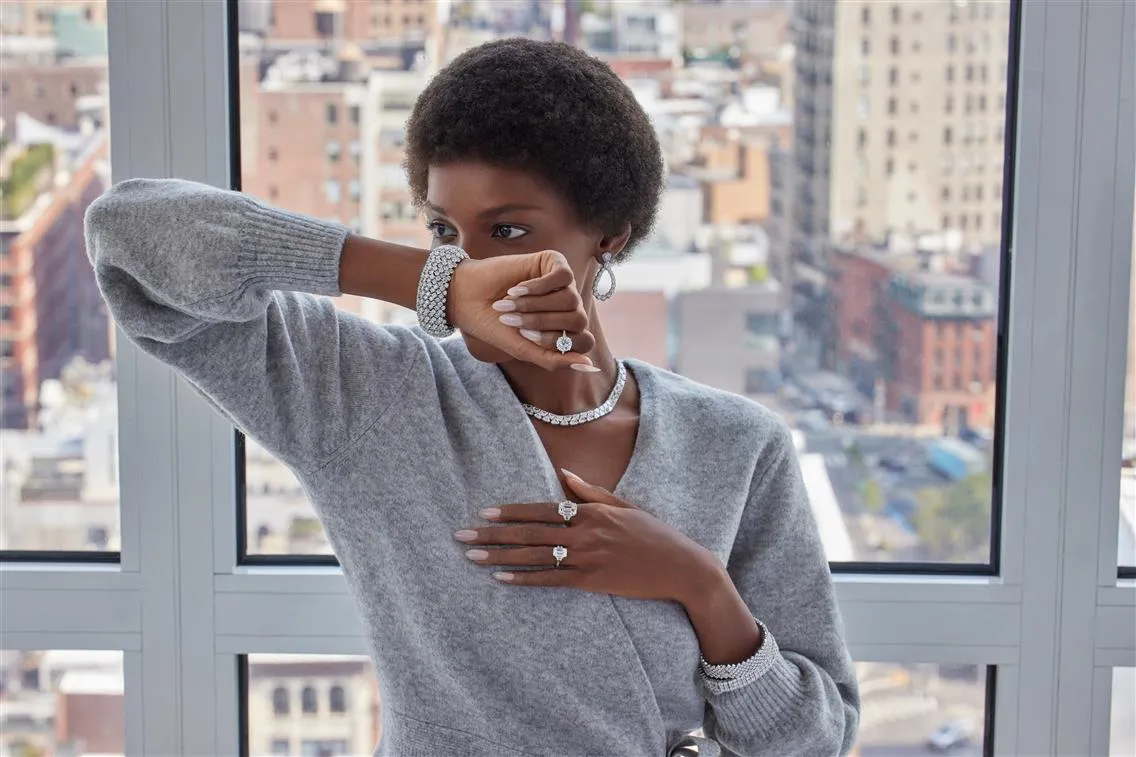
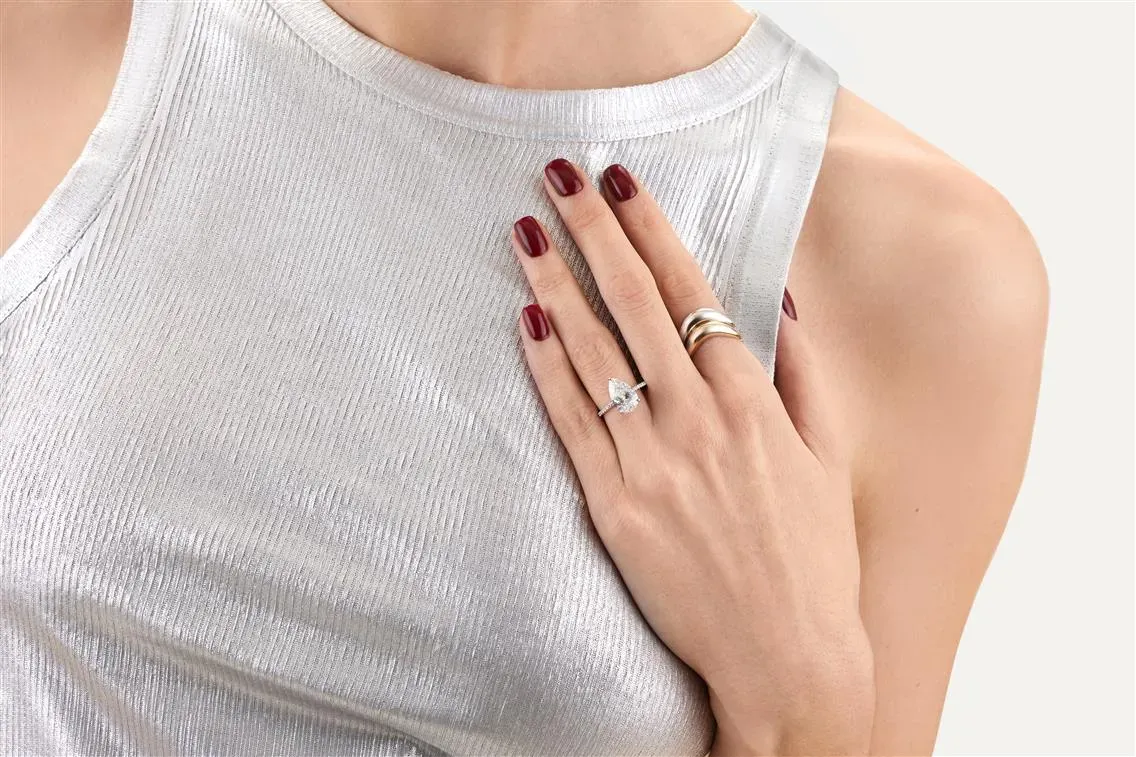
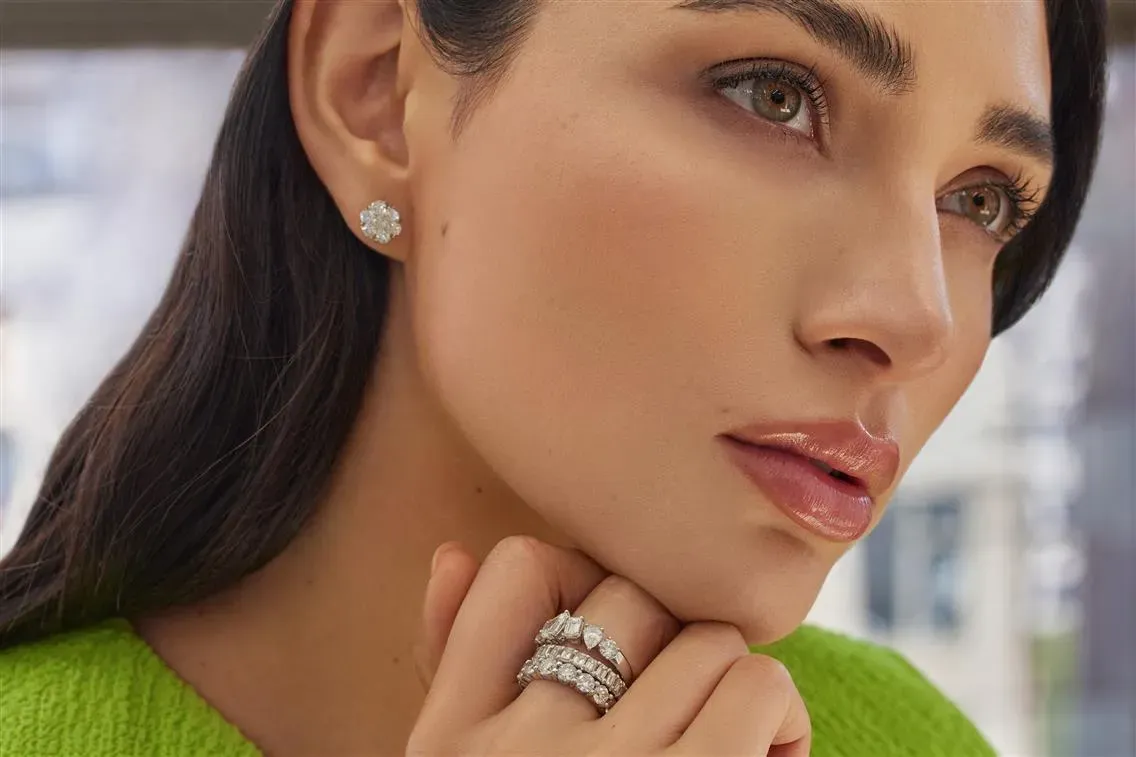
On-hand and on-model shots (ring on finger, necklace on neck, earrings on ear) give scale context and make jewelry feel wearable rather than abstract.
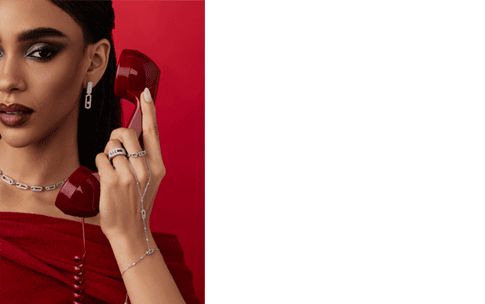
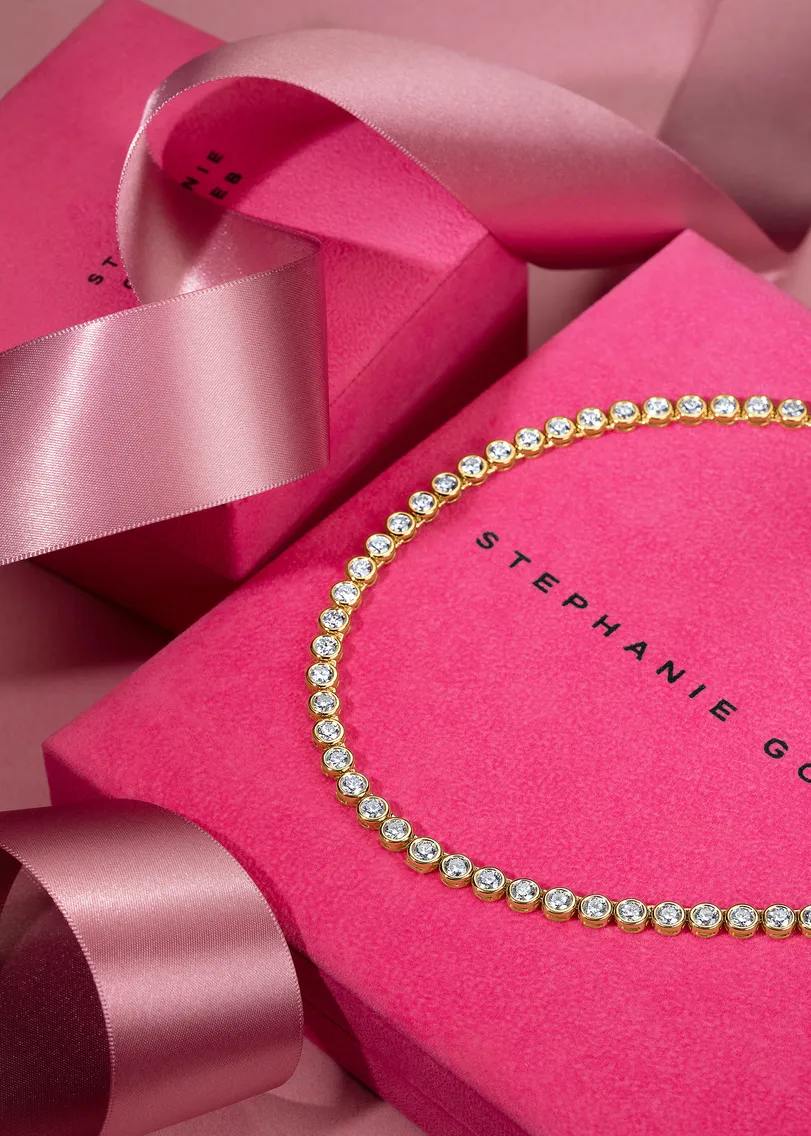
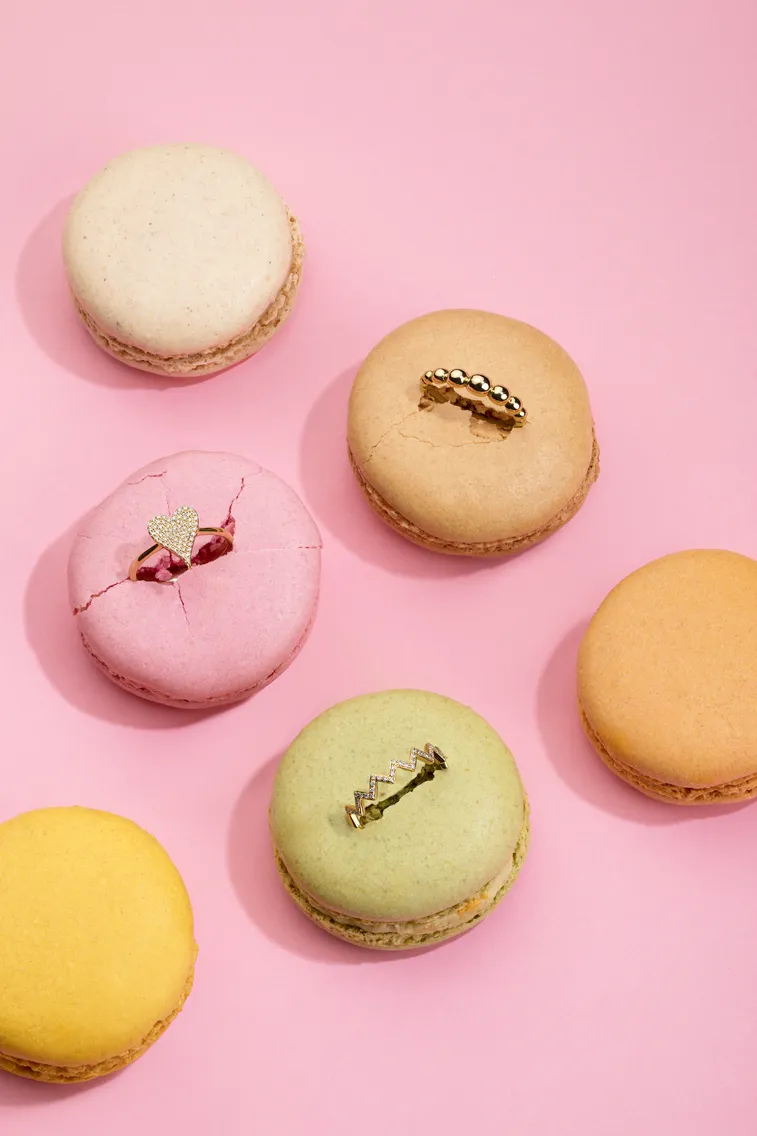
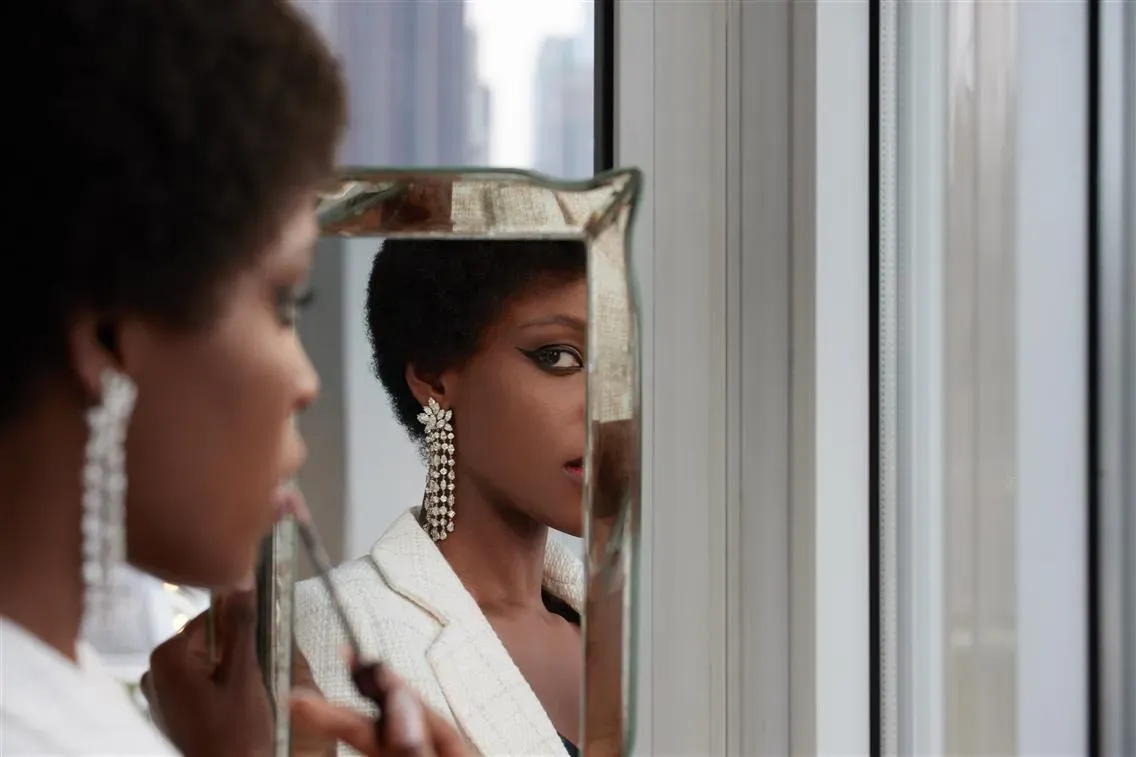
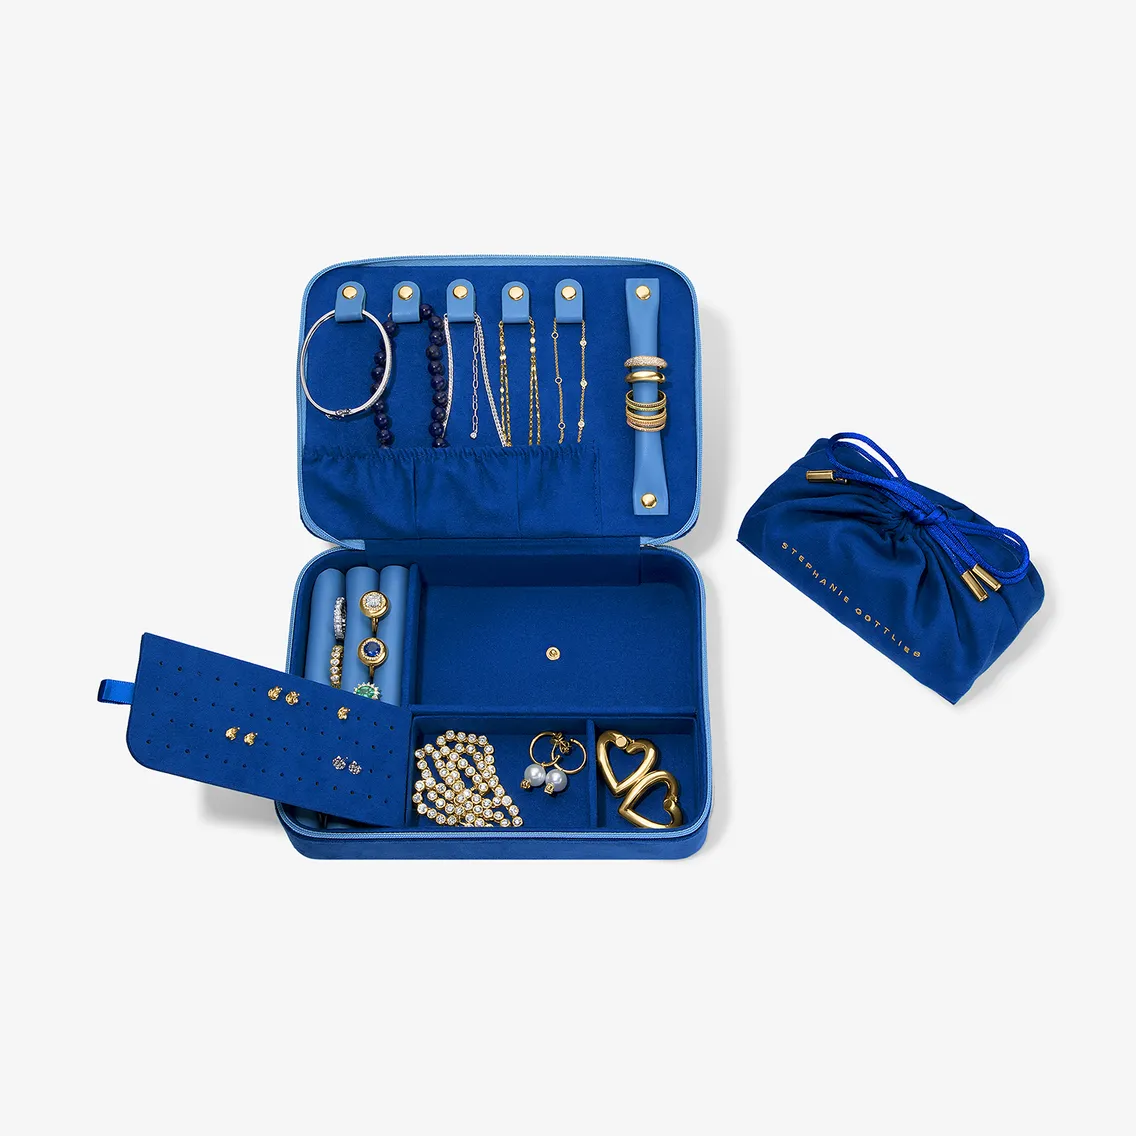
Lifestyle Jewelry Photography places jewelry in real-world settings, that tells a story, creating a luxurious or aspirational feeling that resonates emotionally with customers. It helps them picture the jewelry in their own lives, which is crucial for driving engagementand building brand identity.
Related read: Strategic Impact of Lifestyle Photography on eCommerce Business
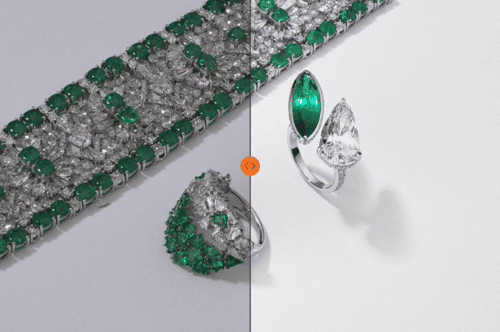
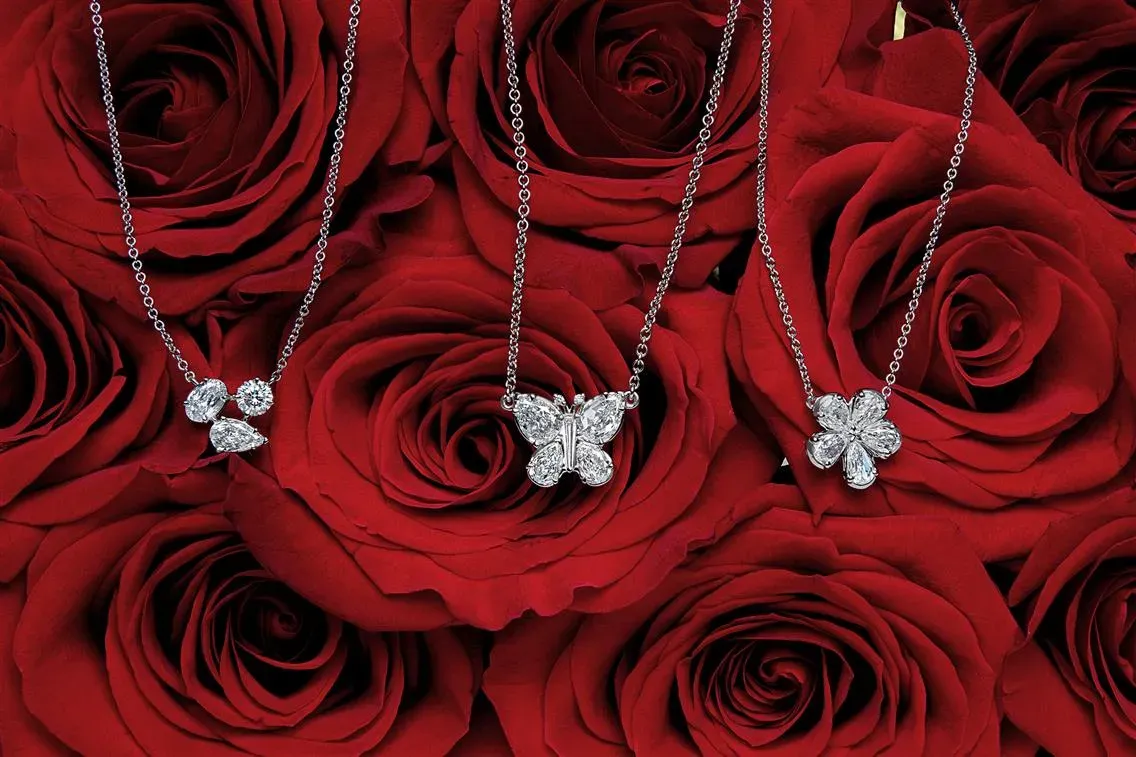
Still Life Jewelry Photography allows for more creative compositions, often used in marketing campaigns, catalogs, or social media to capture the essence of the brand while keeping the focus on the product’s luxurious appeal.
Related read: eCommerce Still Life Photography for Fashion and Jewelry Brands
360 Spin Jewelry Photography offers a complete view of the jewelry. This interactive style allows users to rotate the product and examine it from all sides, giving them a better understanding of its dimensions and details. It’s particularly useful for high-end jewelry where every facet of the design is important to the customer.
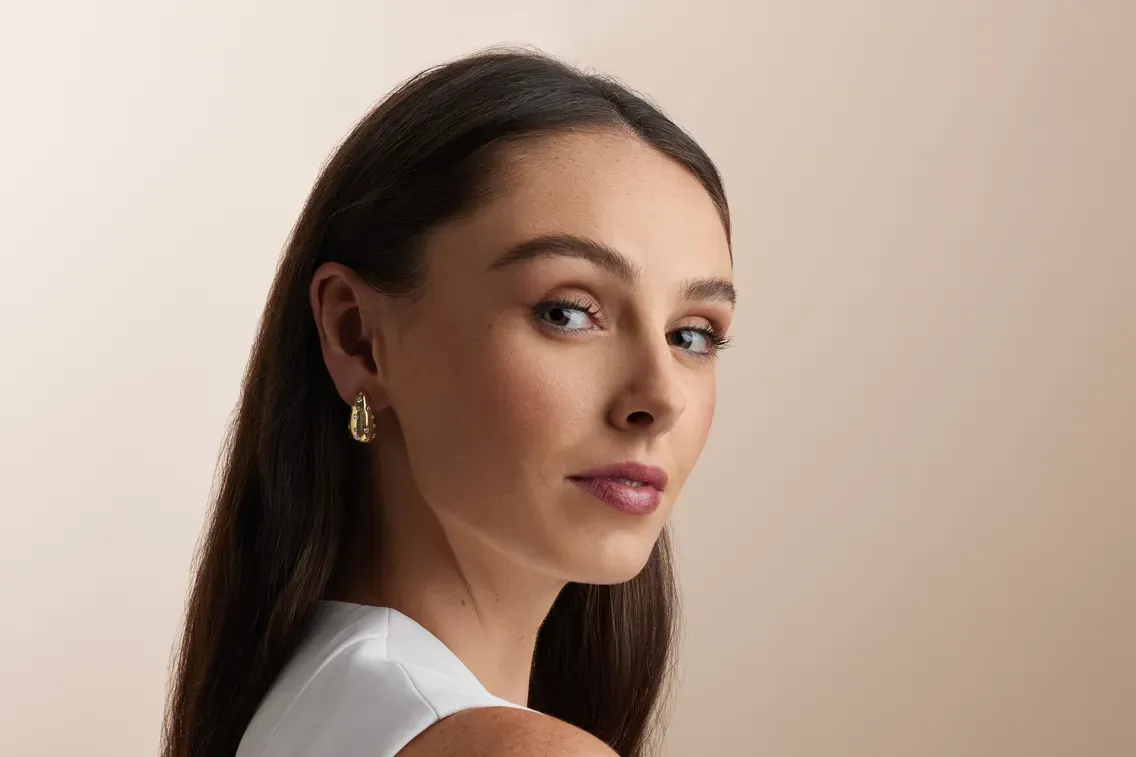
Beauty Product Photography for Cosmetics, Skincare, and Haircare
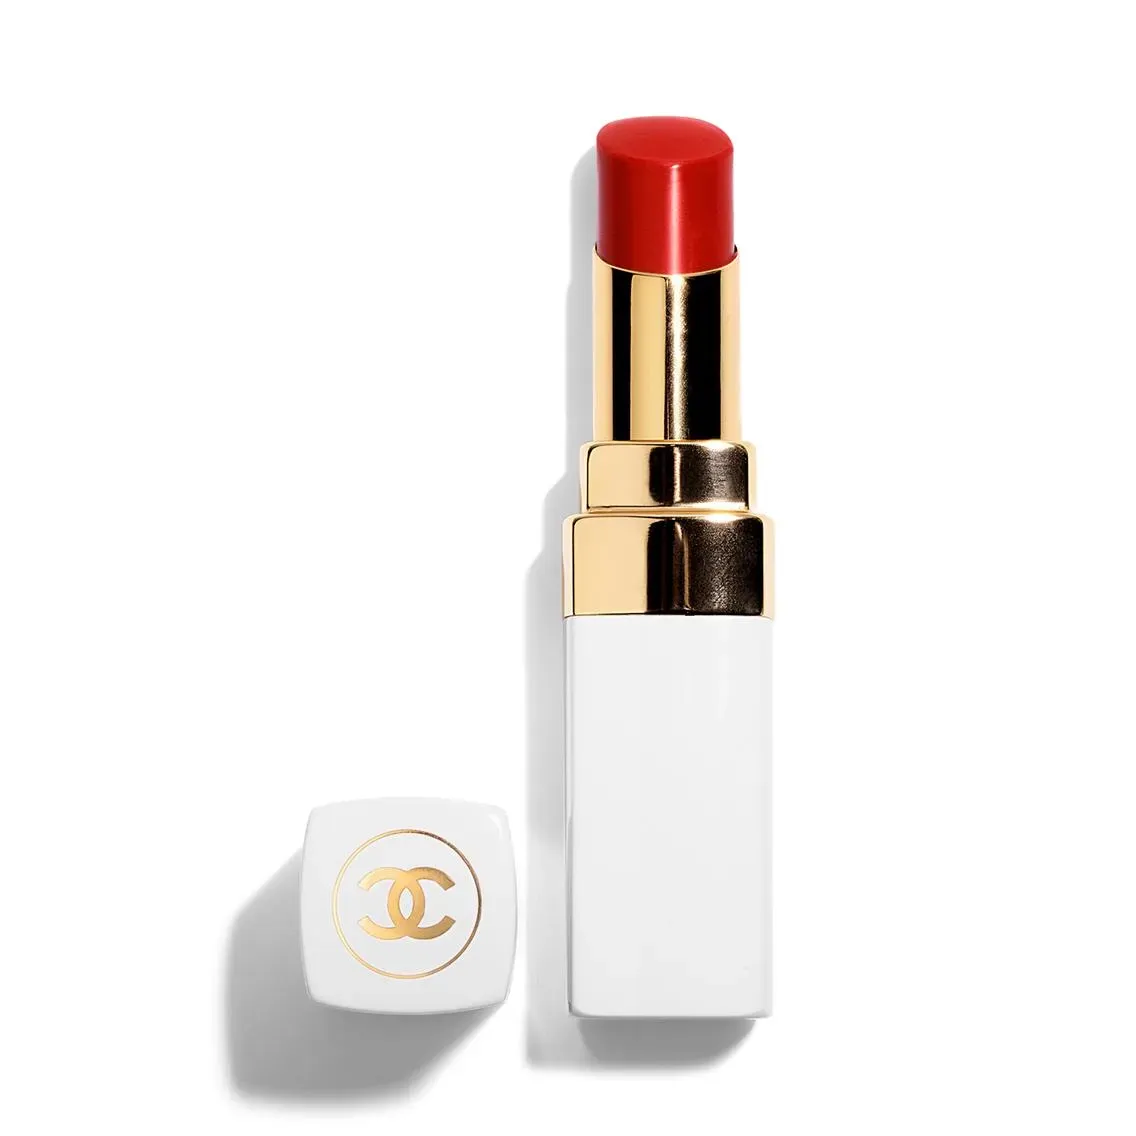
Beauty product photography focuses on packaging presentation and aspirational context. The brand's visual identity is often more visible in the packaging than in the product itself — the photography has to do justice to both.
White Background for platform compliance (Amazon, Ulta, Sephora). Primary image requirements are strict: no props, no lifestyle elements, product only.
Flat lay group shots work well for skincare routines, gift sets, and collection launches. Effective on Instagram and Pinterest. Macro shots of product texture (serum consistency, foundation coverage, powder shimmer) support purchase confidence, particularly for skincare and makeup. In-set photography places beauty products in bathroom, vanity, or lifestyle settings. Builds a brand world for DTC and editorial use.
On-model — foundation, lipstick, skincare on skin — shows product results rather than product packaging. Essential for cosmetics brands where the buyer decision depends on seeing the effect.
Related read: Cosmetics Product Photography for Beauty eCommerce Decoded
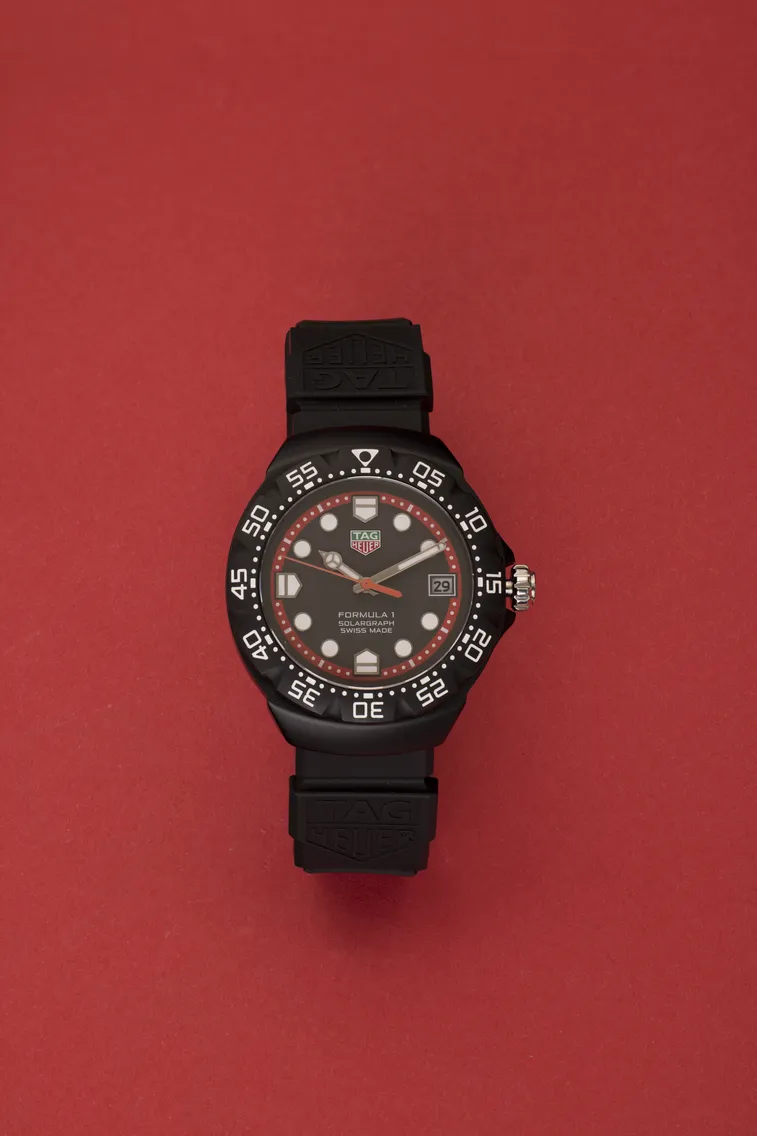
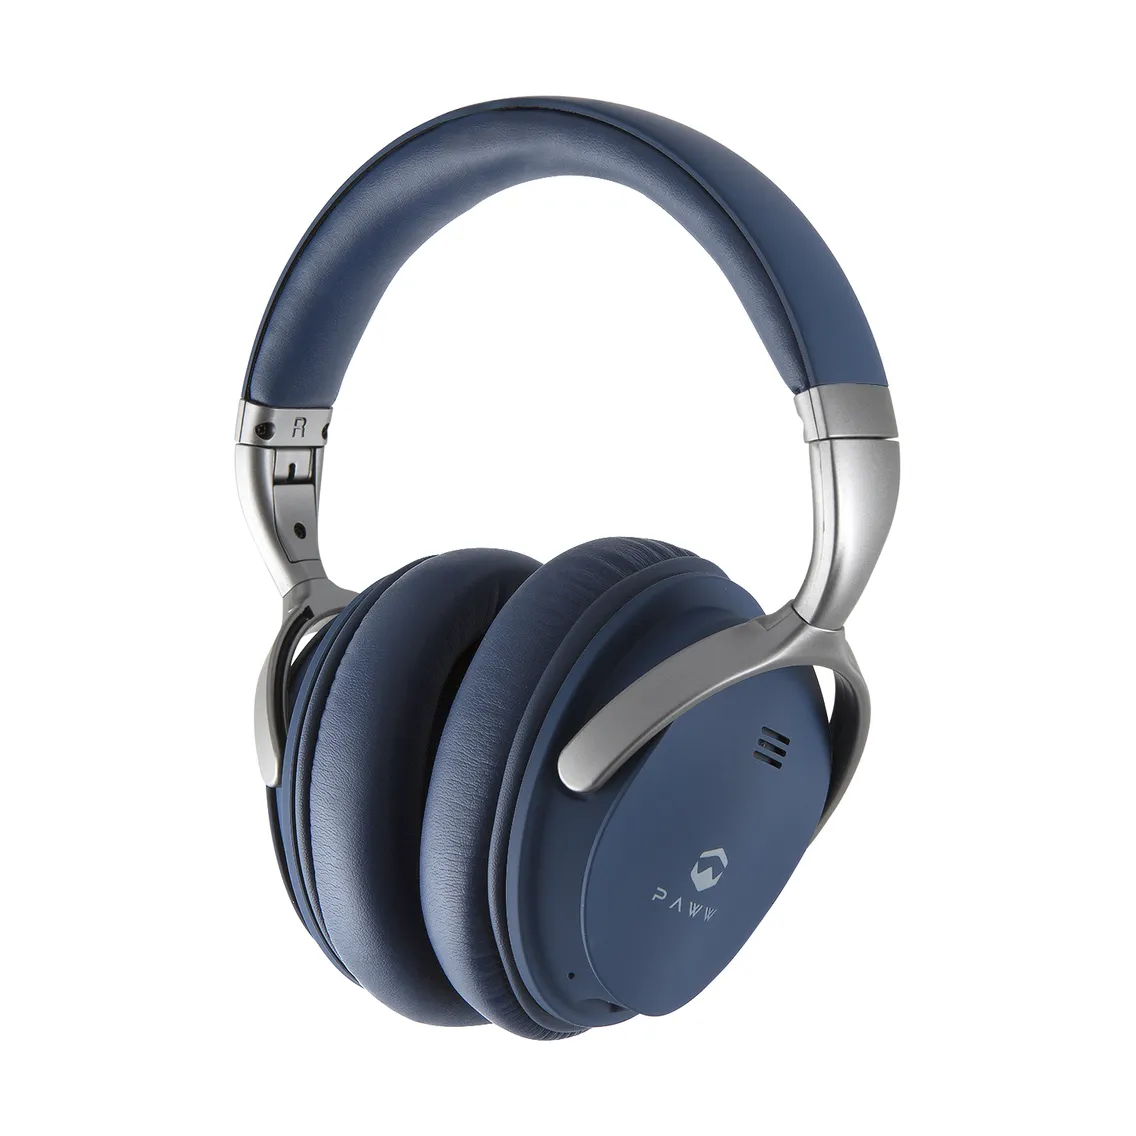
Electronics Product Photography for Gadgets, Devices, and Home Electronics
Electronics photography prioritizes clarity of function and feature communication. Buyers want to see ports, screens, dimensions, and interface elements before purchasing.
White background is the Amazon and marketplace standard. Screens should be either powered-on (showing the UI) or black — powered-off screens with visible reflections read as lower quality.
Still life and workspace shots show the product in context — laptop on a desk, speaker on a shelf, phone alongside accessories. Effective for A+ content and brand pages.
360-degree spin is particularly valuable for electronics, where buyers examine form factor closely. Reduces the "it looked different in the picture" return reason.
Packaged Goods Product Photography
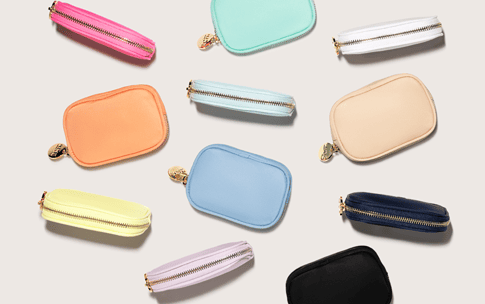
White Background Photography for packaged goods ensures that the focus remains on the packaging and branding, ideal for online listings where product clarity and consistency are crucial. This is especially important for consumable products like snacks, beverages, or health items.
Group Product Photography is useful for presenting multiple items in one shot, creating a cohesive visual that shows off product bundles, family packs, or seasonal collections. This approach is particularly effective for showing the variety within a product line, whether it’s different flavors of a snack or various wellness products. Group shots also work well for promotional purposes, where brands want to highlight the range or value of their offerings.
Related read: Packaging Photography and Videography
Home & Living Product Photography
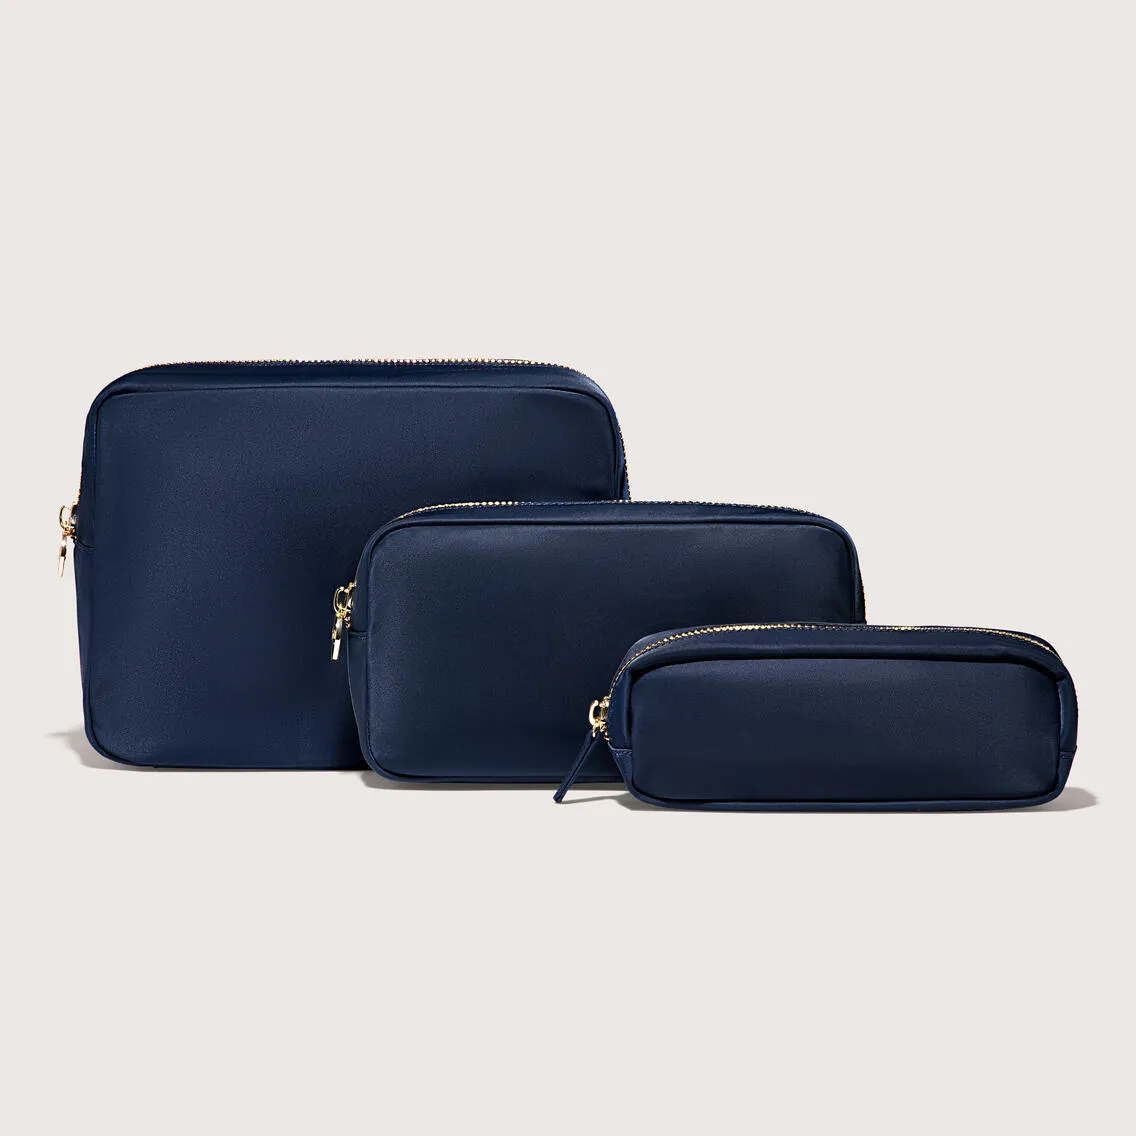
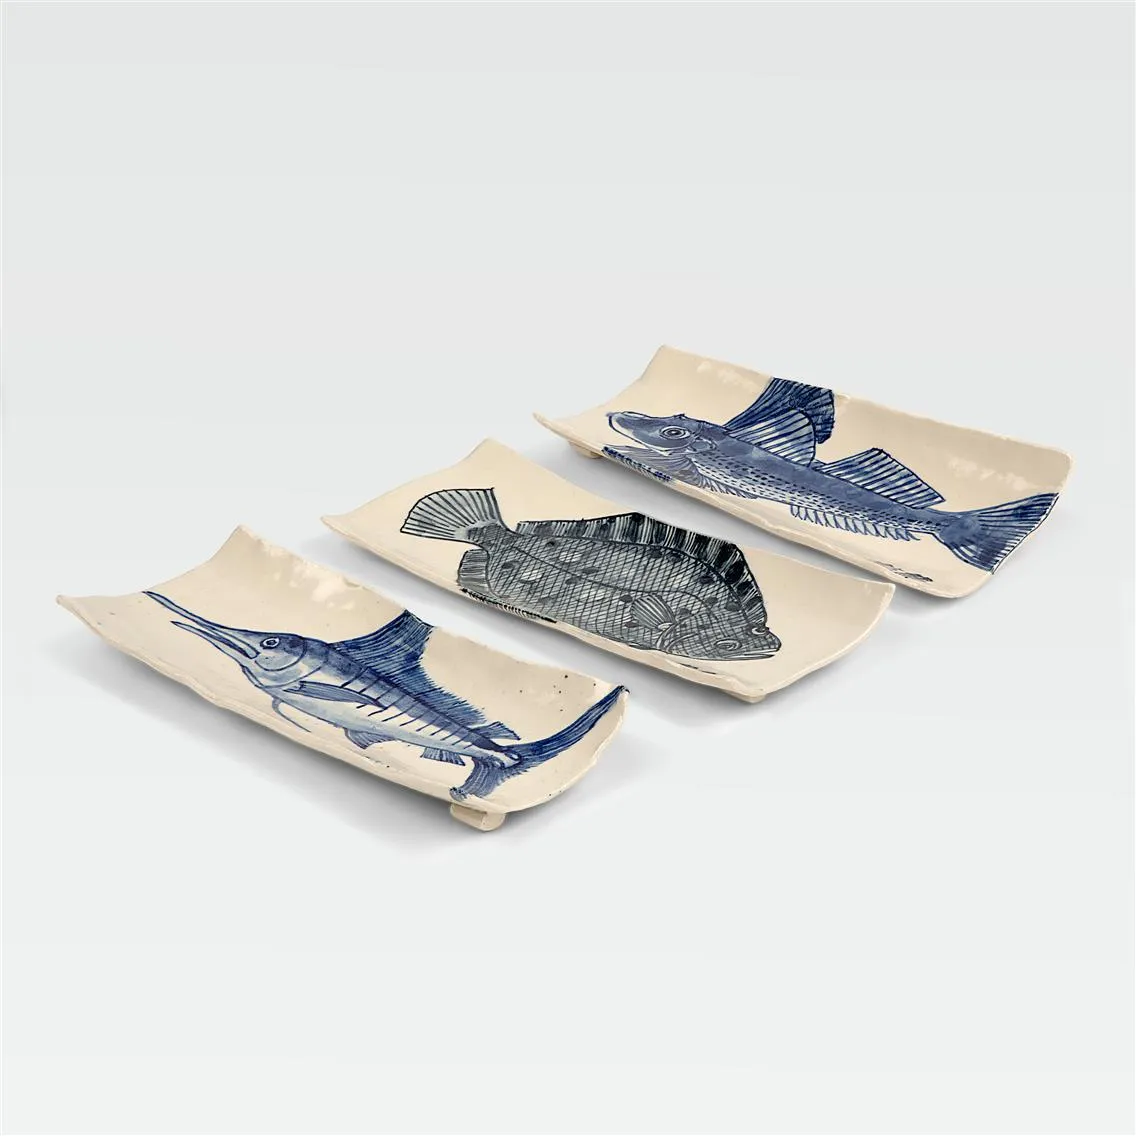
White Background Photography keeps the focus on the product’s design and features. Whether it’s a set of ceramic bowls or a decorative lamp, the simplicity of a white background allows customers to focus on the craftsmanship and details.
In-Set Photography (In Interior) is an effective way to help customers visualize how the product fits into their space. This approach enhances the emotional connection customers have with the product, making it easier for them to imagine incorporating it into their daily lives.
5 Key Principles in Creating eCommerce Visual Content that Sells
How do you create visuals that not only look good but also sell? Here are a few key principles.
1. Visual Content for Each Platform
Visual content does not perform equally across platforms. Each channel has different technical requirements, different customer behavior, and different visual standards that determine what converts. Producing content without considering where it will live means it underperforms everywhere.
Amazon requires a pure white primary image at RGB 255,255,255 with the product filling at least 85 percent of the frame. Secondary images can include lifestyle, infographic, and on-model content. The primary image is a compliance requirement — non-compliant images are rejected before they reach a customer. For apparel, on-model is permitted as the primary image.
For how to optimize an Amazon listing through visual content: How to Optimize Your Amazon Listing: Photos, Video, Infographics, and Product Descriptions
Shopify and DTC websites give full creative control over primary images. Brands selling direct have the flexibility to use open light photography, off-white backgrounds, and editorial-quality lifestyle images as primary images. This freedom means DTC visual content can more directly communicate brand identity and premium positioning than marketplace listings allow.
For how Shopify product photography works across product pages and collections: How to Set Up Product Photography for Your Shopify Store
Etsy rewards visual content that communicates handmade quality, craft, and authenticity. Lifestyle and still life photography that shows the product in context — on a natural surface, alongside materials, or in use — consistently outperforms clinical white background images on the platform. Etsy buyers are specifically seeking the non-generic, and the visual content should reflect that.
For how Etsy product photography differs from marketplace and DTC visual standards: Etsy Product Photography: What Drives Sales on the Platform
Instagram and Pinterest favor visual content where composition, color, and aesthetic quality generate saves and shares. Instagram rewards editorial, lifestyle, and movement-based content. Pinterest generates the highest performance from still life and styled flat lay photography where the composition is graphic and saveable. Content produced for these platforms should be planned for vertical formats and with generous negative space for text overlays and cropping flexibility.
For how social media photography strategy works for fashion and lifestyle brands: Social Media Photography for Fashion Brands
2. Accuracy and Ethical Editing
The most commercially important principle in eCommerce photography is accuracy. What the product looks like in the photograph must match what arrives in the customer's hands. Color, proportion, texture, and finish should all be represented faithfully.
Retouching is necessary and appropriate — removing dust, correcting minor lighting inconsistencies, and ensuring color accuracy all improve the image without misrepresenting the product. Changing the product's color, altering its proportions, or making it appear higher quality than it is crosses the line from editing into deception. The result is not just returns — it is a measurable erosion of purchase confidence across every channel the brand sells on.
The standard to shoot for is an image that looks like the product under ideal conditions, not an image that looks like a better product.
For how accuracy in photography directly affects return rates: Reducing Product Return Rates Through Accurate Photography
3. Consistency Across Your Catalog
Consistency is what transforms a collection of individual product images into a catalog. When lighting, background, crop ratio, color temperature, and retouching standards are consistent across every SKU, customers can compare products directly, the brand communicates professionalism at every touchpoint, and new products photographed months later slot seamlessly into existing pages without visual disruption.
Inconsistency has the opposite compounding effect. A catalog where some images were shot in a lightbox, some with natural light, and some at different crop ratios looks assembled rather than designed. Customers register this subconsciously even when they cannot articulate what is wrong.
Consistency also carries through to how visual content reflects brand identity. A luxury jewelry brand and a casual streetwear label should each have immediately recognizable visual systems — the same lighting approach, the same background standard, the same editorial register across every image. When visuals are consistent, brand recognition compounds with every new piece of content produced.
For how to build a consistent visual system across product categories: How to Get More From Your Photography Budget
4. Visual Storytelling
Visuals should do more than document a product. The most commercially effective product photography communicates a context, a lifestyle, or a set of values that makes the product feel like part of a world the customer wants to inhabit.
For catalog photography and marketplace listings, visual storytelling means secondary images that show the product in use, demonstrate scale, and answer the practical questions that the hero image leaves open. For campaign and brand photography, it means images that build emotional connection and brand desire across social media, email, and paid advertising — content that makes someone want the product before they have thought about whether they need it.
Still life photography adds narrative through composition and props without requiring models or locations. Lifestyle photography shows the product in the context of a life the customer aspires to. Campaign photography builds the brand world that all other content benefits from.
5. Right Production Team
The quality of visual content depends as much on who produces it as on the equipment used. A photographer working alone produces different results from a coordinated team where a creative director sets the visual direction, a stylist prepares the product, a producer manages the timeline, and a retoucher finishes the images to a consistent standard.
For brands scaling their visual content production, understanding who does what in a commercial shoot prevents both budget waste and missed shots. The roles are distinct and each one affects the final output in ways that are difficult to compensate for in post-production.
For a full breakdown of every role in a commercial eCommerce production: Understanding the eCommerce Photography Creation Process and Team Involved
How to prepare your products for a shoot
Preparation directly affects the quality of the finished images and the speed of production. The most common issues we see:
Jewelry: tarnish that the client has stopped noticing, missing stones, scratched surfaces from improper storage. Inspect every piece under good light before shipping. Use anti-tarnish pouches for shipping.
Apparel: creases, loose threads, missing buttons, stains. Steam or press every garment. Ship on hangers in a garment bag, not folded in a box.
Products with packaging: fingerprints on clear packaging, dented corners, label misalignment. Clean with a microfibre cloth. Wrap individually.
All products: label each item clearly with your SKU. We process hundreds of products at a time — unlabelled items slow production significantly.
Full prep guide: How to prepare your products for a professional photoshoot
How to structure visual content production as your brand scales
Early-stage brands handle visual content reactively: shooting new products as they launch, often with inconsistent resources and no defined style guide. This works until catalog volume and channel complexity outgrow what a single photographer or piecemeal approach can handle.
The inflection point for most fashion and eCommerce brands is somewhere between 80 and 150 SKUs per season. At that scale, the production variables multiply: multiple product categories with different technical requirements, multiple retail channels with different spec requirements, multiple content types needed from each shoot. Managing this without a structured system like style guide, shoot schedule, asset management, delivery workflow, creates compounding inconsistency that becomes progressively harder to correct.
The right production structure depends on your volume, your channel mix, and whether you're selling through retailers with formal vendor requirements. Brands selling on their own DTC site have more flexibility than brands submitting to Nordstrom or Kohl's, where non-compliant images are rejected outright and have to be reshot. Build your production system around your most demanding channel, and everything else will be easier.
Related read: How to scale visual content production as your brand grows
Choosing a product photography studio
The right studio for your brand depends on three things: whether they have experience with your product category, whether their turnaround works with your production calendar, and whether their pricing structure scales with your volume.
For brands working with major US retailers, retailer spec compliance matters as much as image quality. An image that looks great but fails Nordstrom's file spec requirements gets rejected and has to be reshot. Ask specifically about retailer experience before booking. That knowledge should come standard, not be something you have to supply.
For jewelry brands in particular, it goes one level deeper: the studio needs to understand how a piece is actually constructed: how it sits, where the design detail lives, how the metal behaves under light, because the difference between an approved submission and a rejection can be a matter of a few degrees that look identical to the untrained eye but read completely differently to a retailer's review team.
LenFlash has photographed product lines for vendors supplying Nordstrom, Macy's, Signet Jewelers, Kohl's, JCPenney, Helzberg, Amazon, QVC and others since 2004. Our studio is at 45 West 36th Street, New York, we offer online ordering, real-time quotes, cloud delivery.
Related read: Collaboration with a Professional Photo Studio: Setting Correct Assignments and Expectations


