

How eCommerce Brands Should Prepare Their Products for a Photoshoot
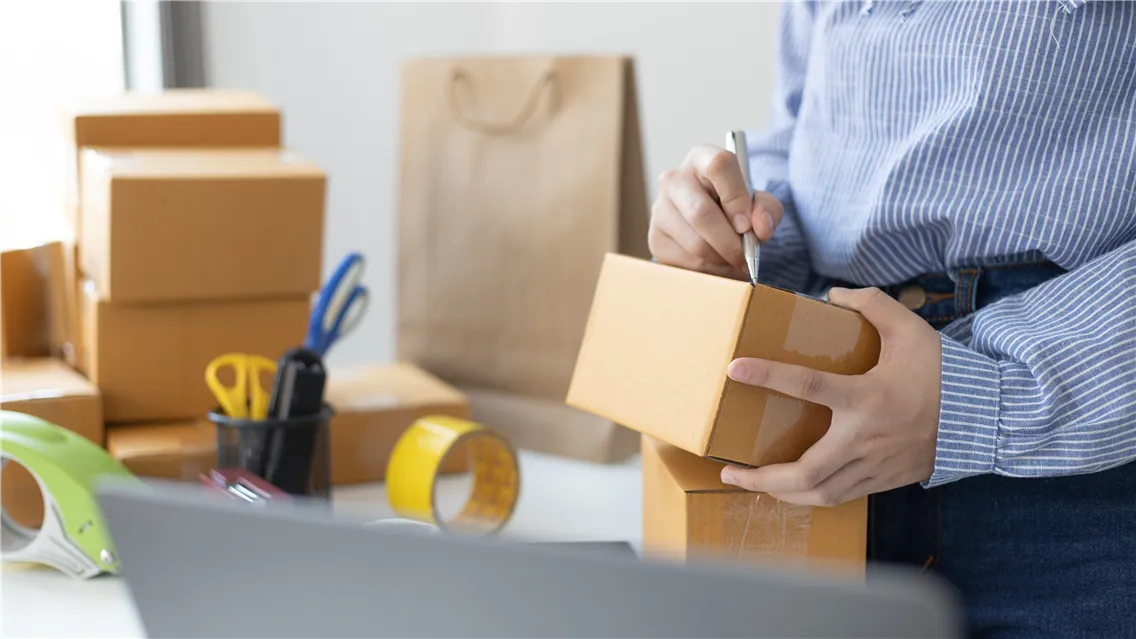
The success of a product photoshoot is decided largely before the camera is turned on. Products that arrive wrinkled, unlabeled, or dirty slow down production, increase post-production costs, and produce images that require reshoots. Products that arrive clean, organized, and accompanied by a clear shot list allow the studio to move efficiently from the first frame to final delivery.
For eCommerce brands, especially those working with multiple SKUs across multiple product categories, preparation is what separates a smooth production from a costly one.
Part of our complete guide: The Ultimate Guide to eCommerce Product Photography
Why Preparing Products for Photoshoots Impacts Your Entire Brand
When people think about product photography, they usually imagine cameras, lighting setups, or styled flat lays. But here’s the reality: the success of a shoot can be won or lost before the camera is even turned on. And that comes down to how well you’ve prepared your products for photography.
Shoot time efficiency reduces cost
Studios operate on tight schedules. When products arrive wrinkled, tangled, or unlabeled, the team has to pause and resolve those issues on set, which drives up both time and cost. Product preparation is about making every minute of studio time count. Clean, labeled, shoot-ready items mean fewer delays, faster workflows, and lower post-production costs.
Better visuals, fewer surprises
Unprepared items introduce risk. One chipped bottle, one dust-covered compact, one wrinkled sleeve can compromise an entire shot. While some imperfections can be retouched, relying on post-production to fix preventable problems slows everything down and adds expense. Product cleaning is consistently underestimated by brands, but it saves hours in post-production.
Your brand image is built before the shoot begins
A customer sees the finished photo, not the preparation behind it. But the photo reflects the brand's quality and attention to detail. Consistent, polished imagery builds trust. That process begins the moment products are packed for shipping.
When to Prepare and Ship Your Products
Most brands underestimate how much lead time studio preparation requires. Products should arrive at the studio at minimum two to three business days before the shoot date. This allows time for unpacking, inspecting each item against the inventory list, identifying any damaged or missing pieces before the shoot day, organizing products by shoot priority, and completing any studio-side preparation like steaming or polishing.
For large shoots covering 50 or more SKUs, plan for products to arrive five to seven business days in advance. Rushed intake on the morning of a shoot is the most common cause of delayed starts and missed shots.
Step-by-Step Product Photography Preparing Checklist for Brands
Getting ready for a shoot doesn’t have to be overwhelming. With the right plan, you can avoid delays, reshoots, and extra costs even if you’re shipping hundreds of SKUs. Use this checklist as your go-to guide for preparing products for photos in any studio environment.
1. Finalize the Shot List Before You Ship
The shot list is the creative roadmap that communicates to the studio exactly what is needed. A complete shot list includes:
- All SKUs, colorways, and groupings
- Shot types required for each item (hero shots, ghost mannequin, lifestyle, eCommerce seamless background)
- Background type for each shot (pure white, off-white, colored, or lifestyle)
- Priority order so the studio knows what to shoot first
- Sample images or references showing the target aesthetic
Sharing sample images from previous shoots, competitor references, or mood boards helps the studio align on visual direction before the shoot day begins. For a complete guide to developing a visual brief and shot list: Art Direction Guidelines for Jewelry and Fashion Brand Photoshoots
2. Inspect and Clean Each Product Thoroughly
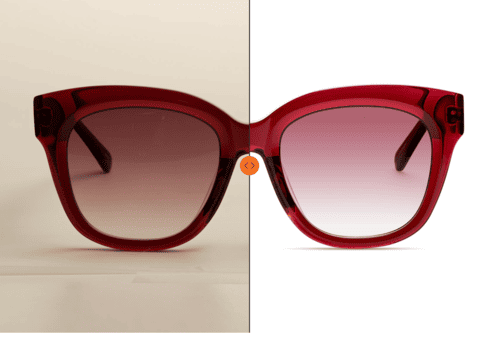
Studio lighting highlights every smudge, fingerprint, and surface imperfection. What looks clean in normal light often reveals flaws under controlled studio strobes.
Polish jewelry until it shines. Dust off bottles and wipe down caps and mirrors. Trim loose threads and use a lint roller to eliminate fuzz and dust from fabric items. For high-gloss items, pack in microfiber anti-dust cloths to prevent new fingerprints during transit. Check for any chips, scratches, or production defects that would require retouching, note these on the shot list so the studio knows what to expect
3. Label, Package, and Organize Your Products Clearly for Photoshoot
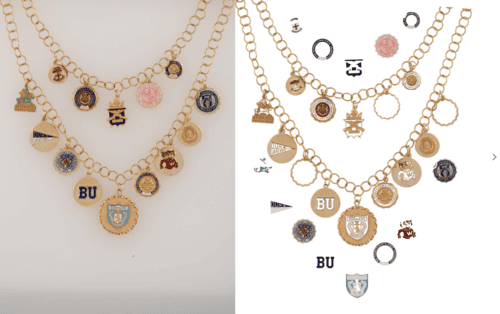
Every individual product should be labeled with its SKU code, product name, and any relevant notes. Groups of similar items (same collection, same product type) should be packed together. A printed inventory list tucked into the shipment box allows the studio to cross-check receipt against your expectations and flag missing items before the shoot begins.
Use labeled zip bags or hang tags for small items. For apparel, garment bags with hang tags are the most efficient format. For fragile or high-value items, individual padded packaging prevents transit damage that would require substitution.
4. Include Product Styling Tips or References
Not every brand wants standard shots. If there is a specific creative direction, prop preference, or layout style, include it with the shipment.
Prefer minimal aesthetics or bold editorial? Include references. Want a cap removed from a serum bottle or a mascara wand slightly open? Note it on the shot list. Need a specific brand color background? Include swatches or hex codes. The more specific the direction provided upfront, the less back-and-forth is needed after the first test shots.
We offer product styling support at Lenflash, but the more we know upfront, the better we can execute your vision.
For a complete breakdown of how the production team works together from briefing through delivery: Understanding the eCommerce Photography Creation Process and Team Involved
Preparing Different Product Types for Photography
Every category has its quirks. Preparing products for photoshoots means understanding what works for your product type and what commonly causes delays or image issues. Whether you’re a fashion label, a jewelry designer, or a beauty brand, this section breaks down how to make your products photo-ready.
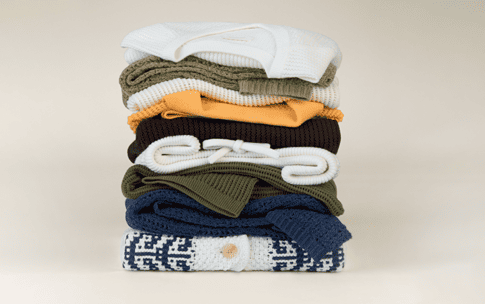
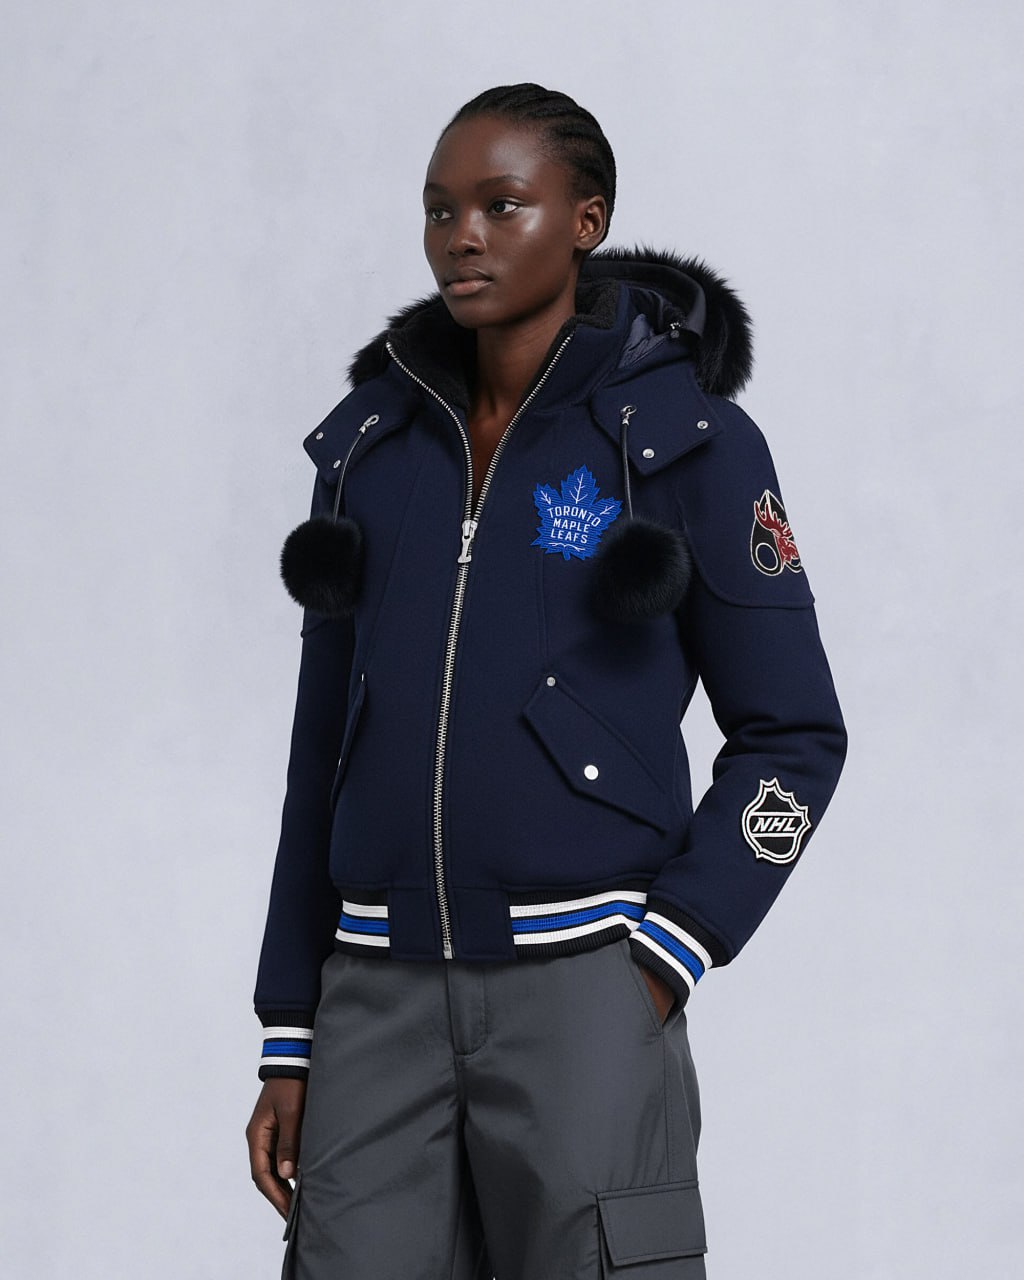
ApparelClothing is one of the most preparation-sensitive categories. Wrinkles, hanger marks, or incorrect sizing can wreck an image, and those issues can’t always be fixed in Photoshop.
At Lenflash, we pre-style looks and offer optional wardrobe support, but great prep gives us more time to focus on creative execution. For how apparel photography specifically handles garment preparation on set: Product Photography for Clothing and Accessories Brands | 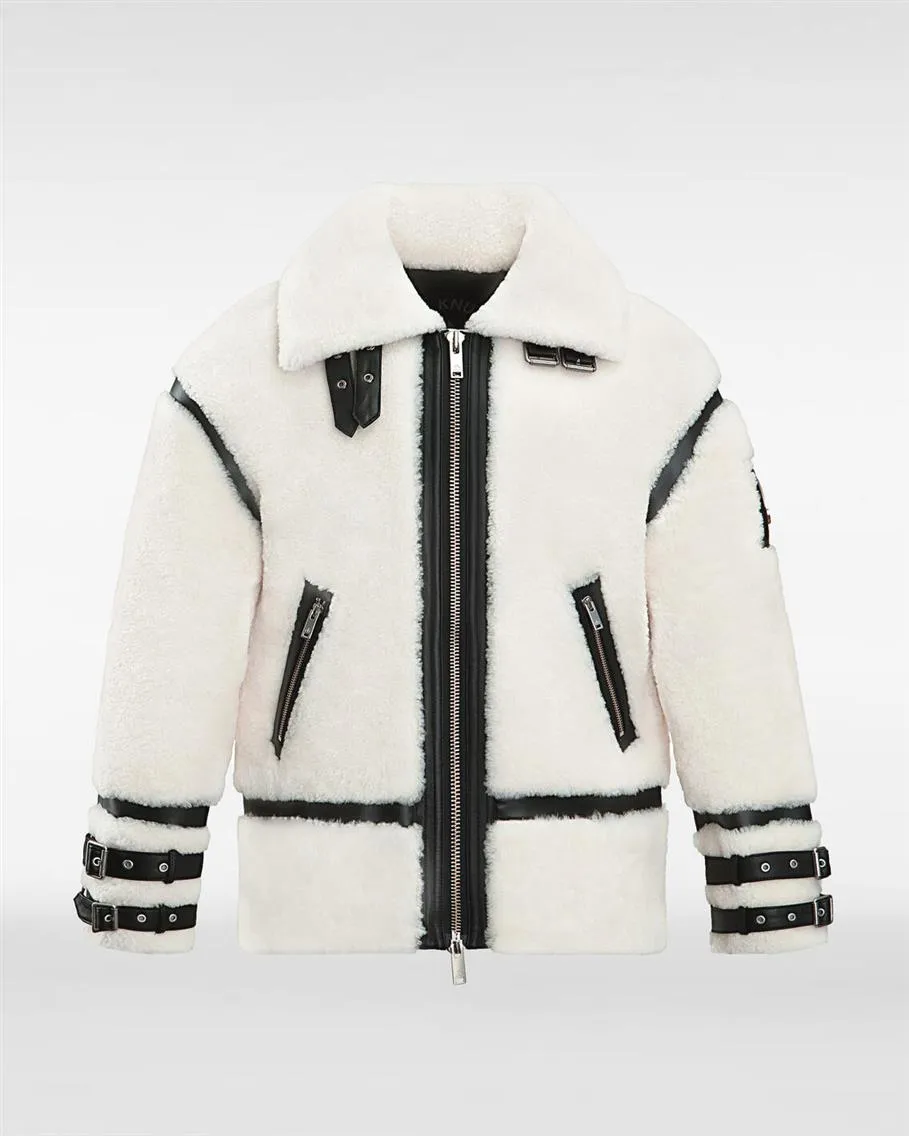 |
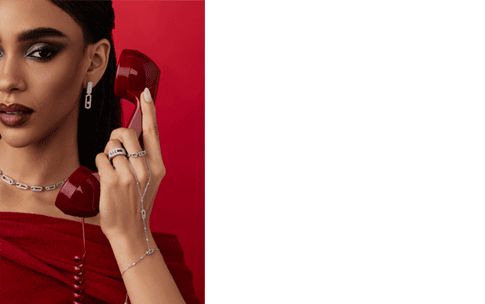
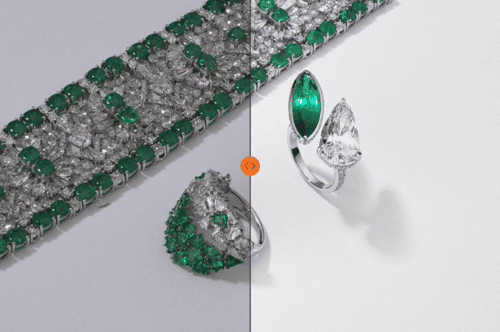
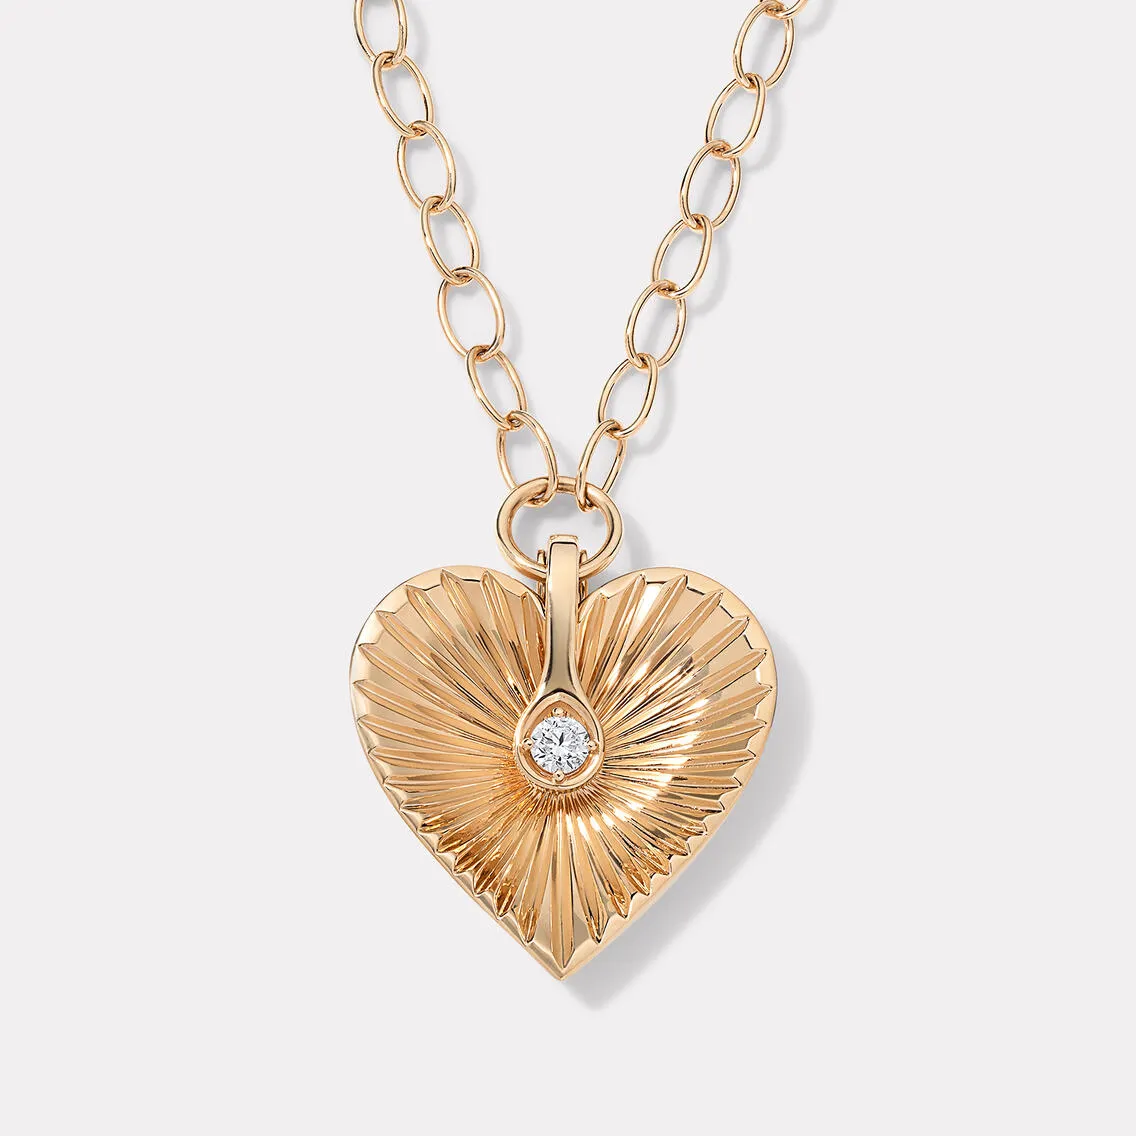 | JewelryJewelry may be small, but it’s one of the most detail-sensitive categories in product photography. High resolution = high visibility for flaws.
Lenflash stylists are trained in laying and positioning delicate pieces, but your prep allows us to move faster and shoot more accurately. For how jewelry photography handles preparation and macro-level detail: eCommerce Brand's Guide to Jewelry Photography |
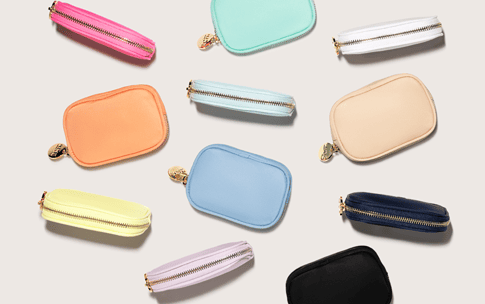
Beauty and CosmeticsBeauty products photograph exceptionally well when they arrive clean and shoot-ready. Scratches, smudges, or leaky packaging that go unnoticed during packing become immediately visible under studio lighting. Wipe down all packaging thoroughly. Oils, fingerprints, and dust are the primary enemies of close-up beauty shots. Check for any leakage from lipsticks, serums, and creams — these can shift during transit. Cap items tightly and seal if necessary. Include dummy units for products where the concern is waste or pressurization — the studio can use these for detail shots without opening the primary retail units. Label all variants clearly. Different shades or scents within the same product line should be distinguished with clear stickers or tags to allow fast sorting on set. Include branded packaging if the shoot requires unboxing or packaging shots, and ensure it arrives clean, crisp, and undamaged. For beauty and cosmetics photography techniques: Macro Beauty Photography for Makeup, Cosmetics, and Skincare Brands For fragrance and perfume packaging specifically: How Perfume Photography Turns Invisible Scents into Brand Stories | 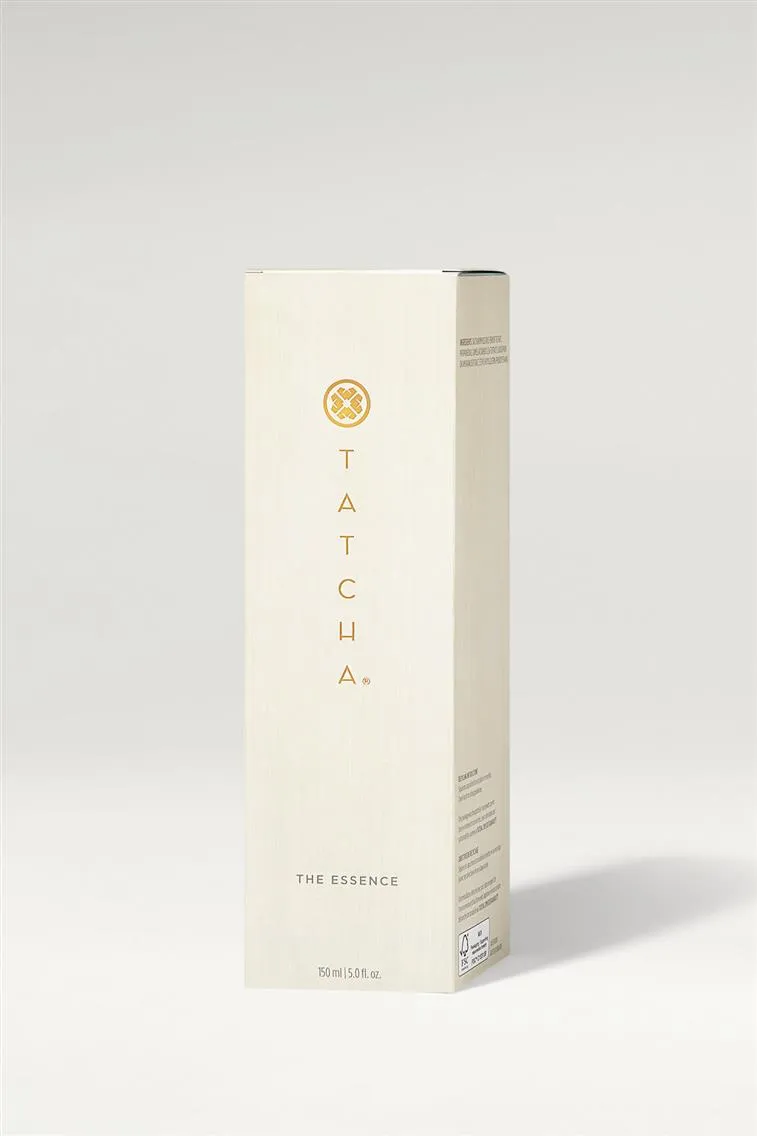 |
Common Mistakes in Product Photography Preparation
1. No shot list or a vague one
A shoot without a shot list produces images that may miss the mark entirely. Sending products with vague notes like "lifestyle shots" or "do what you think looks good" creates ambiguity that costs time in back-and-forth after delivery.
Provide a shot list with SKUs, angle requirements, groupings, background types, and priority items. For brands selling on specific platforms, include the technical requirements for those platforms so the studio can optimize accordingly.
2. Poor Labeling or No Labeling at All
Products arriving without identification stall the team and create risk of mix-ups, particularly for large shipments with many similar items. Every product should have a clear, durable label with SKU, product name, and any relevant notes attached before shipping. A packing list in the shipment box allows the studio to verify receipt and flag issues before the shoot day.
3. Sending Dirty or Damaged Items
Studio lighting reveals flaws that are invisible in normal conditions. Dusty, smudged, bent, or chipped products require preventable retouching time that adds cost and delays delivery. Inspect every item against the cleaning guidelines for its category before packing.
4. Ignoring the End Use of the Images
Photos for Amazon, a Shopify product detail page, and Instagram Stories require different formats, dimensions, and compositional approaches. Asking for general shots without specifying where they will be used produces images that may not work for the intended channels. Communicate the final use of each shot type so the studio can optimize accordingly.
5. Not Collaborating With the Studio Ahead of Time
Pre-shoot communication is one of the most valuable investments in a production. Brands that wait until after delivery to share feedback miss the opportunity to align on creative direction before the shoot. Sharing brand guidelines, shot inspiration, and goals early means the studio can prepare accordingly rather than making assumptions.
What to Communicate to the Studio Before the Shoot
Beyond the shot list, a brief written communication before products ship saves significant time on set and in post-production. Cover these points:
Platform requirements — where will the images be used and what technical specifications does each platform require. Amazon, Zalando, Farfetch, and DTC websites all have different standards.
Color and tone references — what visual register should the images match. Include existing brand imagery, competitor references, or mood board images that show the target aesthetic.
Retouching expectations — what level of retouching is expected and what should be preserved. For handcrafted or artisanal products, natural imperfections that communicate authenticity should be noted explicitly so retouchers know to keep them.
Delivery format preferences — file formats, resolution requirements, folder organization, and naming conventions for the delivered files.
Rush requirements — if any portion of the shoot requires faster turnaround than the standard timeline, flag it before the shoot rather than after delivery.
For a complete guide to planning a shoot brief and visual style document: Art Direction Guidelines for Jewelry and Fashion Brand Photoshoots
Packaging and Shipping Products Safely
How products are packaged for shipping determines whether they arrive in the condition they left. Physical damage sustained in transit is not recoverable without reshooting.
Use bubble wrap, padding, or air pockets for delicate items like beauty glass, jewelry, and electronics. Avoid overpacking garments — crushed packaging looks poor in lifestyle or flat lay shots and requires steaming that could have been avoided. Include a packing list inside the box so the studio can verify receipt without contacting the brand for clarification.
Group products by shoot priority. For shipments covering dozens of SKUs, indicating which items should be shot first allows the studio to start production immediately while less urgent items are being prepped. If products need to be returned after the shoot, include a prepaid return label and clear instructions about what to return, what to discard, and whether backup units were included.
What LenFlash Handles On Set
Once products arrive at the LenFlash studio, the production team handles the physical preparation that happens immediately before shooting.
Steaming removes wrinkles and gives fabrics a fresh, structured appearance before mannequin or flat lay shots. Pinning secures garment details and accessories to ensure correct fit and shape on camera. Styling involves creatively arranging looks, selecting accessories, and composing shots to highlight the distinctive character of each product. For fine jewelry and accessories, positioning and lighting adjustments are made per piece to ensure the best possible angle and reflection management.
LenFlash manages the full production process for eCommerce brands from our studio at 45 West 36th Street, New York — from pre-shoot briefing and product intake through shooting, retouching, and delivery via LenFlash Cloud. Online ordering with real-time quotes before you ship anything.


