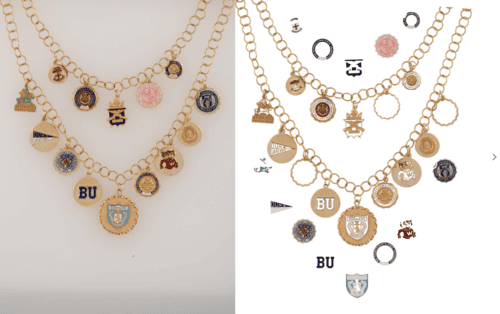
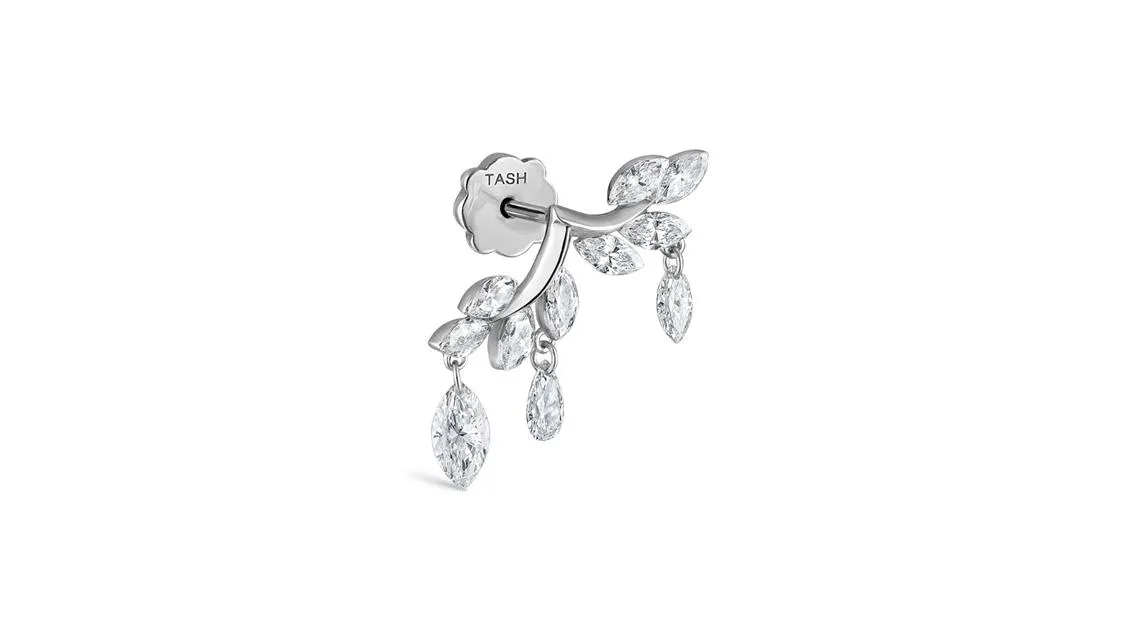
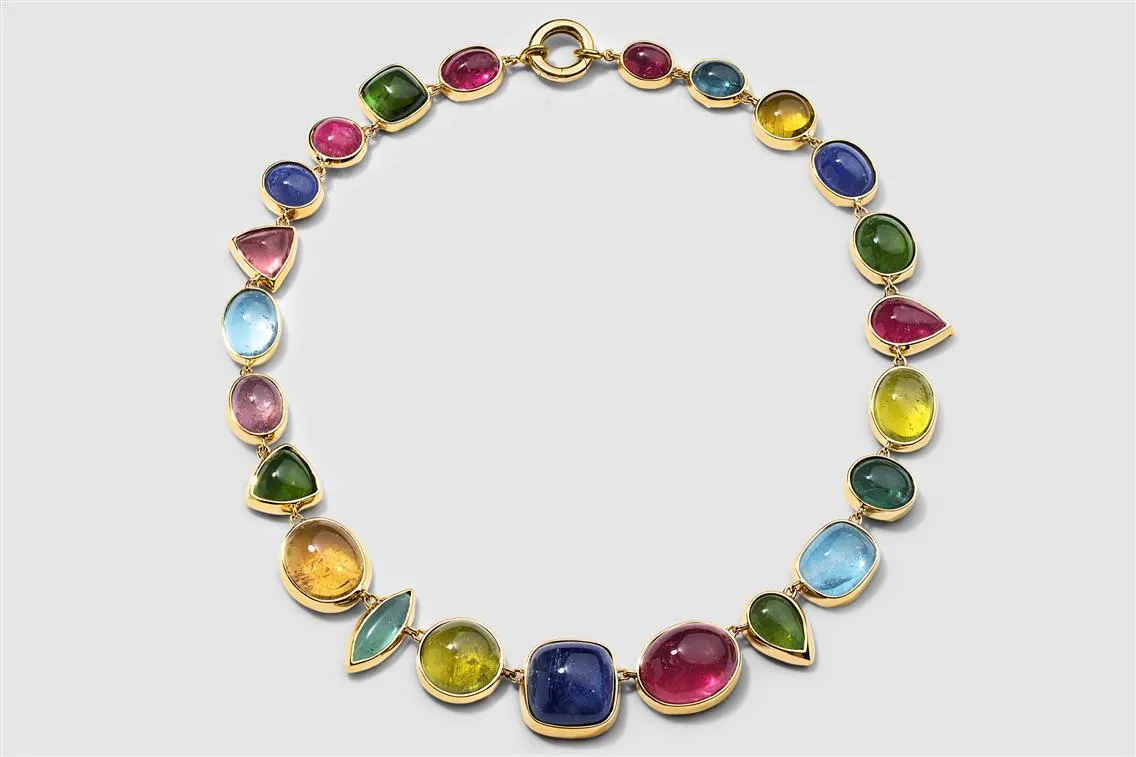
Jewelry and Watch Product Photography Editing Techniques: A Pro’s Guide for Flawless Retouching
Let’s talk about one of the most challenging and rewarding genres of product photography: jewelry and watches. Luxury customers expect to see the craftsmanship, precision, and allure that make these items worth their price tags. And as photographers, it’s on us to deliver.
But shooting and editing jewelry and watches is not an easy story. These products come with their unique challenges, like highly reflective surfaces, intricate details, and the need for impeccable color accuracy. The task is to make them look both true to life, but still at their best.
We’re going to break down everything you need to know to master jewelry and watch photography editing. Whether you’re a seasoned pro or relatively new to luxury product photography, these techniques and tips will elevate your images to the next level.
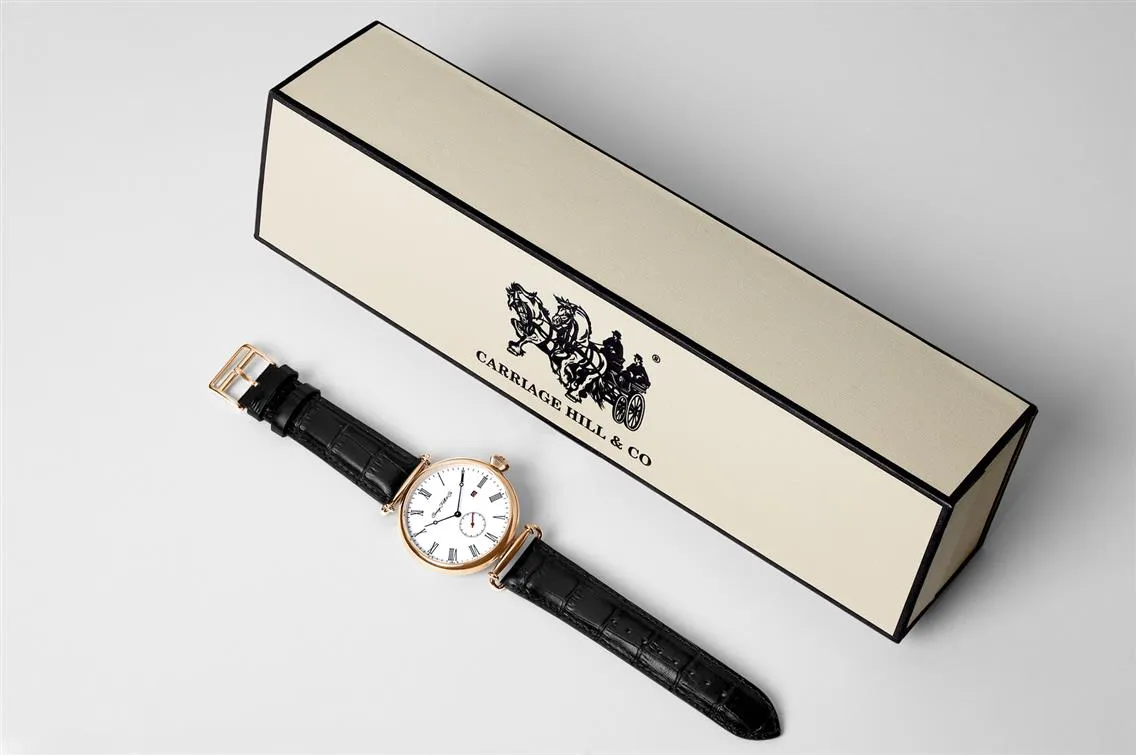
What Sets Jewelry and Watch Retouching Apart from Other Product Photography
Jewelry and watches are in a league of their own. You can’t just treat them like any other product and expect outstanding results. Let’s start with why these products require such specialized attention.
Complicated Details
Take a close look at a diamond ring or a luxury watch. You’ll notice tiny prongs holding gemstones in place or delicate engravings on the bezel. Capturing these details with precision is non-negotiable. Unlike simpler products like clothing or furniture, every millimeter of a jewelry piece or a watch matters, and your image needs to communicate it.
High Reflectivity
Polished metals, gemstones, and watch faces act like tiny mirrors, reflecting everything around them, including your studio lights, camera, and even you. While reflections add realism, they can quickly turn into distractions. Managing these during shooting and retouching is a skill that sets the pros apart.
Color Accuracy
Misrepresenting the color of a gemstone or the finish of a watch band can result in customer dissatisfaction and returns. Getting colors like the deep red of a ruby or the icy brilliance of platinum just right is critical for both authenticity and sales.
Luxury Appeal
Jewelry and watches are aspirational products. Your images need to convey sophistication, quality, and exclusivity. This requires meticulous attention to every detail in post-production.
General product photography rarely demands this level of precision, making jewelry and watches a niche that rewards strong skill and expertise.
Why Jewelry and Watch Retouching Have Similar Needs
Even though jewelry and watches are distinct products, they share several common challenges in retouching.
Reflection Handling: Both are reflective, requiring careful control of light and editing to avoid distracting glares.
Detail Preservation: Fine craftsmanship is central to their appeal, so every engraving, texture, and gemstone must remain crisp and sharp.
Brilliance and Sparkle: The sparkle of a diamond and the polished shine of a watch case are crucial selling points. The retoucher’s job is to enhance these features without overdoing it. If you can master these shared needs, you’re already halfway to producing stunning visuals for both categories.
Complete Breakdown of Jewelry and Watch Retouching Stages: Tutorial with Pro Tips
Post-production begins with culling, selecting images that have the potential to shine after editing. While this process technically overlaps with photography, it’s an essential precursor to efficient retouching.
Clipping Path: Defining the Product’s Edge
Use Photoshop’s Pen Tool for a clipping path. Adjust anchor points carefully, particularly around irregular shapes like prongs, chains, or bezels. Apply a slight feather (0.5–1 pixel) to avoid harsh edges that can make the product look cut out. Save your clipping paths as reusable selections to facilitate background adjustments or further masking down the line. For complex jewelry, use multiple paths or layer masks to isolate different elements like metal, stones, or chains for greater control during editing.
Exposure, Contrast, Curves, and White Balance
Balancing Exposure: Adjust overall exposure while keeping highlights intact on gemstones and metals. Overexposure can wash out details, while underexposure reduces brilliance.
Contrast Control: Use subtle contrast adjustments to bring out the dimensionality of gemstones and polished surfaces.
Fine-Tune Highlights and Shadows with Curves: Work with curves to subtly lift highlights and deepen shadows, adding depth and luxury to the image.
White Balance Accuracy: Use the Eyedropper tool to sample a neutral gray or white area in the image for accurate color correction. For example, gemstones like diamonds benefit from a neutral white balance, while gold may require a warmer tone.
Pro Tip: Use adjustment layers in Photoshop or nondestructive editing tools in Lightroom to preserve flexibility for future changes.
Jewelry and Watch Photography Color Correction
Luxury products demand color accuracy that builds trust and conveys quality.
Gemstone Colors: Adjust saturation and vibrance selectively to enhance the natural beauty of gemstones. Avoid oversaturation, which can make stones look artificial. For diamonds, focus on clarity and brilliance rather than adding unnecessary color. For colored gemstones, emphasize their unique tones while maintaining subtlety.
Metal Finishes: Refine gold, silver, or platinum tones by using the HSL (Hue, Saturation, Lightness) sliders. Keep gold rich but natural, silver cool and reflective, and platinum bright yet understated.
For collections, apply color adjustments uniformly to ensure a cohesive look across all images. Use a Color Checker or a physical reference of the product to match colors accurately during editing.
Background Editing: Refining the Setting for Maximum Focus
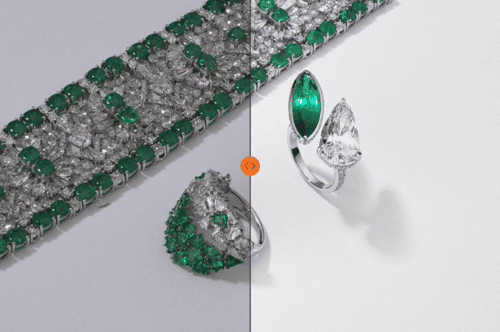
Gradient Backgrounds: Use gradient layers in Photoshop to create smooth transitions that complement the product. For instance, a soft gray-to-white gradient can highlight the brilliance of diamonds or polished metal.
Solid Backgrounds: If a pure white background is required for e-commerce, add subtle shadows under the product to prevent a floating effect.
Custom Background Refinements: For editorial or creative shots, match the background tones to the brand’s aesthetic while ensuring it doesn’t distract from the product.
Use the "Refine Edge" tool to seamlessly integrate the product with the background while maintaining natural shadows and edges.
Jewelry Retouching: Spot Healing, Dodge and Burn
This stage focuses on perfecting the product’s appearance and enhancing its dimensionality.
Spot Healing: Use the Spot Healing Brush or Clone Stamp tool to remove dust, scratches, and imperfections. For high-reflective surfaces, work carefully to preserve the product's natural texture.
Dodge and Burn:
- Dodge (lighten) areas like gemstone facets or metal highlights to enhance brilliance.
- Burn (darken) edges or recessed areas to add depth and richness.
- Work on separate layers to ensure nondestructive editing and make adjustments easier.
Use a soft, low-opacity brush for dodge and burn to build up effects gradually for a more natural result.
Sharpness Adjustments: Bringing Out the Details
Sharpening is the final touch that makes the product look crisp and refined.
- Selective Sharpening: Apply sharpening selectively to high-detail areas like gemstones, watch dials, or engravings. Avoid sharpening backgrounds or areas that should remain soft.
2. High Pass Filter Method:
- Duplicate the image layer and apply the High Pass Filter.
- Set the layer blending mode to Overlay or Soft Light for controlled sharpening.
3. Unsharp Mask: Use settings like Radius: 1-2 pixels, Threshold: 2-5 levels, and Amount: 150-200% for fine details. Adjust based on the image’s resolution.
Always check your sharpening results at 100% zoom to ensure clarity without introducing noise or halos.
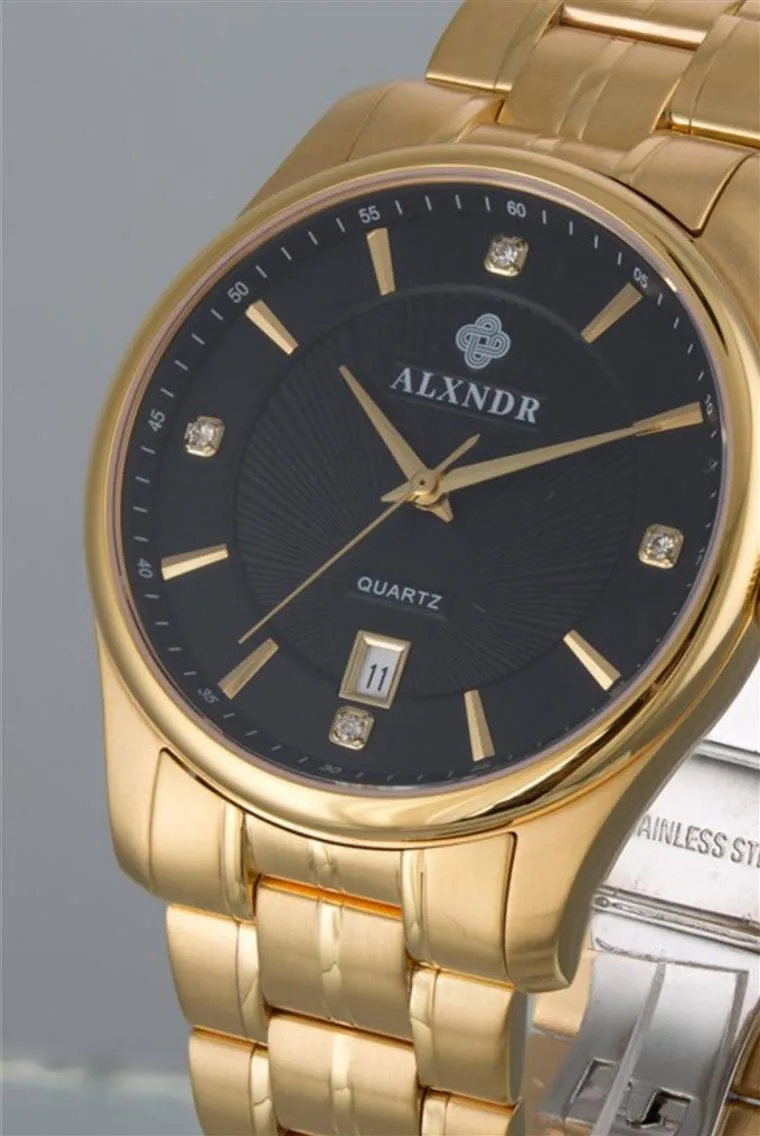
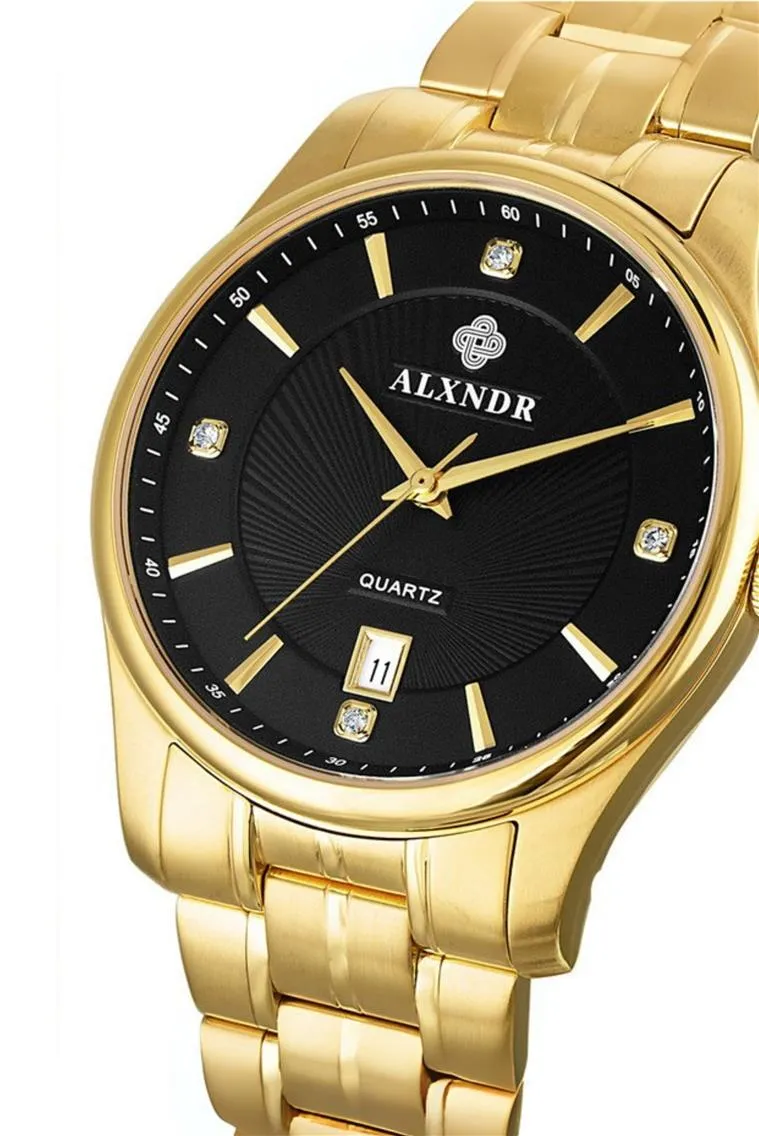
Best Practices for Jewelry and Watch Product Photo Retouching
Maintain Consistency Across Images in Product Retouching
Consistency isn’t just about aesthetics; it’s essential for branding, e-commerce usability, and customer trust. When browsing a catalog or website, consumers expect a uniform visual experience. Variations in lighting, color tone, or sharpness across images can confuse viewers and diminish the perceived quality of a brand.
Color Harmony: Use a consistent white balance and color profile across all images, especially if you’re editing a collection of jewelry or watches. Inconsistent colors can mislead customers and make products look mismatched.Use a reference image or a color checker from your shoot to match colors across multiple images. Adobe Lightroom’s "Sync Settings" tool is particularly helpful for batch color corrections.
Lighting Uniformity: Even minor differences in lighting intensity or direction can make products look like they’re from different shoots. Adjust highlights and shadows to create a uniform light fall-off for a cohesive look.
Use gradient masks in Photoshop to subtly adjust light across images while ensuring even tones.
Crop and Composition Alignment: Maintain consistent cropping and alignment across your product images. Whether it’s a full-frontal shot of a watch or a close-up of a ring, the positioning should be identical to provide a seamless user experience.
Use guides or create templates for cropping and positioning in Photoshop or Lightroom. Want to elevate your product photo editing skills? Read our article on advanced product retouching techniques to master consistency, precision, and professional-quality results in your photography.
Focus on Ethical Retouching
In the luxury space, authenticity builds trust. While enhancing an image is important, over-editing can lead to unrealistic visuals that disappoint customers upon receiving the actual product.
Stay True to the Product
Your edits should enhance the product's appeal without altering its fundamental characteristics. For example, don’t modify the shape of gemstones or make colors more vibrant than they are in reality. Always keep a physical reference of the product on hand to ensure your edits remain accurate.
Retain Textures and Imperfections
Polished metal surfaces and gemstones naturally have slight imperfections, which add realism to the image. Over-smoothing these areas can make the product look artificial. Use a light hand with tools like Gaussian Blur or noise reduction filters. Instead of eliminating texture, refine it.
Transparency in Advertising
Over-editing to “perfect” a product might increase initial sales but can lead to customer dissatisfaction and returns. Ethical editing ensures customers see what they’ll get.
Balance Time and Quality
When retouching jewelry and watches, time is a precious resource, especially when working with large product catalogs or tight deadlines. Striking the right balance between efficiency and quality is essential to maintaining both profitability and the high standards demanded by luxury e-commerce. Here’s how to approach it.
Batch Processing for Basic Adjustments: Tools like Adobe Lightroom, Capture One, or Photoshop allow you to apply global edits such as exposure adjustments, cropping, and white balance corrections across large batches of images. This is especially useful for maintaining consistency in large collections.
AI-Powered Background Removal: Advanced AI tools, such as Photoshop’s "Remove Background" feature, can quickly isolate products from their backgrounds. While these tools are efficient, the results often require refinement. Use manual touch-ups for areas with intricate details like chains, clasps, or gemstones to ensure clean edges.
While automation and AI tools handle repetitive or time-consuming tasks, they cannot replicate the nuanced decision-making required for luxury product retouching. For example, gemstones and polished metals require subtle, precise adjustments to enhance their brilliance without appearing over-edited. These intricate refinements are best achieved through manual dodge and burn techniques. Matching gemstone hues and metallic finishes to their real-life appearance also demands a trained eye for detail.
On-Hand and On-Model Jewelry and Watch Photography Retouching
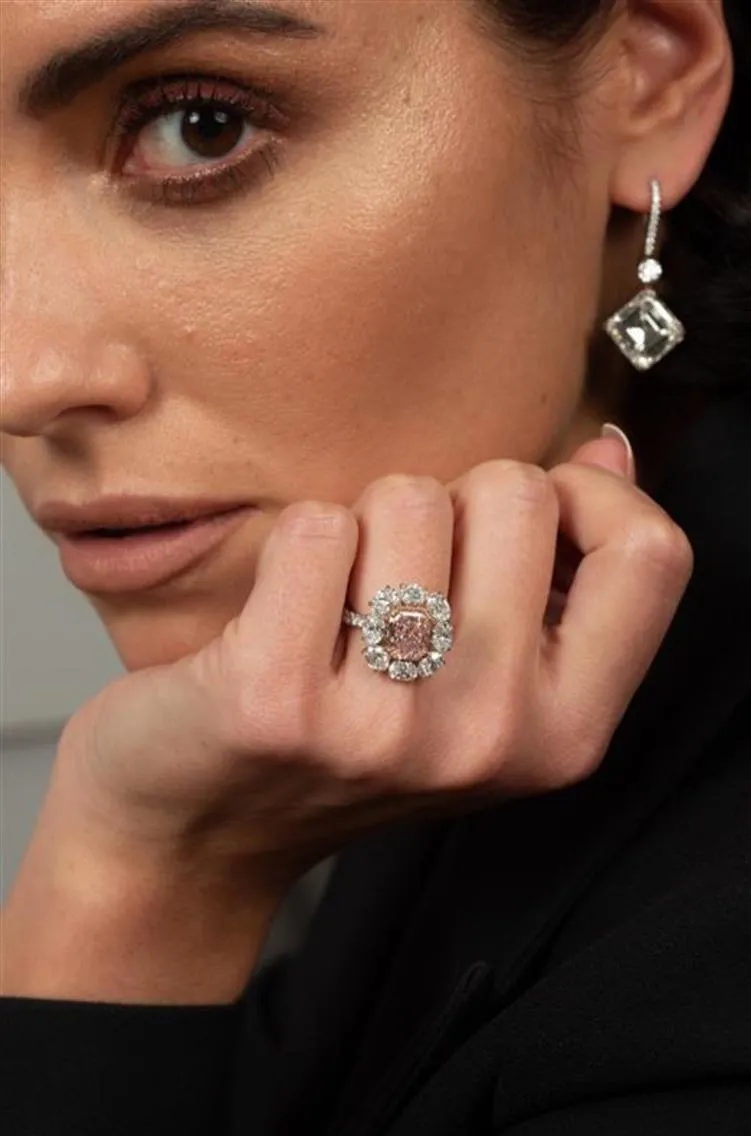
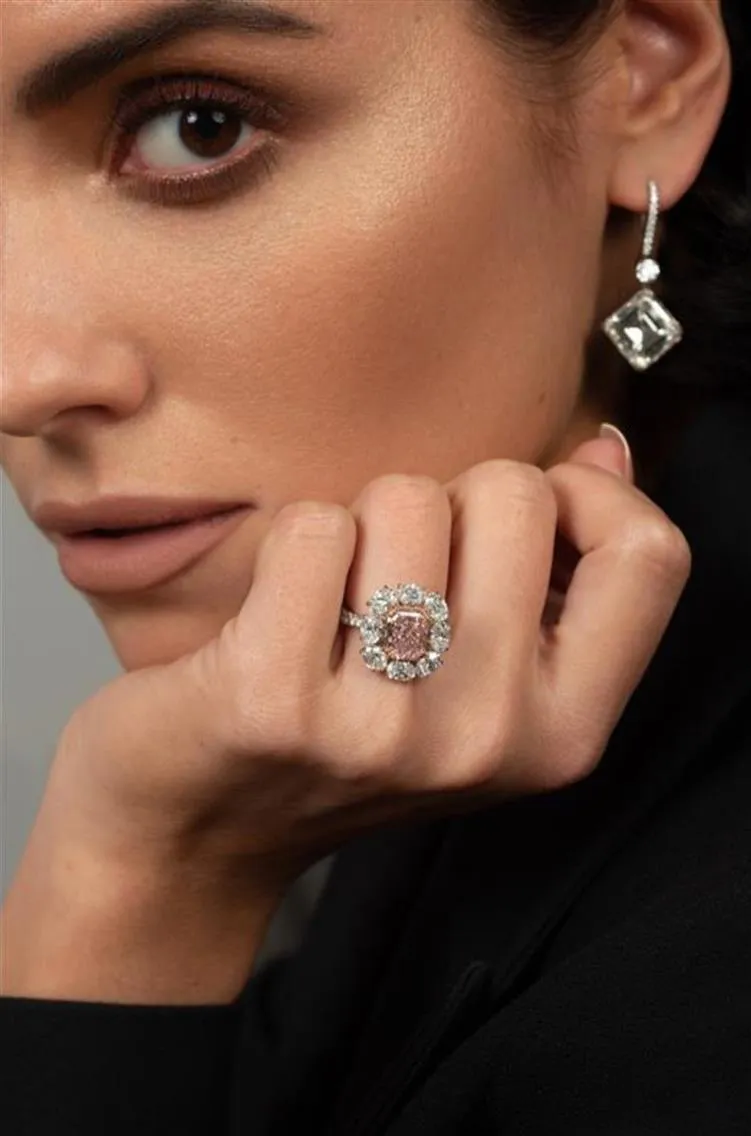
When working with on-hand or on-model jewelry and watch photography, the stakes are even higher. Not only must the product shine, but the model’s presentation must enhance the product rather than compete with it. This type of retouching requires a balanced, product-centric approach, ensuring the jewelry or watch remains the focal point while achieving a polished, professional finish.
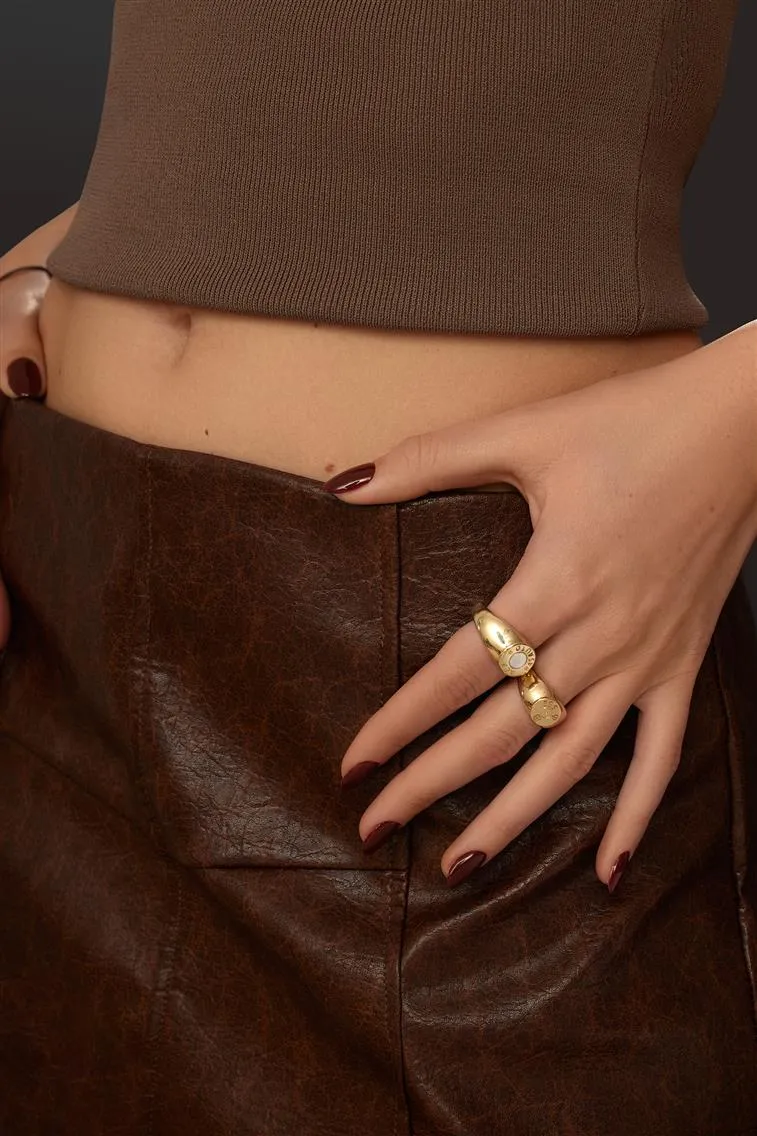
The product should always remain the focal point of the composition. This means ensuring that lighting, sharpness, and color balance naturally draw the viewer’s eye to the product.
Selective dodge and burn techniques are particularly effective here. Brighten gemstone facets or metal edges to add brilliance and subtly darken areas around the product to make it pop. For watches, pay close attention to the dial and hands — these should be razor-sharp and perfectly lit, even under reflective glass. While enhancing the product, keep the model’s features soft and subdued to avoid overpowering the product.
Hands and wrists are common focus areas in on-model jewelry and watch photography. However, they often come with their own set of challenges, such as uneven skin textures, redness, or unkempt nails. The goal is to refine these areas without erasing their natural character.
Use frequency separation techniques to smooth skin textures while retaining natural pores and fine lines. Remove temporary imperfections like scars, dry patches, or veins that may distract from the product. Pay special attention to nails, ensuring they are clean and polished. Brighten the nail beds slightly to give them a healthy appearance, but avoid whitening them unnaturally.
Distractions in on-model shots can pull attention away from the product. These could be anything from flyaway hairs to overly shiny skin or distracting clothing elements. Removing distractions ensures that the focus stays where it belongs, on the jewelry or watch. Flyaway hairs can often obscure the product or draw attention to areas of the image that aren’t relevant. Use the Clone Stamp or Healing Brush tool in Photoshop to tidy up these elements without over-editing. If clothing textures or wrinkles are too prominent, soften them slightly to make them less noticeable while maintaining a natural look. For lifestyle shots with props or backgrounds, keep these elements subtle and complementary, using blurring or tonal adjustments to push them into the background.
Creating Consistency Across Product Shots: Consistency is critical in on-model photography, particularly when these images are displayed alongside standalone product shots. Visual alignment ensures that the customer journey feels seamless and professional, whether they’re browsing a product catalog or an e-commerce site.
Start by harmonizing color tones and lighting across all images. The colors of metals and gemstones in on-model shots must match those in standalone images to avoid confusing or misleading the viewer. Align cropping and framing standards to maintain uniformity across the collection. Finally, ensure that any background treatments, whether solid colors, gradients, or textured backdrops, complement and align with the brand’s aesthetic.
Elevating Your Photography Career with Expert Jewelry and Watch Retouching
You know the drill: luxury clients are demanding. They’re not just paying for your ability to capture a product, but for your ability to create an image that stops people in their tracks and screams premium. And let’s be real, getting that image straight out of the camera is a pipe dream, no matter how perfect your setup is. This is where expert retouching takes your photography from “good enough” to “I need this photographer on my speed dial.”
Jewelry and watch photography isn’t like shooting sneakers or handbags. It’s a whole different league. The details are smaller, the reflections are everywhere, and the stakes are higher. Retouching is the lifeline that preserves the value of high-end pieces.
Techniques like focus stacking ensure that no detail gets lost, while selective sharpening brings out the textures and intricacies that make these pieces scream luxury. When you deliver images that highlight every micro-detail, you’re showing your clients you understand what makes their products special.
Time is the one thing you can never have enough of as a commercial photographer. Between managing shoots, working with clients, and running your business, spending countless hours on intricate retouching can feel like a never-ending chore. But here’s the thing: luxury clients demand perfection, and you can’t afford to deliver anything less than exceptional. That’s where you should consider delegating the intricate retouching process to professional studios.
Focus on your craft, not the grind. You became a photographer to create, not to spend your evenings cloning out dust or fixing reflections on metal surfaces. LenFlash’s professional retouching services allow you to shift your focus back to what you do best: producing stunning photography and building relationships with clients.

