


How to Get More From Your Product Photography Budget
Product photography budgets don't usually fail because brands spend too much. They fail because the spend is distributed badly. Reshoots from unclear briefs, retouching revision rounds caused by inconsistent shot lists, studio time burned by unsteamed garments arriving on set, paying premium per-image rates when batch pricing was available. The waste is in the workflow, not the line item.

This guide covers nine specific steps to get more usable images from the same budget, or the same number of images for less spend. The focus throughout is on output quality and ROI, not on cutting corners.
Part of our complete guide: The Ultimate Guide to eCommerce Product Photography
Step 1: Calculate your actual cost per image
Most brands track total photography spend. Very few track cost per final, usable image — which is the number that actually matters for budget decisions.
Take your total photography spend for the last three months: studio fees, retouching, model casting, styling, set design, art direction, sample shipping, project management hours, and post-production. Include soft costs: delays, reshoots from unclear briefs, revision rounds. Divide by the number of final approved images you actually used.
That number is your benchmark. Whether it is $15 or $150, every step in this guide is measured against it. An intervention that costs $500 upfront but reduces your cost per image by $8 across 200 SKUs pays back immediately.
Step 2: Standardize your shot list before every shoot
Inconsistent briefs are the most common source of avoidable cost in product photography. Every unclear instruction, every decision left to the set, every subjective revision request after delivery adds expense.
A standardized shot list specifies: angles required per product type, background specification, styling guidelines, intended use cases per shot, and file format and naming conventions. When your photographer knows you need a front view, 45-degree angle, and detail close-up for every product in the catalog, they plan the day accordingly. When your retoucher receives the file with those same specifications already attached, revision rounds decrease significantly.
Different content types require different standardization levels. Catalog shots need precise specifications for angles, lighting, and background — consistency across every SKU is the output. Lifestyle content needs brand aesthetic guidelines rather than technical specs. Social content needs format specifications (aspect ratio, safe zones for text overlay) more than styling rules.
The same specifications applied consistently across every shoot eliminate the most common source of reshoots: images that were technically correct but didn't meet requirements nobody communicated clearly.
Step 3: Make an informed decision about outsourcing
The in-house vs outsourcing decision fundamentally shapes your cost structure, and the right answer depends on your volume, product complexity, and growth stage.
Building a professional in-house studio requires significant upfront investment — cameras, lenses, lighting equipment, backdrops, and editing software — before a single product is photographed. Add the ongoing costs of space, equipment maintenance, and full-time salaries for photographers and retouchers who need consistent work to justify their positions. In-house setups make financial sense for very high-volume operations with continuous, predictable shooting needs and straightforward catalog requirements.
For most eCommerce brands, outsourcing to a professional studio converts fixed overhead into variable costs. You access specialized equipment and expertise without capital investment, scale up for peak seasons and down during slower periods, and pay only for production you actually need. You also eliminate the risk of equipment becoming outdated and the complexity of managing specialized talent.
The questions worth asking before building in-house: What is your monthly SKU volume? How specialized are your product categories? How predictable is your production calendar? If the answers are "variable," "specialized," or "unpredictable," outsourcing almost always produces a better cost per usable image than in-house production.
For a full breakdown of what an in-house setup involves: Everything eCommerce Brands Need to Know About Setting Up an In-House Photography Studio
Step 4: Prepare products properly before they arrive at the studio
The most expensive studio time is time spent doing things that should have been done before the shoot. Samples arriving without labels. Garments that need steaming. Missing components. Products that require assembly on set.
Studio time is billed at a fixed hourly rate whether the photographer is shooting or waiting. Pre-production failures burn that time without producing images.
Products should arrive shoot-ready: cleaned, pressed, assembled, and quality-checked. Every piece should be labeled with its SKU connected to the corresponding line on the shot list. A photographer who can immediately identify "Product SKU 4729, white background, three angles, include packaging" and reach for a ready product works at a completely different pace than one matching unlabeled samples to a brief on set.
The same preparation discipline applies to packaging details and retouching specifications. If your retoucher knows your approved color name is "midnight blue" rather than "navy," that prevents revision rounds that correct a mistake that could have been communicated in a one-line brief.
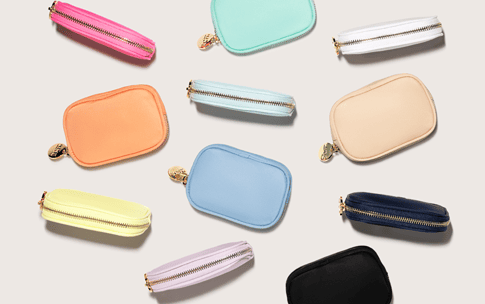
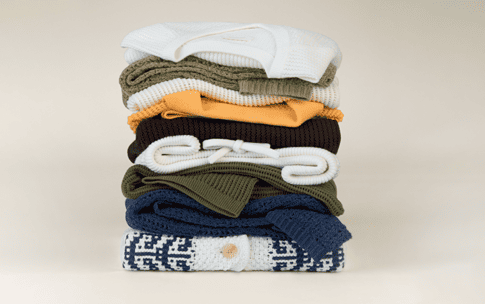
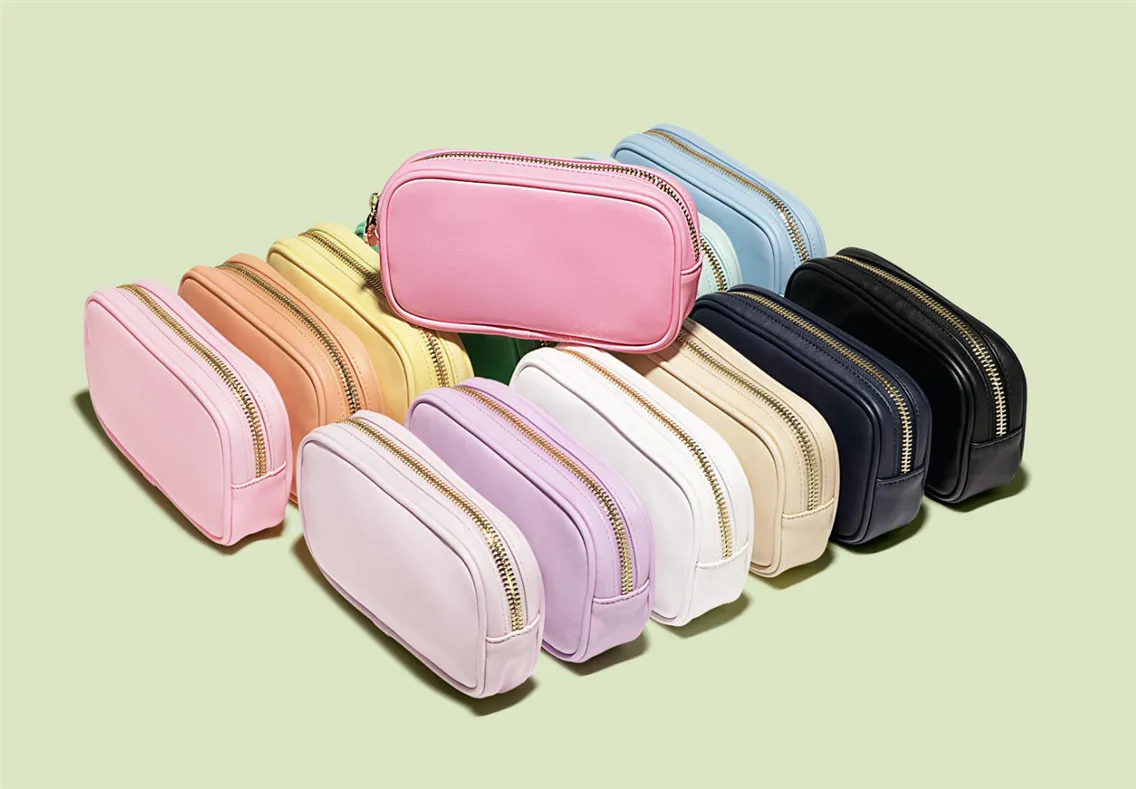
Step 5: Batch products that share the same setup
Studio setup and breakdown represent fixed costs regardless of how many products you photograph in a session. Spreading those fixed costs across more products reduces cost per image significantly.
Group products by photography requirements: same background, similar lighting, matching styling needs. Shooting 60 white-background catalog images in one session costs dramatically less per image than scheduling six separate sessions of ten products each. The photographer sets up lighting once. The stylist preps the backdrop once. Workflow momentum builds across the day rather than resetting repeatedly.
Batching also gives you genuine negotiating leverage. A studio quoting per-image rates for a 20-product order quotes differently for a 150-product order. Volume discounts exist because batched work is operationally more efficient for the studio. That efficiency is passed back to the client in per-image pricing.
Plan product launches to align with batch shooting opportunities rather than photographing new arrivals as they come in. The coordination effort required to accumulate products and schedule a concentrated session pays back in reduced cost per image across the entire batch.
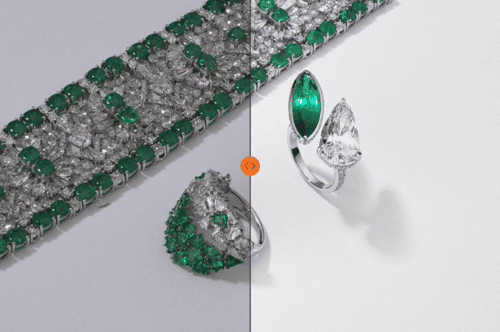
Step 6: Outsource retouching separately from photography
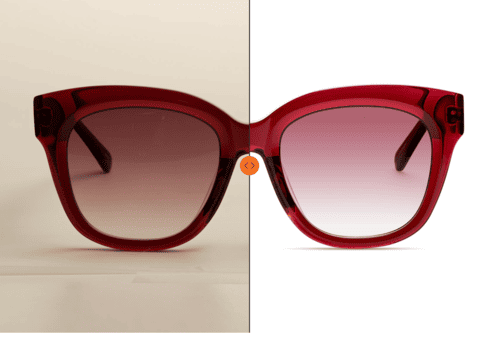
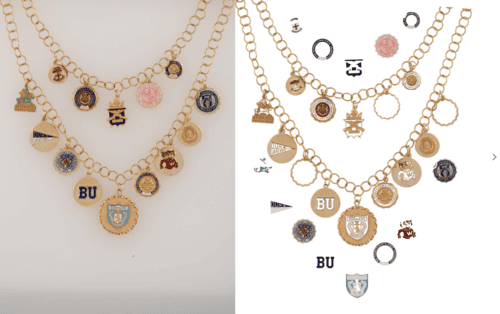
Retouching and photography are separate skills and separate markets. Many photographers mark up retouching substantially when they bundle it with the shoot. Managing post-production separately from photography gives you control over both quality and cost at each stage.
High-end boutique retouching studios in major markets charge $25 to $75 or more per image. LenFlash retouching starts at $10.99 per image for standard product retouching, $2.29 for clipping path, and $10.99 for jewelry retouching with TIFF delivery and shadow separation. The quality difference between a $10.99 per image studio and a $50 per image studio is rarely visible in the final output for standard catalog work. The difference that matters is turnaround reliability and consistency across a large volume of images.
Build relationships with a dedicated retouching partner rather than defaulting to whoever your photographer subcontracts to. Separating the two functions also gives you flexibility: use multiple photographers for different product categories while maintaining consistent retouching standards across everything.
Standard LenFlash turnaround is 7 to 8 business days. Rush delivery is available next business day.
See retouching pricing and upload online
Step 7: Extract more use from images you already have
Every product image you commission can work harder than a single application. A catalog shot already in your library can become a social ad with a text overlay, an email header with a different crop, a banner graphic with a seasonal background, and a comparison table element. One image, multiple applications, no additional photography spend.
Build repurposing into your brief when you commission photography. Request angles and compositions that offer flexibility for downstream uses. Capture additional perspectives that create options for future campaigns without requiring a reshoot.
When auditing your cost per image in Step 1, calculate how many distinct applications each image actually generates. An image used in five different contexts at a total spend of $30 has a real cost of $6 per application. An image used once at $30 per image has a real cost of $30. Repurposing changes the math significantly.
Step 8: Centralize your visual assets
Disorganized visual assets create real financial costs. Teams cannot find existing images and commission reshoots for products already photographed. Multiple versions of the same file exist across different storage locations. No one knows which version is the approved final, leading to incorrect images going live and expensive corrections.
A Digital Asset Management system organizes all product photography with searchable metadata, version control, and team access controls. Your marketing team finds what they need without involving the creative team. Your eCommerce manager accesses approved images without searching through email threads. Remote teams collaborate on the same files without file transfer delays.
The cost avoidance is straightforward: no reshoots for products already photographed, no designer hours searching for assets, no corrections from outdated images going live.
LenFlash Cloud is built specifically for eCommerce visual production workflows. Every order delivers directly to your LenFlash Cloud account, organized by SKU, color, and category with instant team access. Integration with eCommerce platforms streamlines the path from delivered photography to published product pages.
Read more about Digital Asset Management for eCommerce
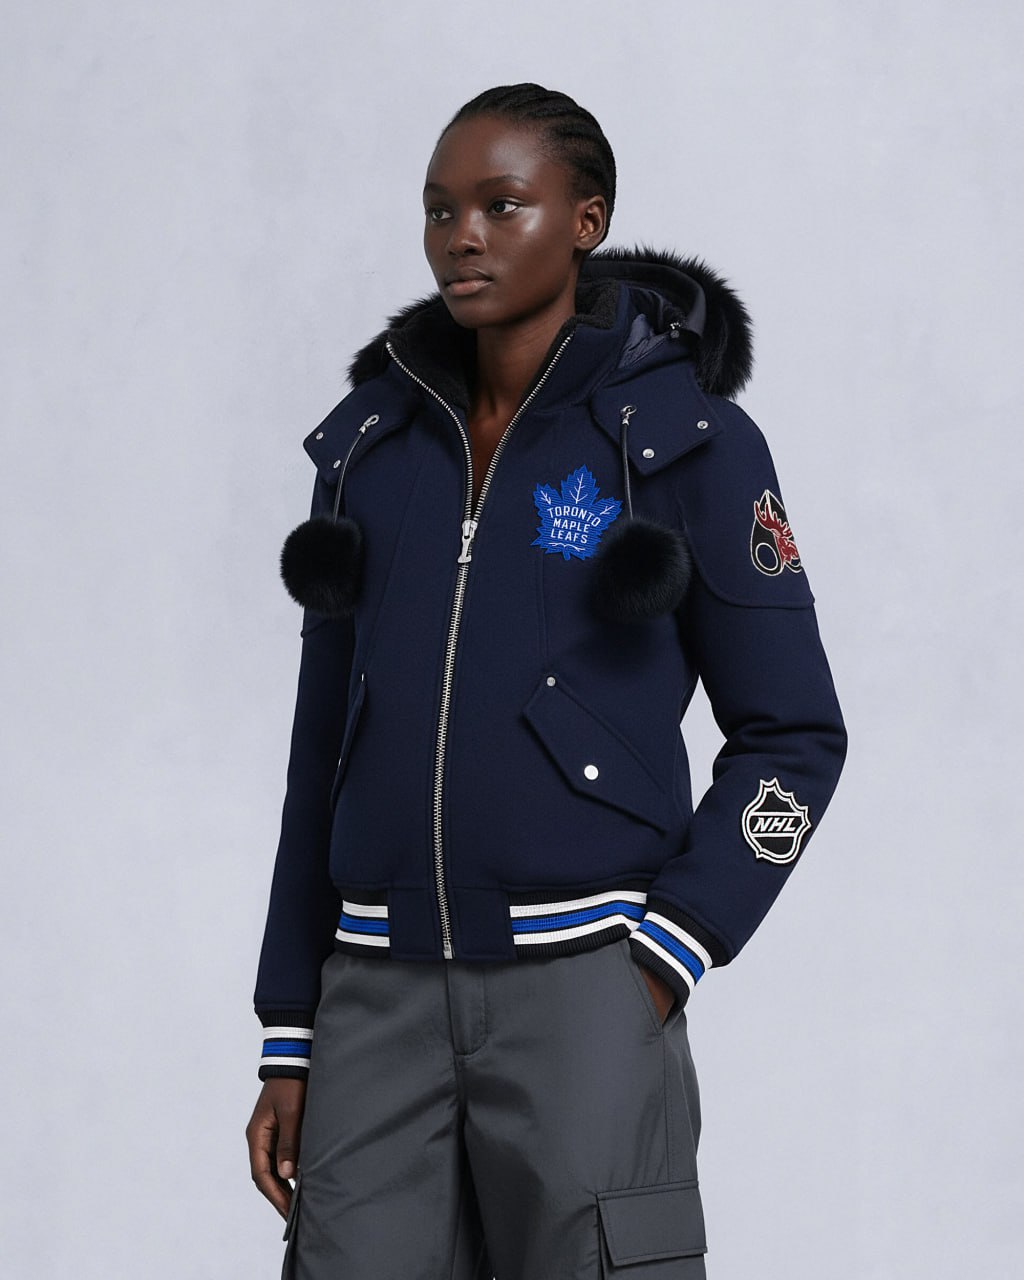
Step 9: Use AI visuals where traditional photography is not the right tool
On-model photography is one of the highest cost centers in product photography. Model casting fees, talent rates, hair and makeup artists, stylists, location fees, extended shoot days — the per-image cost for traditional on-model photography is substantially higher than for catalog product shots.
AI-generated on-model imagery produces highly realistic results at a fraction of the cost of traditional model casting, and at a volume that traditional photography cannot match economically. Upload your existing product photography and receive on-model lifestyle imagery across a range of model types, ethnicities, and body representations.
AI visuals work well for: catalog imagery where you need model representation across a large product range, lookbook content requiring diverse casting, social media assets where volume and variety matter, and test marketing before committing to expensive traditional productions.
Traditional photography remains the right choice for: hero products where absolute material fidelity is required, products where fit and drape need to be shown accurately, retailer submission images with specific technical requirements, and any production where your brand standards require nuanced creative control.
The hybrid approach — traditional photography for hero and compliance images, AI visuals for volume catalog and social content — gives you both quality where it matters and efficiency where volume matters.
These 9 steps address the places where photography budgets lose value without producing better images. The pattern across all of them is the same: waste lives in process gaps, not in the per-image rate. A $25 per image studio with a disorganized brief, unprepared samples, and no batch strategy will cost more per usable image than a $40 per image studio with a tight brief, shoot-ready products, and a 150-SKU batch order.
The benchmark from Step 1 tells you whether the changes are working. Calculate it again after three months of applying these steps. The number should be lower, with the same or better image quality.


